Configuring DHCP SCOPE Using GUI (Windows Server 2008 r2) & Windows PowerShell (Windows Server 2012 r2)
Configuring DHCP SCOPE Using GUI (Windows Server 2008 r2) & Windows PowerShell (Windows Server 2012 r2) (Windows Server 2012 r2)
Before we discuss DHCP Scope, let’s find out what DHCP and SCOPE are.
What is DHCP?
Dynamic Host Configuration Protocol (DHCP) is a network protocol that enables a server to automatically give an IP address to a device.
DHCP Scope
DHCP provides an IP address to a machine from a predetermined range of numbers (i.e., a scope) configured for a given network is called DHCP Scope.
Benefits of DHCP
In Windows Server 2003, the DHCP Server service delivers the following benefits:
- Reliable IP address configuration. DHCP decreases configuration problems caused by manual IP address configuration, such as typographical errors, or address conflicts produced by the assignment of an IP address to more than one computer at the same time.
- Reduced network administration. DHCP has the following capabilities to reduce network administration:
- Centralized and automatic TCP/IP configuration.
- The ability to define TCP/IP setups from a central location.
- The ability to assign a whole range of additional TCP/IP configuration settings by way of DHCP options.
- The efficient management of IP address changes for clients that require frequent updates, such as portable PCs that roam between wireless network locations.
- Initial DHCP communications are forwarded via a DHCP relay agent, obviating the necessity for a DHCP server on each subnet.
Using the GUI to Configure DHCP SCOPE (Windows Server 2008 r2)
Prerequisites:
- Ascertain that Windows Server 2008 r2 has been installed and configured with a static IP address.
- You will need to know the IP address range of your network.
- The range of IP addresses you’d like to assign to your clients’ computers.
- The IP addresses of your DNS servers and your default gateway.
- Additionally, you’ll want to have a plan in place for all subnets.
Which scopes you’d like to define and which exclusions you’d like to create?
Configuration:
Navigate to the Server Manager.
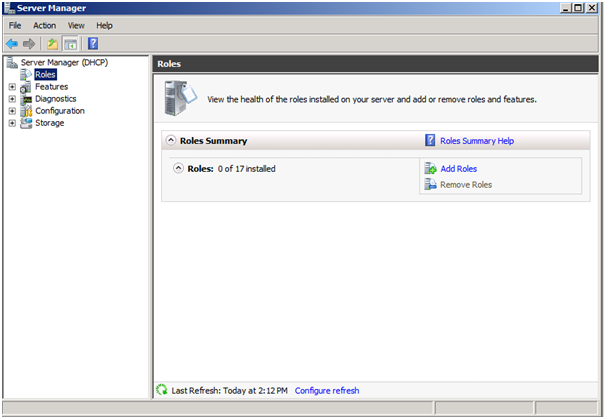
When you click Add Roles, the new box appears as seen below:
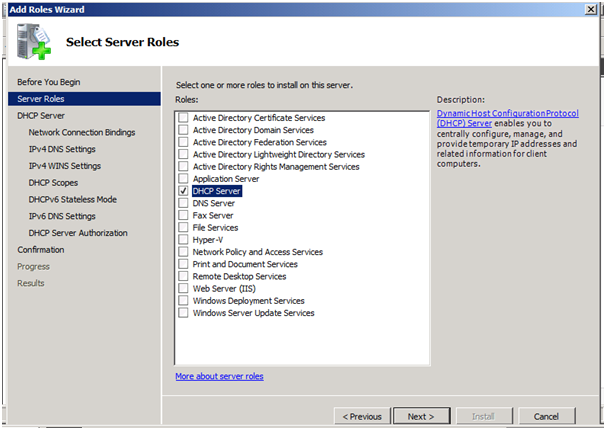
Click Next after selecting “DHCP Server.”
Continue by clicking Next.
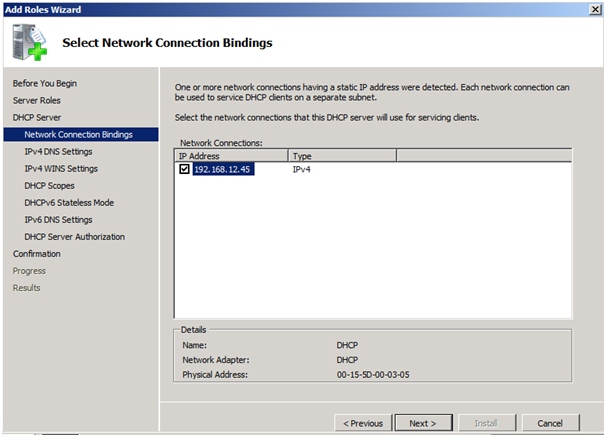
Note: Ensure that this PC has a static IP address allocated; otherwise, a “Warning Message” will appear.
As we configure DHCP SCOPE, this section displays my network connection bindings, which we must validate, as shown below:
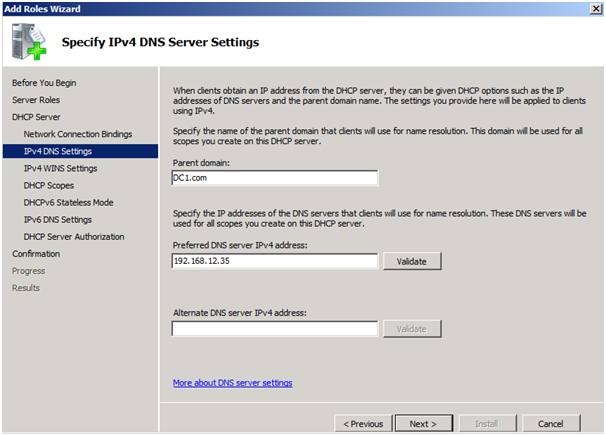
When we select Next, we must provide the Parent Domain, Primary DNS Server, and Alternate DNS Server information (as seen below) and click Next.
After clicking Next, you will be prompted to specify the WINS server.
As indicated below, I have chosen not to connect to the WINS server.
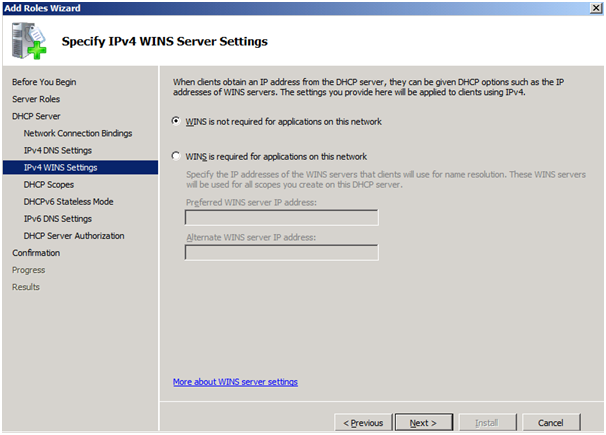
Then click Next.
Now it’s time to configure the scope by adding the IP address range.

To provide an IP address range, click Add.
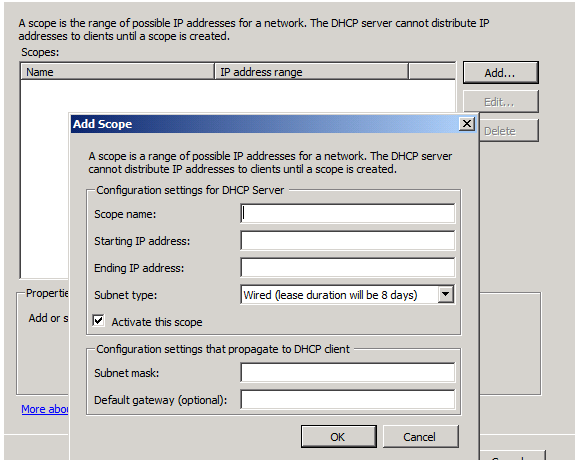
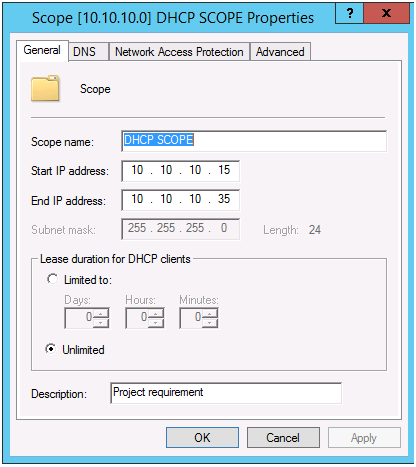
Kindly specify the SCOPE name, the starting and ending IP addresses, the subnet mask, and the default gateway
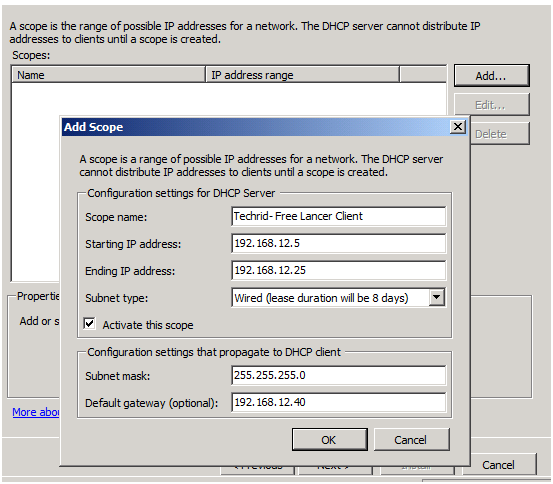
Select OK
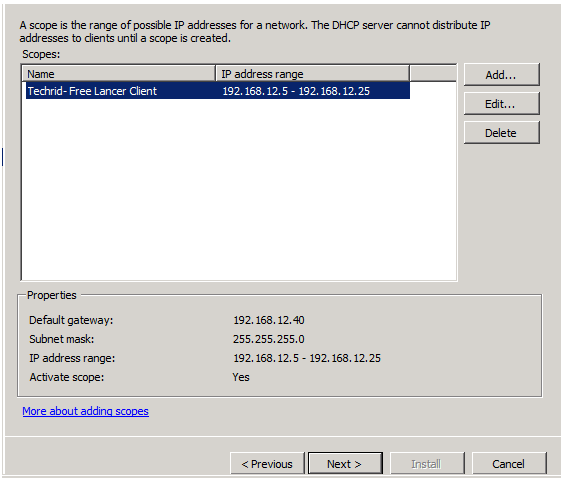
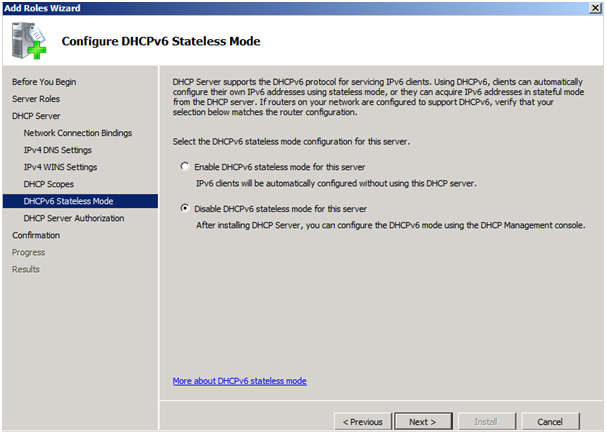
Then click Next. And now we must choose whether to “Enable or Disable IPV6.”
In my scenario, I have disabled this option as follows:
Authorization is now required.
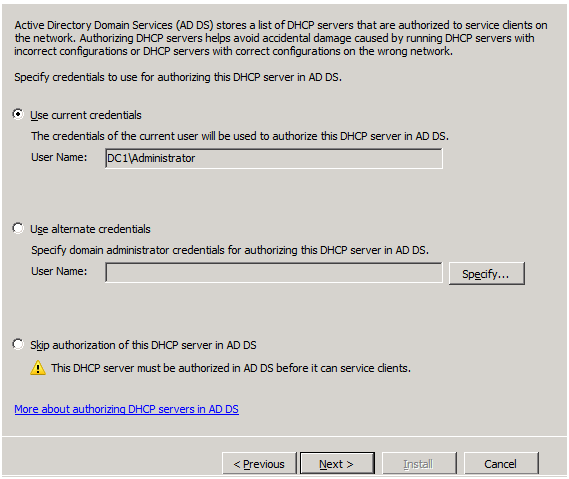
After clicking next, you’ll see the following summary information:
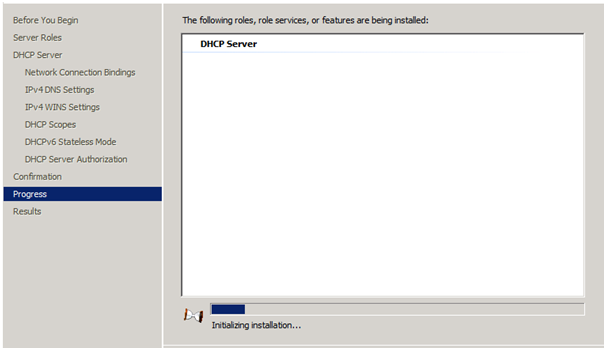
Install by clicking.
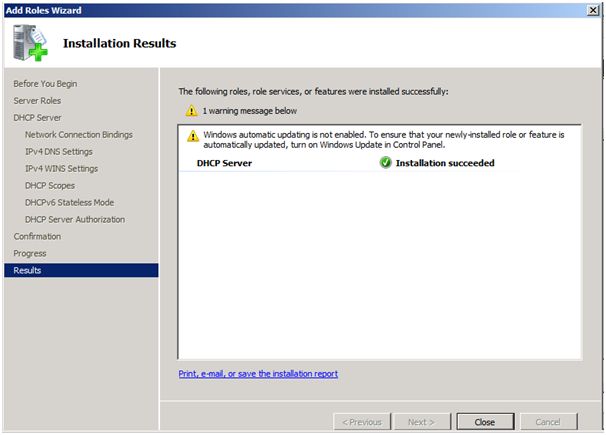
Excellent. The installation was successful, as demonstrated below:
Now, let us look at how to manage the DHCP SCOPE.
Managing the DHCP server on your Windows Server 2008
To begin, navigate to Start-> Administrative Tools-> DHCP.
As demonstrated below, open the MMC (DHCP):
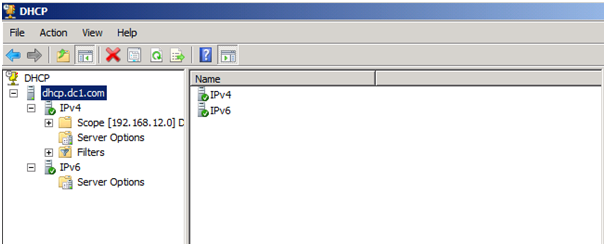
Let us begin by taking a step by step approach.
You can discover this by expanding the scope.
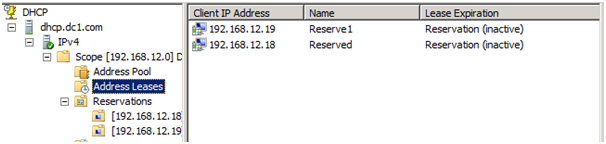
1: Address Pool No
2: Take Care of Leases
1: Address Pool No.

2: Take Care of Leases
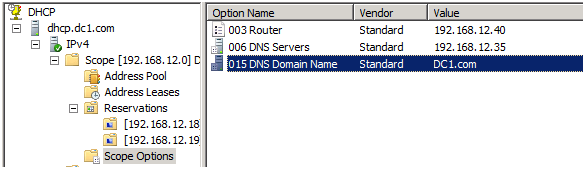
Select Scope Options now and verify that everything is configured correctly
Now, let us talk about filters.
We have two options for filters.
1: Permit
2: Refute

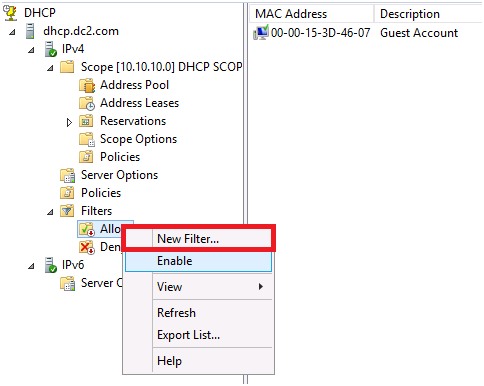
Oops, it’s displaying an error warning on both the Allow and Deny tabs.
No problem; right-click on the Allow Tab and select Enable; similarly, right-click on the Deny Tab and select Enable; both tasks will result in an error-free output on the tabs as seen below:
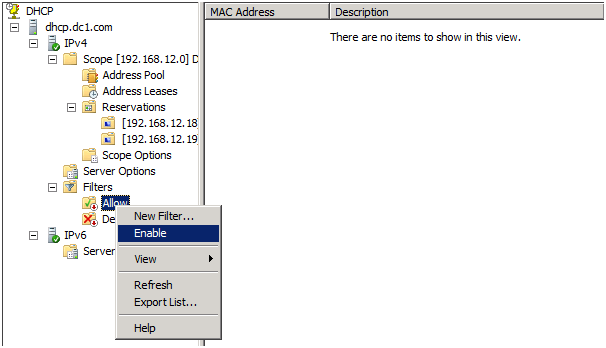
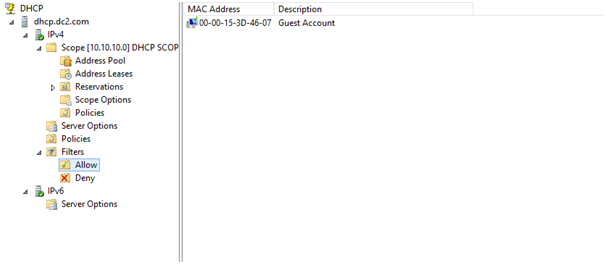
Once enabled, you’ll notice the following change:

Both of these tabs are configured after configuring DHCP scope on Windows Server 2012 r2 via Power Shell.
Permit: Clients who wish to utilize DHCP services.
Deny: Clients who do not wish to use DHCP.
Adding users is rather straightforward. Right-click the Allow Tab and select Filter and Add MAC Addresses from the context menu.
This is an excellent method for configuring the DHCP scope in Windows Server 2008 r2.
Section II
Using Windows PowerShell to Configure DHCP SCOPE (Windows Server 2012 r2)
Configuration:
Open Windows PowerShell with the “Run as Administrator” permission.
Before we continue, let us use the command to install the functionality.
Feature-Install-Windows-Name: DHCP

The output is shown below.

RSAT-DHCP –Name Install-Windows Feature
The DHCP server must now be bound to a network interface so that it may listen to client requests and lease out IP addresses.
This network interface should have a static IPv4 or IPv6 address set. Bind the DHCP server to the network interface using the following PowerShell command.
Let us execute the following command.
Add-DhcpServerv4Scope-Name “Name of the Scope”-SubnetMask 255.0.0.0-StartRange 10.x.x.x-EndRange 10.x.x.x It will prompt you for a Scope ID, which is nothing more than the scope’s IP address

Now we must confirm and verify that the preceding command was successful.
Run the command “Get-DHCPServerv4Statistics” to verify.
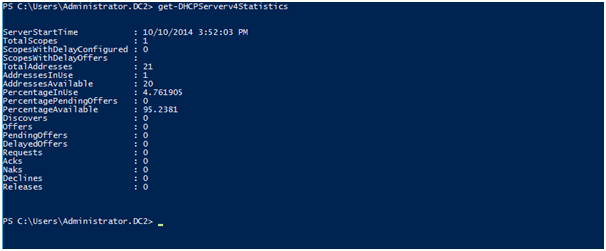
The output is crystal clear.
Now, navigate to the DHCP MMC.
Select Start.

To access DHCP, navigate to Administrative Tools-> DHCP.
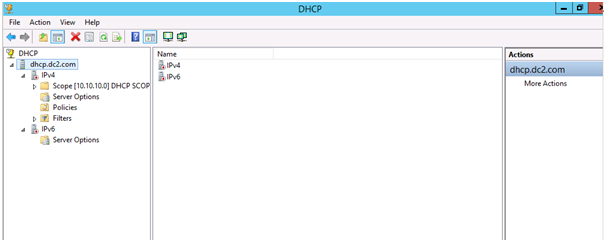
We may encounter an error on IPV4 or IPV6, but this is normal; we simply need to authorise.
Right-click “dhcp.dc2.com” and select Authorize Tab to become green, indicating that we have located the mistake on IPV4 and IPV6 Tabs as seen below:
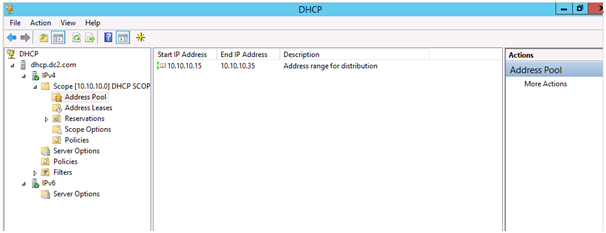
Now, let’s look at how to manage DHCP. We already examined the options available when configuring DHCP on Windows Server 2008 r2.
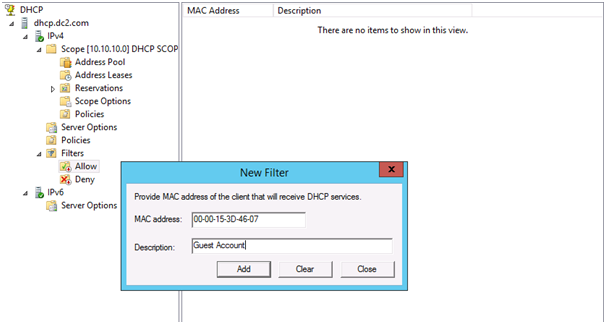
Therefore, let us navigate to the “Allow and Deny” tabs.
Allow and Deny are the commands that the client machine executes to establish a connection.
For the client for whom we wish to provide DHCP services.
Allow and Add New Filter from the context menu, and enter the MAC Address and Description as seen below:
Please specify the MAC Address of the clients that DO NOT WANT TO USE DHCP Services in the Deny field.
Oops, the Tab “Allow & Deny” indicates that these two settings are incorrect.
Nothing to worry about; simply right-click on the Allow Tab and select Enable; the same goes for Deny. Now, the Tab highlighted beneath the New Tab is used to add MAC addresses to Allow or Deny accounts.
As you can see, one of the Client Allow Execution options has been added, and both options have been “Enabled,” tracing out the Red Mark on the Tabs.
Additionally, with Windows Server 2012 r2, we can specify whether or not we require time to enable this DHCP service.
Additionally, we can refer to time as unlimited (based on your requirements).
If you have MAC Addresses in Excel and desire to add them all at once, please use the following command:
List, MacAddress, Description
Allow, MAC ADDRESS >, ClientPC1 Filter
Allow, MAC ADDRESS >, ClientPC2 Filter
Allow, MAC ADDRESS >, ClientPC3 Filter
Deny, MAC ADDRESS >, ClientPC4 Filter
The following command configures the local DHCP server to use all of these filters.
Add-DhcpServerv4Filter-Force Import-Csv Filter.csv | Import-Csv Filter.csv