If you wish to convert associate aging physical windows server to a virtual machine running on a Hyper-V host Microsoft supply one or two of tools for the duty.
The first application is Microsoft Virtual Machine convertor three. However sadly Microsoft has aforesaid they’re actuation the appliance and it’ll be now not offered towards the top of 2019. They’re instead effort the conversion drawback to third party vendors. As luck would have it there’s associate older application offered via sysinternals known as Disk2vhd that I actually have had abundant success with.
This how-to may be a step by step guide for victimization Disk2vhd to convert a physical server to a virtual machine running on a Hyper-V host.
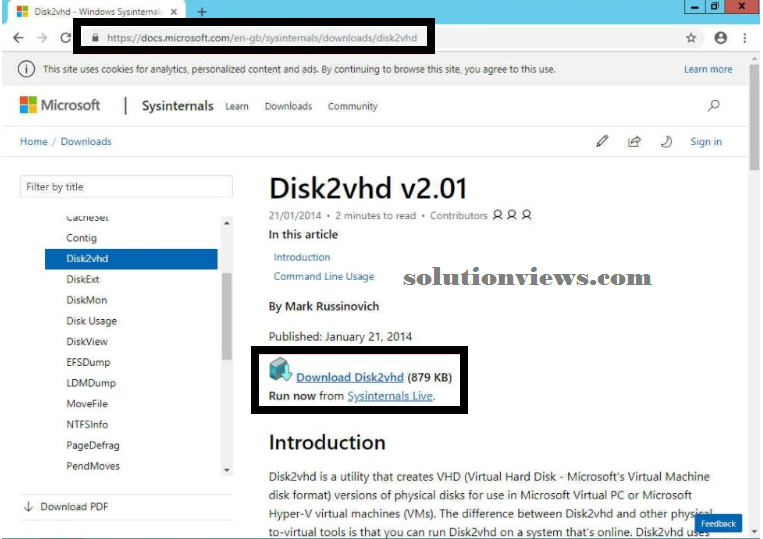
1 . Transfer Disk2vhd to the physical server you want to convert.
https://docs.microsoft.com/en-us/sysinternals/downloads/disk2vhd
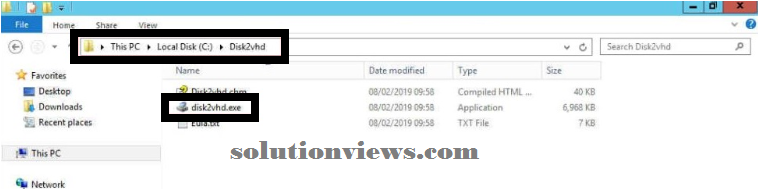
2 . Extract the contents to a folder on the basis of C and run disk2vhd.exe as associate administrator (On the physical server you’re converting).
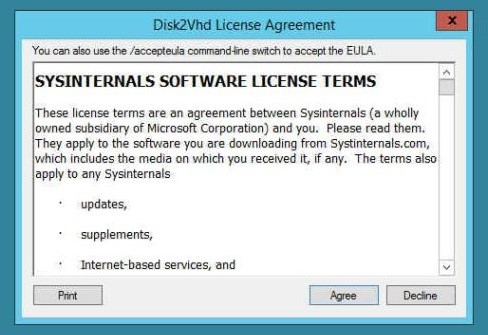
Agree to the License Agreement.
Enter the placement wherever you want the save the vhdx disc drive file. This should get on associate drive or or else reserve it directly onto the Hyper-V host as I actually have done below. This may produce the virtual machine disc drive file and zip else thus don’t worry it won’t attempt to produce a VM on your hypervisor. this is often solely planning to produce the vhdx file on the placement such as.
Click ‘Create’ to begin the method.
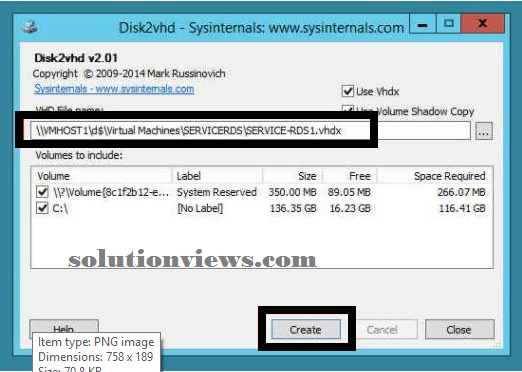
The computer code can produce a shadow copy photo and replica this to the vhdx file.
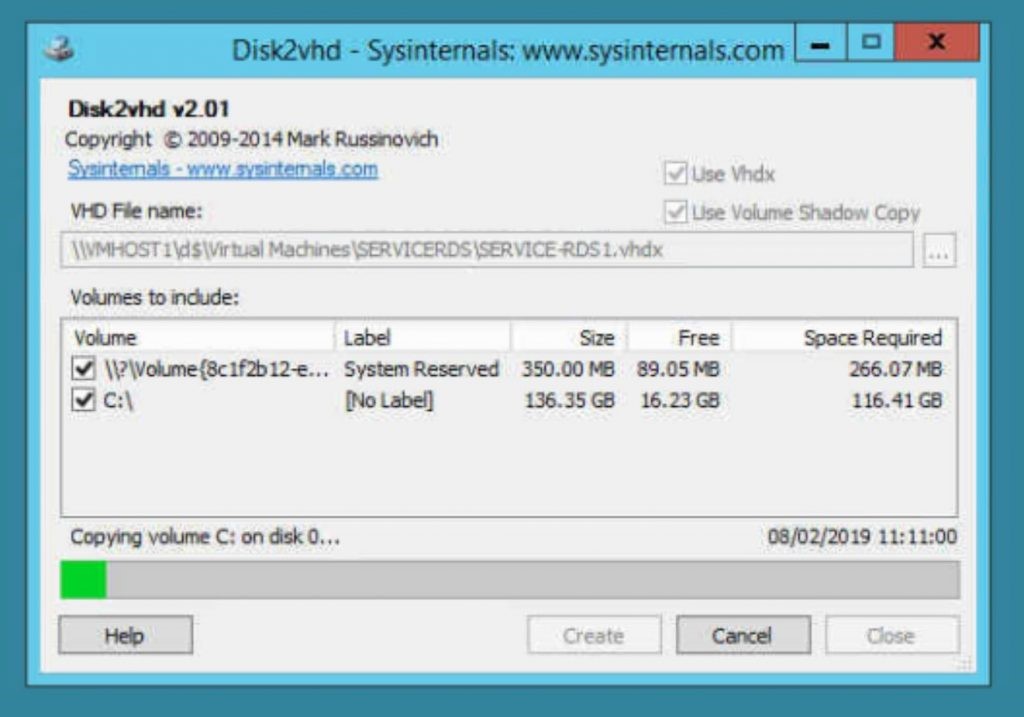
Once the method completes you must have a vhdx go in the placement you such as.
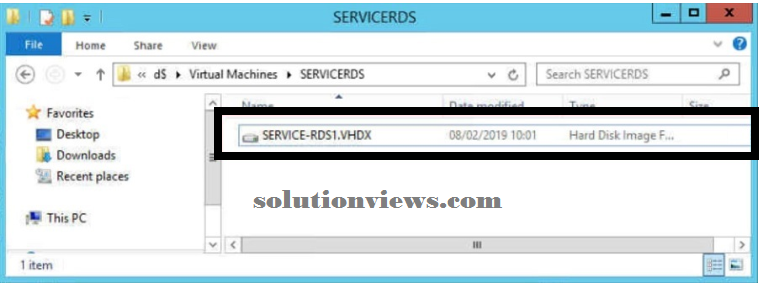
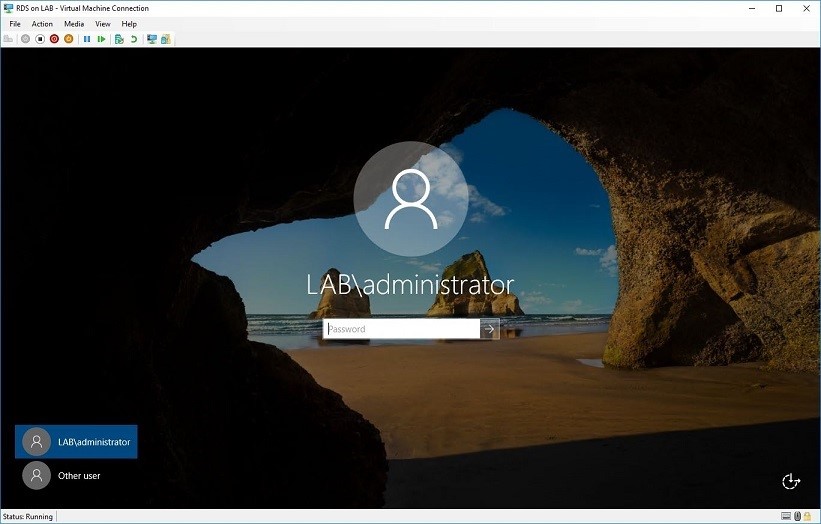
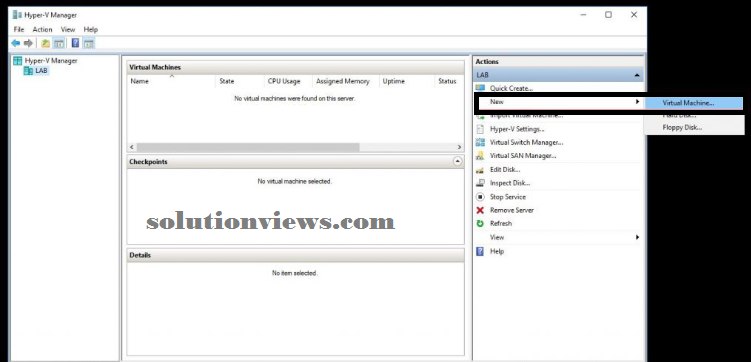
3. Currently you’ll be able to login to your Hyper-V host and make brand new virtual machine victimization the vhdx file.
Click ‘New’ then ‘Virtual Machine’.
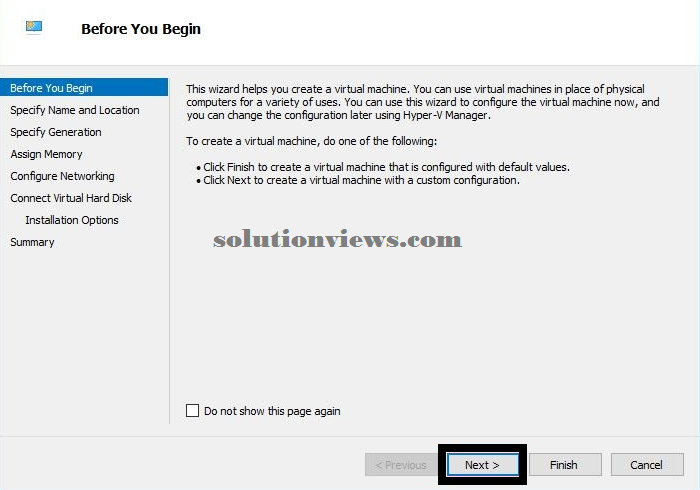
Click Next.
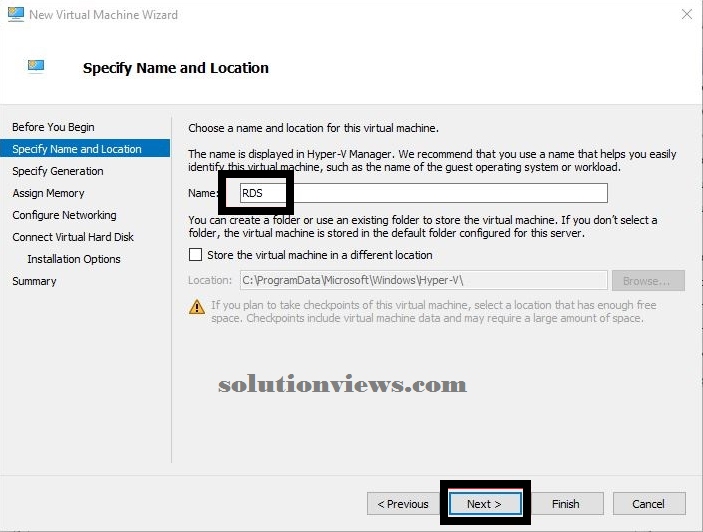
Give your new VM a reputation and press ‘Next’.
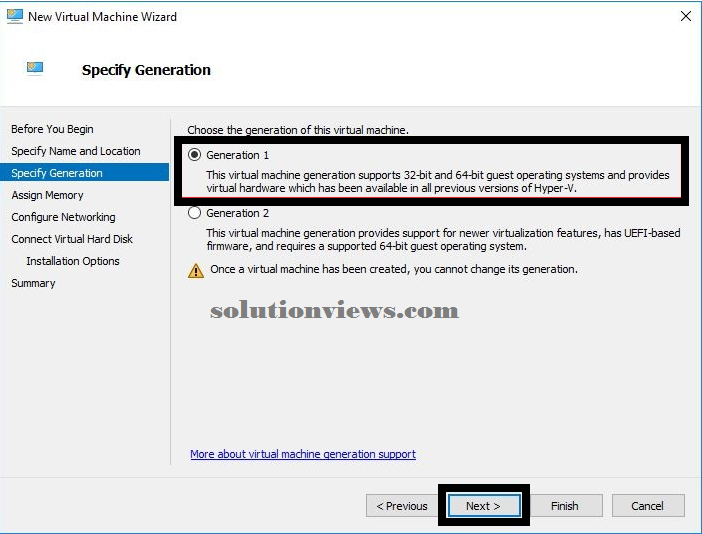
Select ‘Generation 1’ and press ‘Next’.
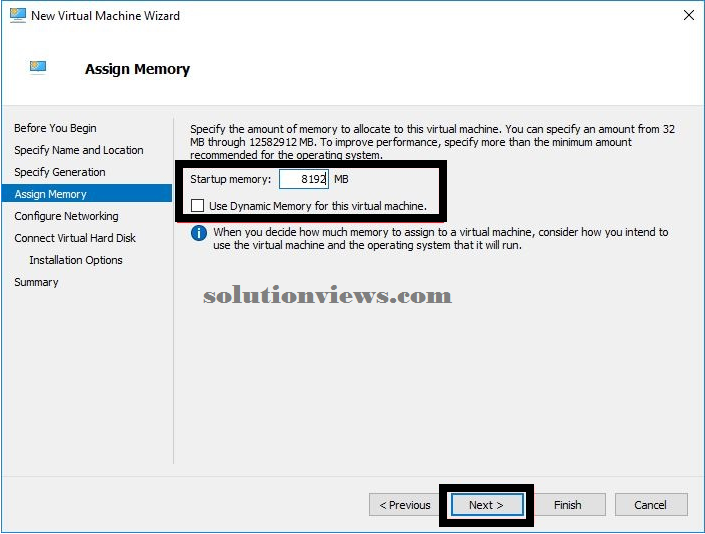
Set the specified quantity of memory and press ‘Next’.
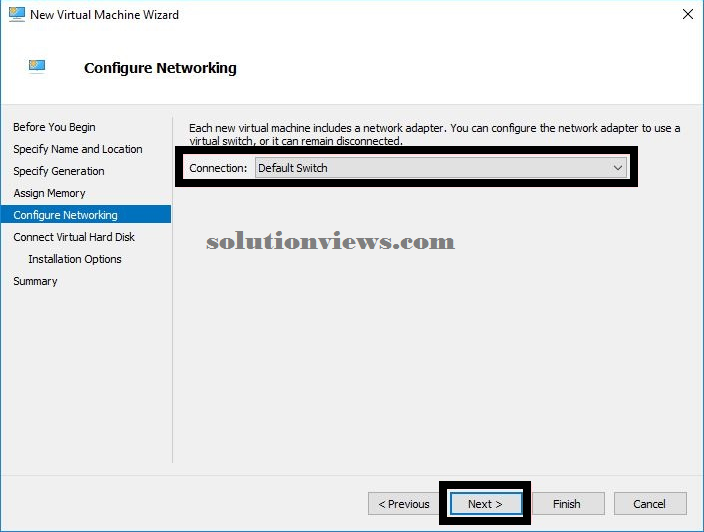
Select the switch you want to affiliation the VM to. At this time you’ll would like to modify off the physical server or set the affiliation to ‘Not Connected’ throughout your testing section. During this example I actually have shifted the physical server thus i will be able to be connecting the VM to the network.
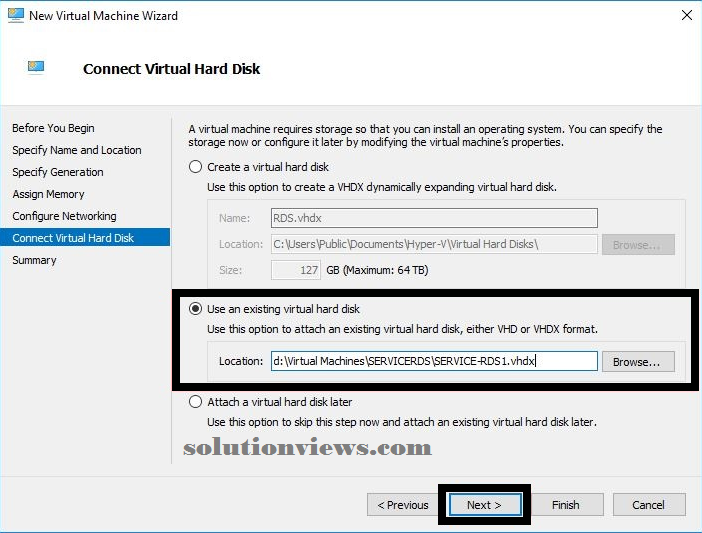
Now choose ‘Use associate existing virtual laborious disk’ and browse to the vhdx file we have a tendency to create earlier from the physical server and press ‘Next’.
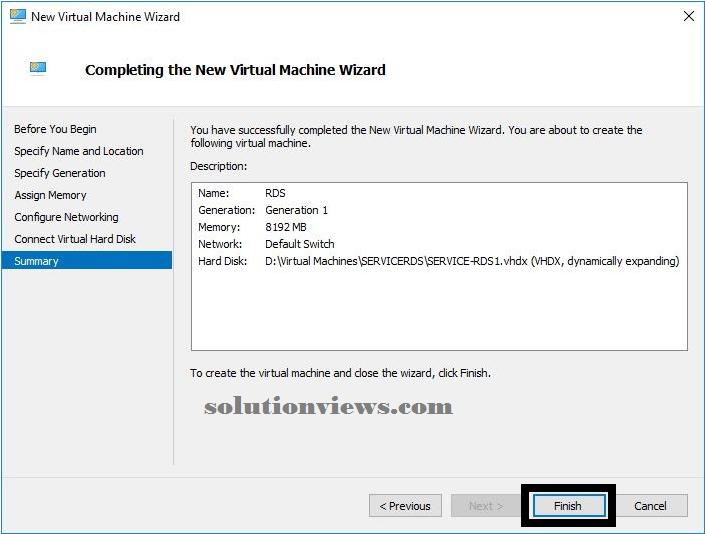
Confirm all of the main points and press ‘Finish’.
4. Currently initiate the server and if all goes well it ought to begin putting in new drivers for video and network devices. You’ll got to revive the server one or two of times at first is putting in and running.
The final task is to tack the static science on the network adapter if needed