Coexistence of exchange Server 2016
Exchange Server 2013 Cumulative Update 10 or Later
Exchange Server 2010 Release Candidate 11 (RU11) or Later
Will be able to live solely with the aforementioned version
Exchange Server 2016 and previous Exchange versions coexist
| Coexistence of exchange organizations | Exchange version |
| Not supported | Exchange 2007 and earlier versions |
| Supported on all Exchange 2010 servers in the enterprise, including Edge Transport servers, with Update Rollup 11 for Exchange 2010 SP3 or later. | Exchange 2010 |
| Supported on all Exchange 2013 servers in the company, including Edge Transport servers, with Exchange 2013 Cumulative Update 10 or later. Supported with the following Exchange minimum versions: | Exchange 2013 |
| On all Exchange 2010 servers in the company, including Edge Transport servers, install Update Rollup 11 Exchange 2010 SP3 or later. On all Exchange 2013 servers in the company, including Edge Transport servers, install Exchange 2013 Cumulative Update 10 or later. | Mixed Exchange 2010 and Exchange 2013 organization |
Ramifications:
Hardware
Processor
- Intel processors supporting the Intel 64 architecture (previously known as Intel EM64T)
- AMD processors supporting the AMD64 platform
- Intel Itanium IA64 processors are not supported
Memory requirements vary according to the Exchange roles that are installed:
- Mailbox with a minimum of 8GB
- Edge Transport with a minimum of 4GB
Space on the hard disc
- At least 30 GB free space on the HDD where Exchange is installed
- Additional 500 MB of disc space on the system drive for each Unified Messaging (UM) language pack that you intend to install 200 MB of disc space on the system drive
- A hard disc with at least 500 MB of free space on which to put the message queue database.
Operating system
The following table summarizes the operating systems that Exchange 2016 supports.
Exchange 2016 is compatible with the following operating systems:
| Requirement | Component |
| Standard or Datacenter editions of Windows Server 2012 R2Tools for managing Windows Server 2012 Standard or Datacenter | Server roles for Mailbox and Edge Transport |
| Standard or Datacenter editions of Windows Server 2012 RStandard or Datacenter editions of Windows Server 2012 64-bit editions of Windows 10 64-bit editions of Windows 8.1 | Management tools |
Client Specifications
Exchange 2016 and Exchange Online are compatible with the following Outlook versions:
- Microsoft Outlook 2016
- Microsoft Outlook 2013
- Microsoft Outlook 2010 with KB2965295
- Outlook for Mac is compatible with Office 365.
- Outlook 2011 for Mac
Exchange Server 2016 clients who are unable to connect
- Microsoft Outlook 2003
- Microsoft Outlook 2007
- Outlook 2008 for Mac
Note: Once Exchange Server 2016 is installed, previous versions of Exchange cannot be installed.
As its coexistence environment (Exchange Server 2016 with Exchange 2010).
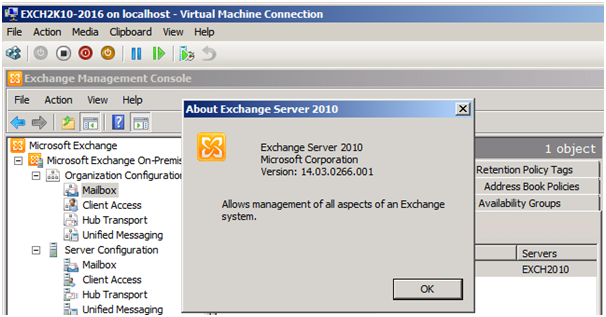
First Prepare Exchange Server 2010 with the most recent RU11
Following installation, verify that it has the most recent Rollup installed, as illustrated below.
For Additional Information:
Exchange Server 2010 SP3 Installation
Numbers of Buildings with the Most Recent Rollup Updates
RTM Installation
Requirements:
- Prepare Active Directory
- Prerequisites for Windows Server 2012 R2 installation through Windows Powershell (Run as Administrator)
- Role of the Mailbox Server Role of the Edge Transport Server DotNetFrameWork 4.5.2 (For Download Please Click here)
- Managed API for Microsoft Unified Communications 4.0 (For Download Please Click here)
Step 1: Prepare Active Directory
Utilize Windows PowerShell to install the Remote Tool Admin Pack (Run as Administrator)
Install-Window Feature RSAT-ADDS Command

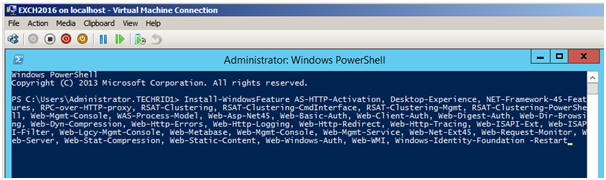
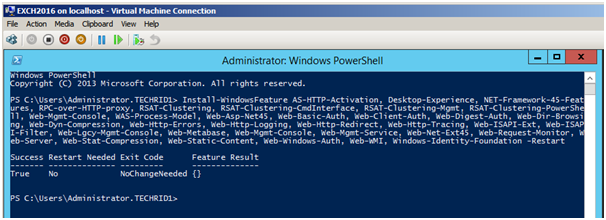
Step 2: Using Windows PowerShell, install the prerequisites for Windows Server 2012 R2 (Run as Administrator)
Role of the Mailbox Server:
Install-Windows Feature AS-HTTP-Activation, Desktop-Experience, NET-Framework-45-Features, RPC-over-HTTP-proxy, RSAT-Clustering-CmdInterface, RSAT-Clustering-Mgmt, RSAT-Clustering-PowerShell Web-Mgmt-Console, WAS-Process-Model, Web-Asp-Net45, Web-Basic-Authorization, Web-Client-Authorization, and Web-Digest-Authorization Web-Dir-Browsing, Web-Dyn-Compression, Web-Http-Errors, Web-Http-Redirect, Web-Http-Logging Web-Http-Tracing, Web-ISAPI-Ext, Web-ISAPI-Filter, Web-Mgmt-Console-for-Lgcy, Web-Metabase, Web-Administration-Console, Web-Administration-Service Web-Net-Ext45, Web-Request-Monitor, Web-Server, Web-Stat-Compression, Web-Static-Content, Restart Web-Windows-Auth, Web-WMI, and Windows-Identity-Foundation
Planning for the role of the edge Transport Server:
ADLDS-Install-Windows Feature
We are only installing the Mailbox Server Role here; if you wish to install the Edge Transport Server Role, you may use the above command.
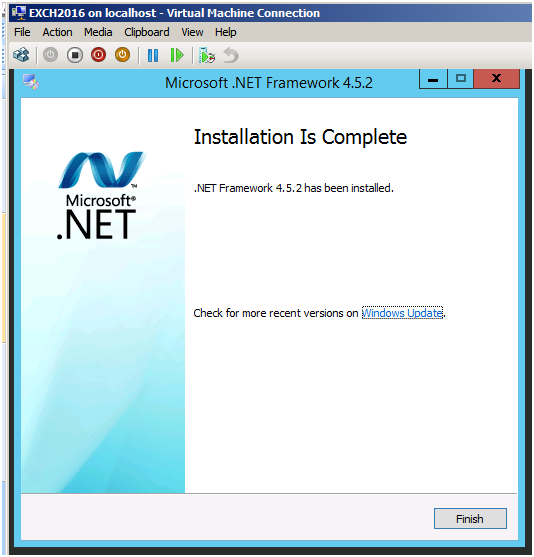
DotNetFrameWork 4.5.2 (For Download Please Click here)Step 3:
Download.netframework 4.5.2 from the aforementioned website and proceed with the installation as follows:
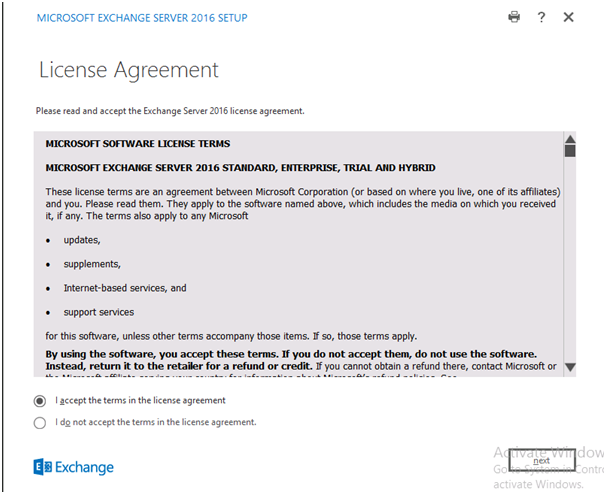
Accept the Terms of the License
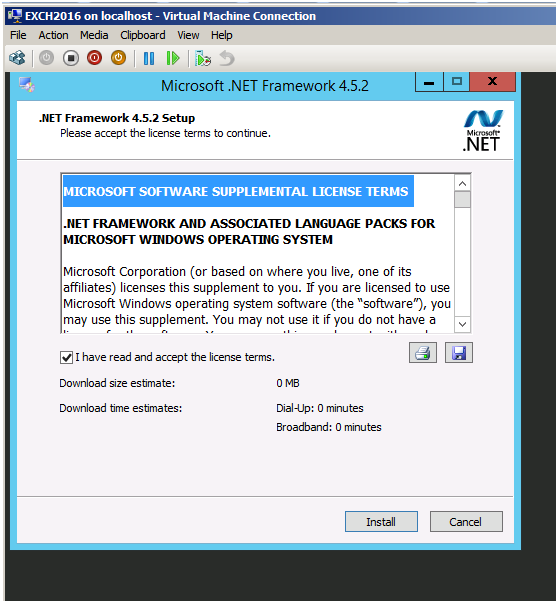
Select Install
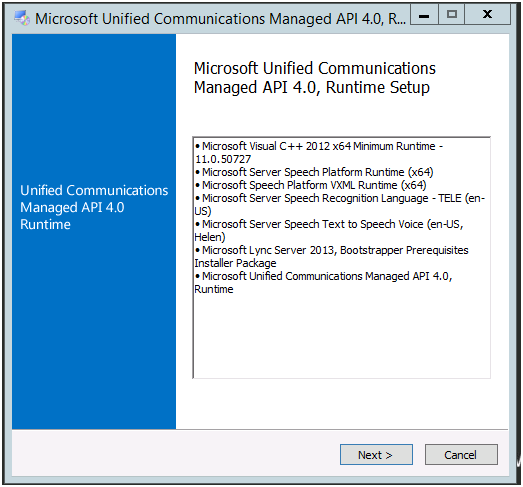
Step 4: Managed API for Microsoft Unified Communications 4.0 (For Download Please Click here)
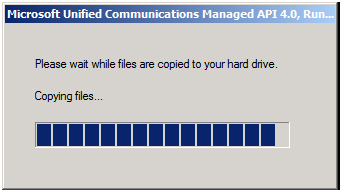
Select Install
There are possibilities. If the prerequisites in step 2 are not installed properly, you may see the following error.
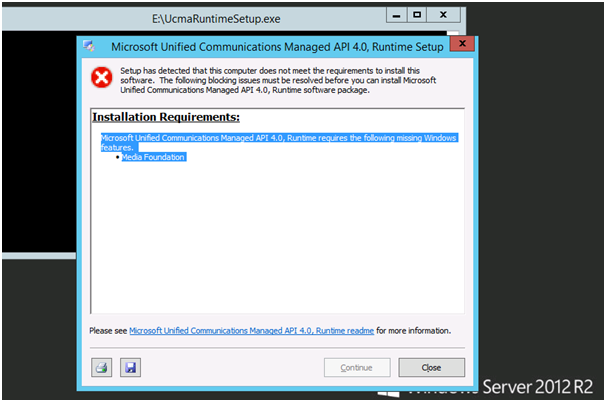
Media Foundation is not available
Start the Windows PowerShell (Run As Administrator)
CommandInstall-Windows Feature Server-Media-Foundation
Server Restart
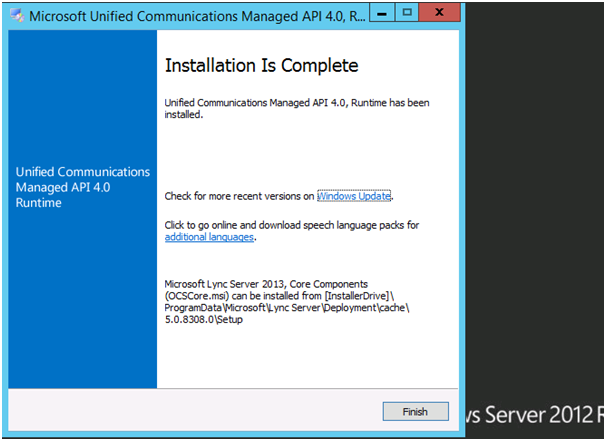
Install Unified Communication Managed API 4.0 if necessary.
The magnificent installation has begun.
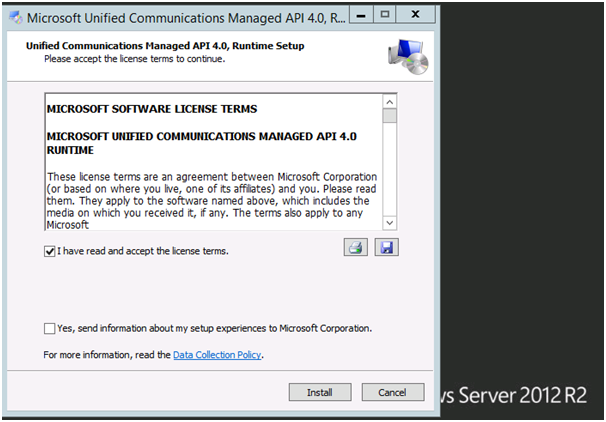
Accept the terms of License Click install
Now you’re ready to mount the Exchange Server 2016 ISO.
As stated below, extract the files into the folder
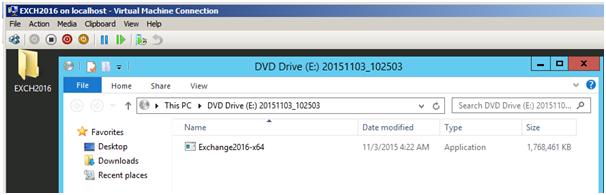
Activate the folder
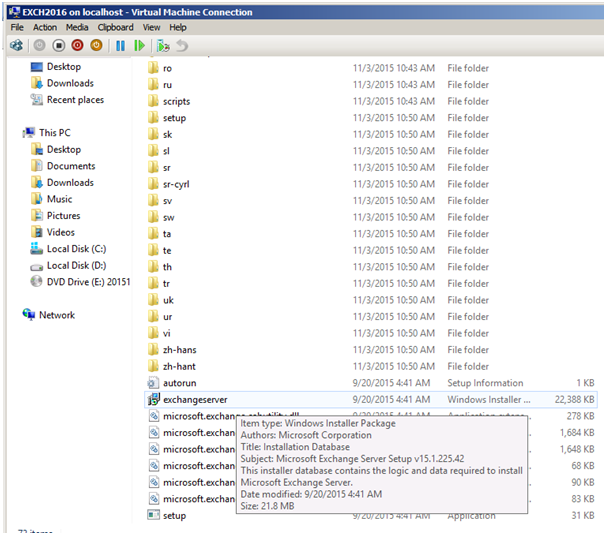
Double click and installation will begin.
Note: Installation can also be performed in an unattended manner. We’ll cover the unattended manner of installation in a subsequent post.
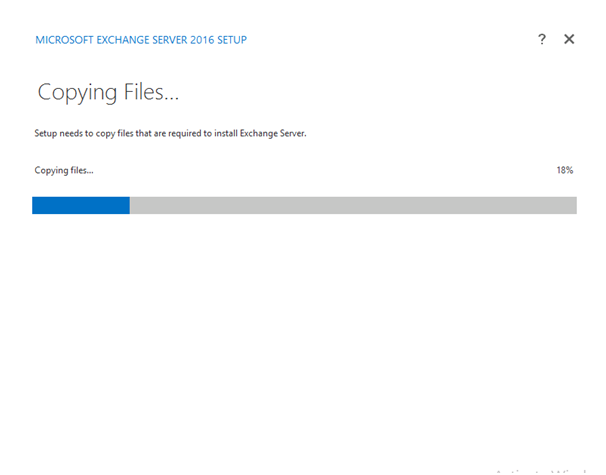
Copies of files required for the installation of Exchange Server
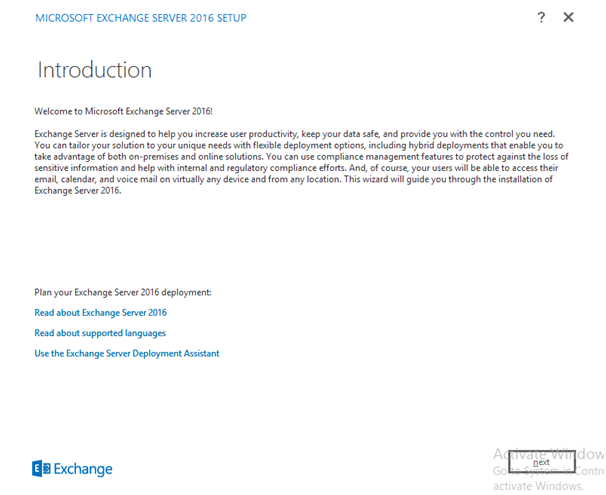
Select Next
Click agree to the terms of the License Agreement -> Click Next
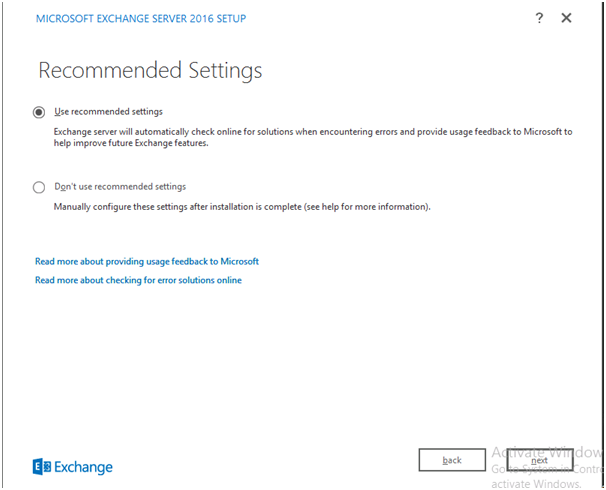
Select the recommended configuration > Continue
Choose the server for which you are intending -> Select Next.
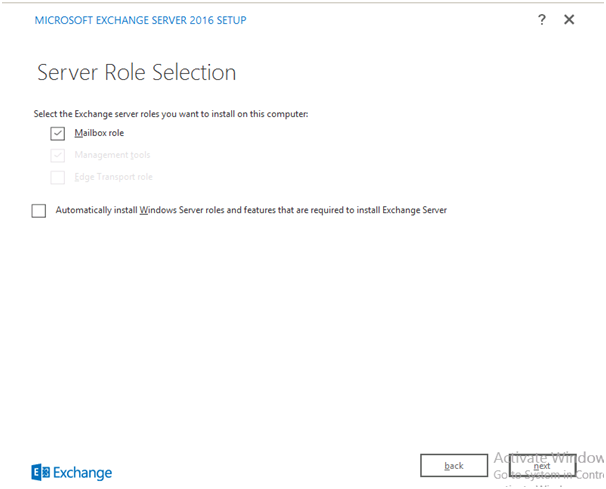
Note: Once you pick Mailbox Role, Management Tools will be checked automatically.
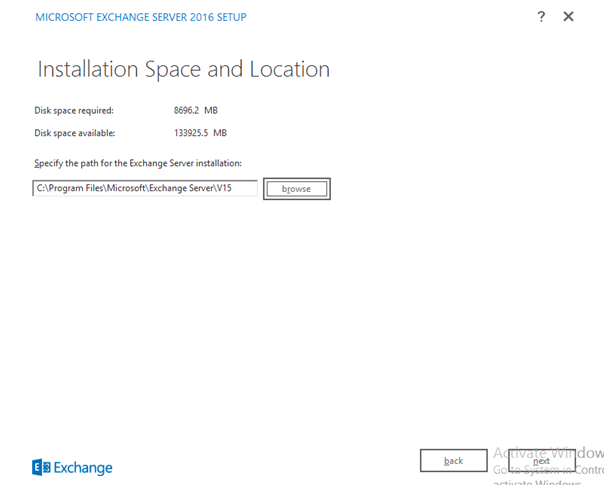
Indicate the location of the Installation Space -> Click Next
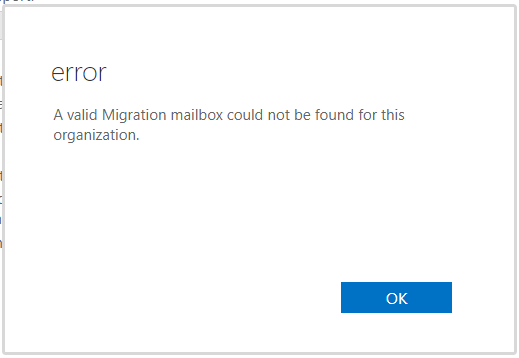
Note: If you attempt to install Exchange Server 2016 for the first time, you will be prompted for the Organization name.
As the name of the Coexistence Organization was already provided during the Exchange Server 2010 installation,
Configure Malware Protection -> Select No -> Select No.

Select Next.
After the files have been copied, the installation process will begin.
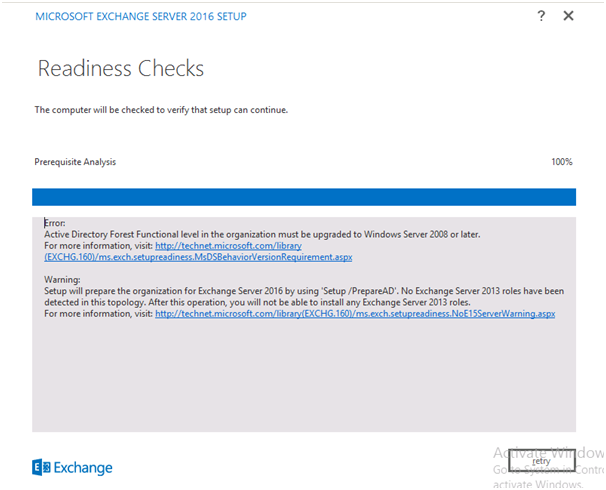
Oops, installation was unsuccessful.
Work in vain The warning indicates unequivocally that the Forest Functional Level should be upgraded to Windows Server 2008 or later.
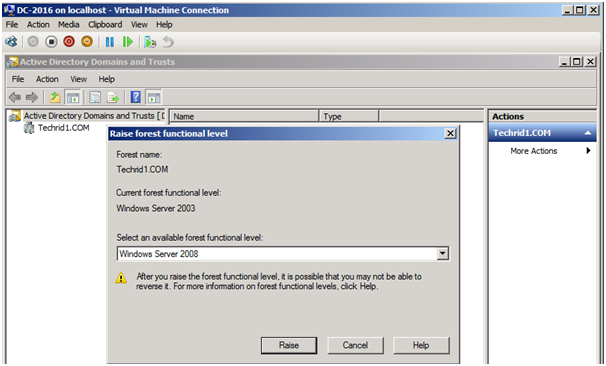
Connect to the domain controller
Right-click Active Directory Domains and Trusts -> Increase the functional level of the forest
If you see the window below, Windows Server 2003 includes a Forest Functional Level.
Select Windows Server 2008 from the drop-down menu -> Raise -> Select OK.
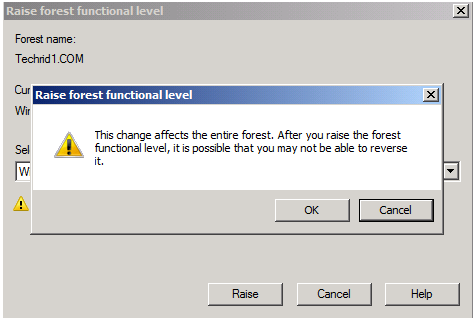
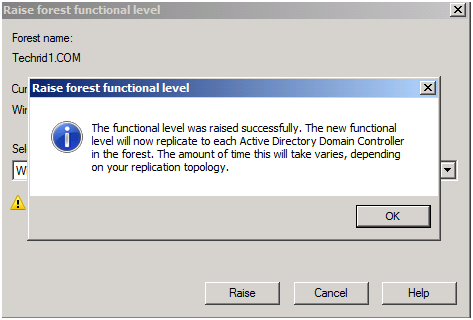
Restart the Setup procedure.
This time, the Setup should begin without incident.
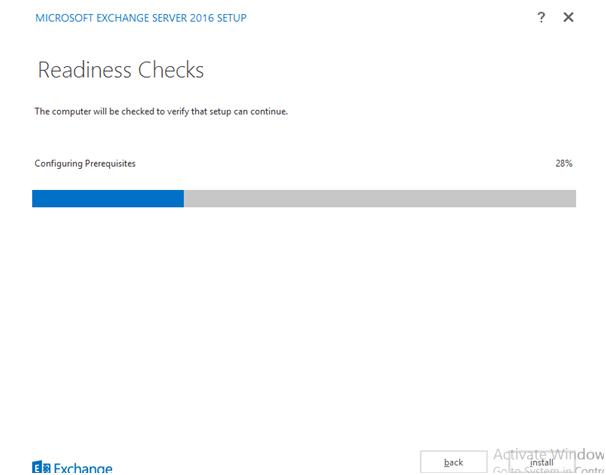
Checks for Readiness
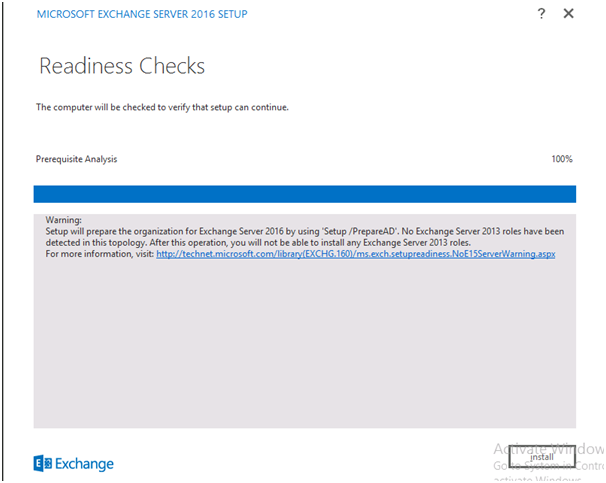
Select Install.
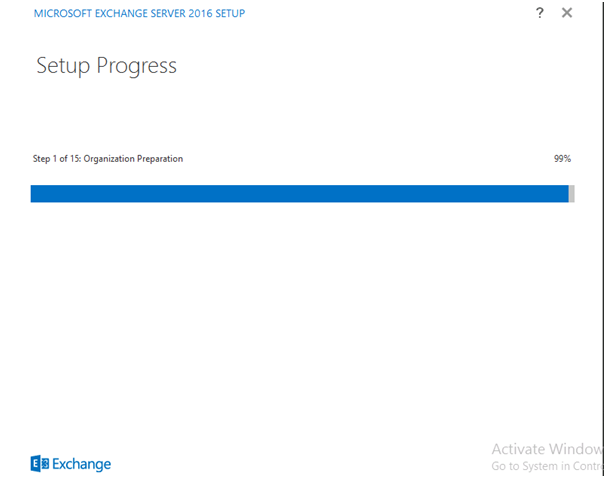
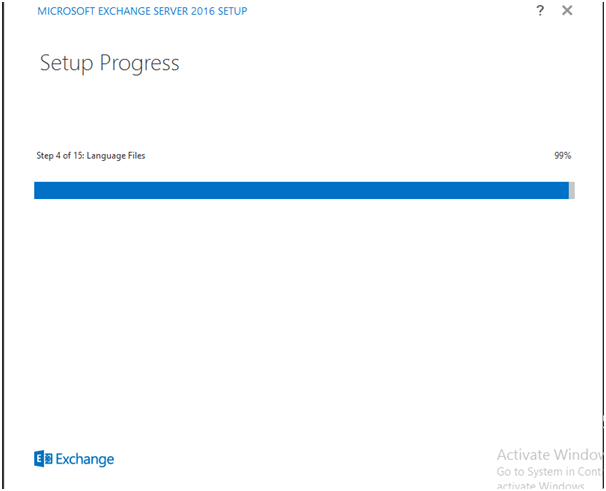
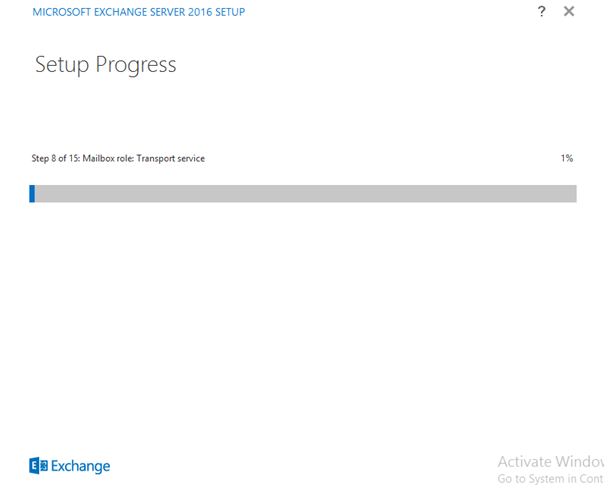
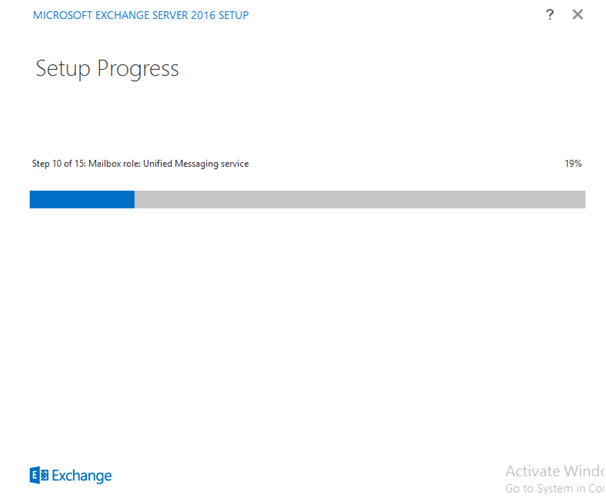
The following are the steps that will occur throughout the installation process:
1:Organizational Planning
2:Discontinuing Services
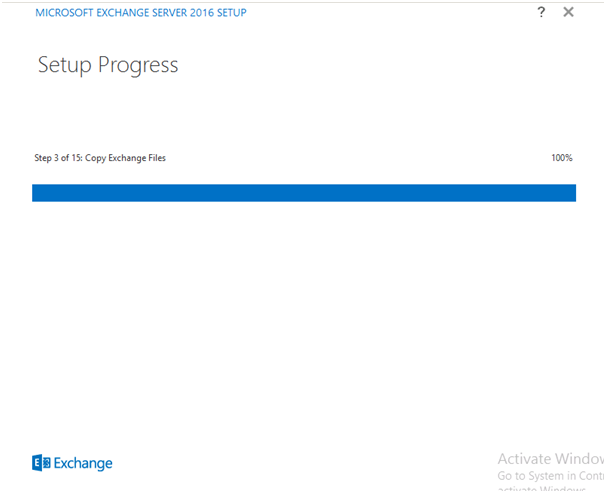
3:Exchange Files Copies
4:Languages Documents
5:Bringing Services Back to Life
6: Languages
7:Management Instruments
8: Mailbox Server’s Transport Service Role
9:Role of the Mailbox Server: Client Access Service
10:Unified Messaging Service Mailbox Server Role
11:Role of the Mailbox Server : Mailbox Service
12:Role of the Mailbox Server: Front End Transport Service
13:Mailbox Server Role : Front End Client Access Service
Click Finish
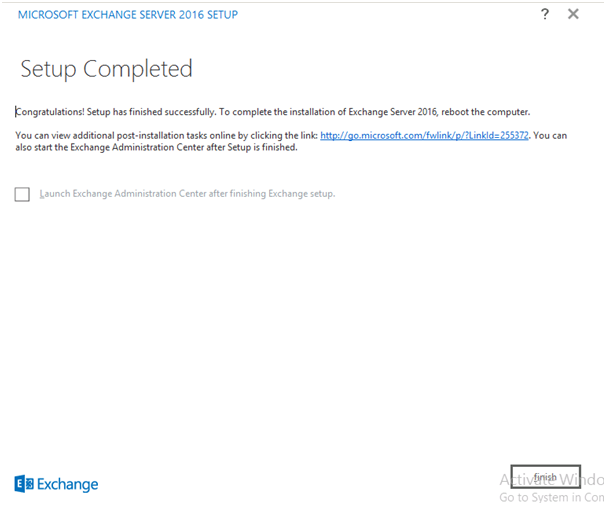
Before configuring settings in the Exchange Administration Center, restart the server to ensure that all settings are properly specified on the server.
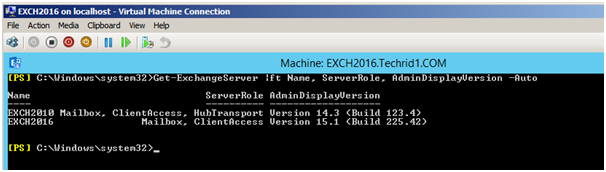
After the server has been booted, open the Exchange Management Shell for a last check (Run As Administrator)
Execute the following command:
Get-ExchangeServer |ft ServerName, ServerRole, AdministratorDisplayVersion –Auto
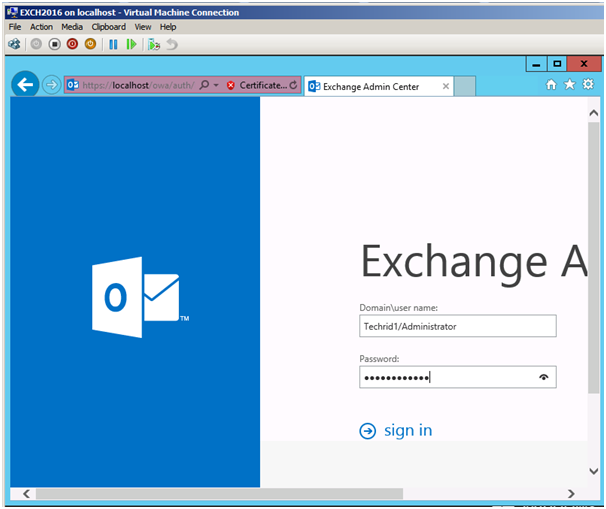
Now Launch the exchange management console
Now as indicated below you’ll see both servers listed:
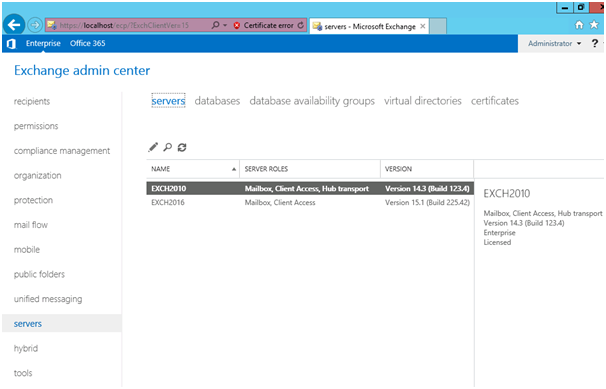
It’s fantastic that we can see both the Exchange Server 2010 and 2016 servers.