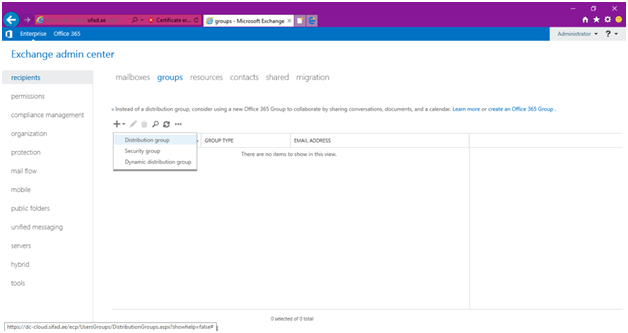
There are three types of groups in exchange server 2016 which are named as follows:
- Distribution group
- Security group
- Dynamic distribution group
Now we will get to the procedure of how to make a distribution group that enables sending mail to all members contemporaneously.
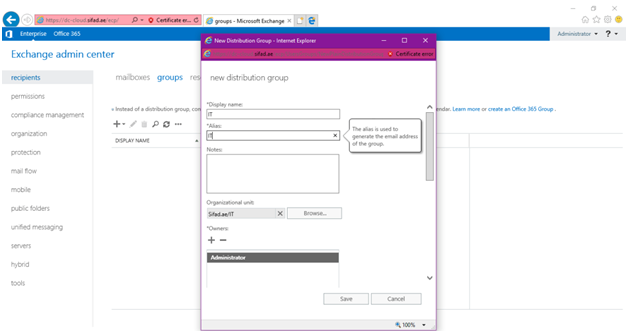
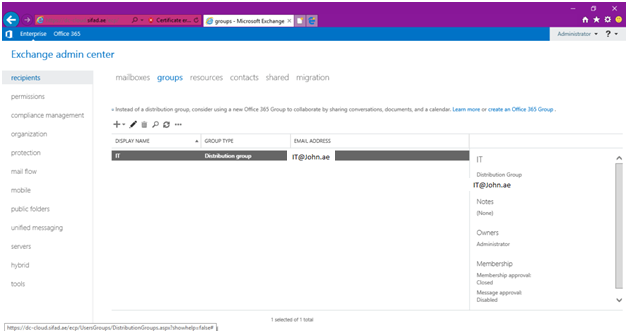
- For instance: I am making a distribution group called IT with the address IT@John.ae
When an email is received at this address it will be accessible to all members of the group IT. To do that you have to open the Exchange admin center (EAC). From the feature, the panel chooses recipients and then selects the tab GROUP. Then select the option ADD and add the distribution group.
2- Give the group’s name and its alias. To select a specific OU, click Browse under Organization unit. I’ve chosen the IT OU here. In the IT OU, a distribution group will be created. The distribution group will be created in the Users OU by default automatically. You can add users who can manage this group under Owners.
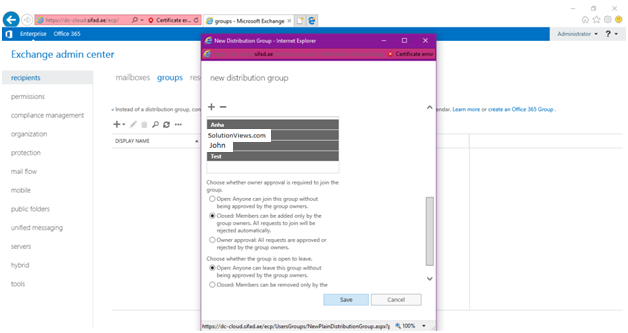
3- It’s your choice whether you want the group owners to be group members or not. Under the MEMBERS tab, you can select “add owners as members”. There are several choices for users to join or leave a group. The choices for the users are as follows
OPEN, CLOSE, OWNER
As is showed in the figure I chose close which means that members can only be added to the group by the owners.
The same option is viable for users to leave as
OPEN, CLOSE.
Here you can see it’s open which means they can leave on their own whenever they want. Save the settings by clicking SAVE.

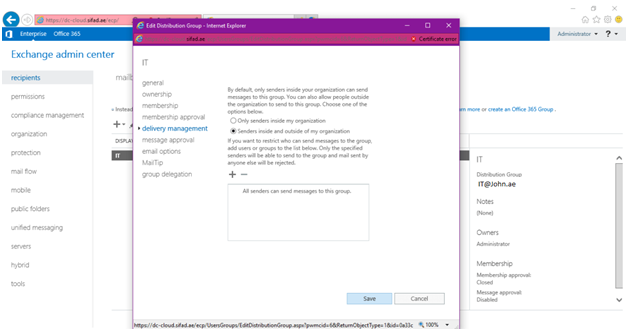
4- IT@John.ae is the email address on which this group has been created and you can see that by automatic setting the senders of this group could only be the members of the group and not anyone from outside of this group. Whereas you can change this setting if you want to and allow anyone to send email to this group whether they are a part of the group or are not from the tab PROPERTIES
5- Click on the delivery management option and select senders inside out my organization. Save the setting.