The simple network management protocol (SNMP) is the most commonly used for network management. It is used for grouping data from several devices more precisely network devices like printers, switches, hubs, IP networks, and servers. The most common protocol used in monitoring devices is SNMP as it can be connected to any device or server and can gather information from any source of data it being CPU, RAM, or any other device.
PROCEDURE:
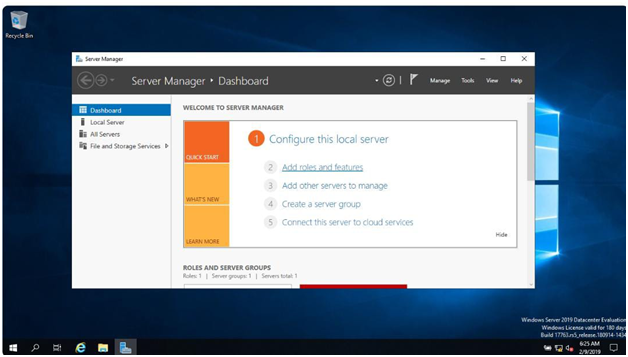
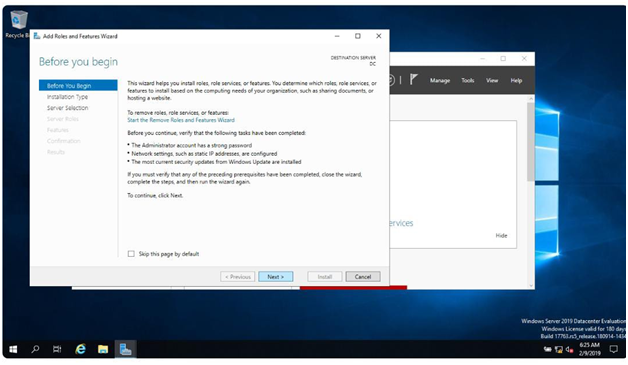
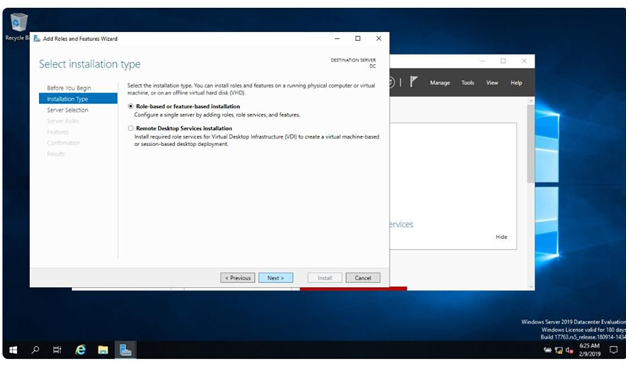
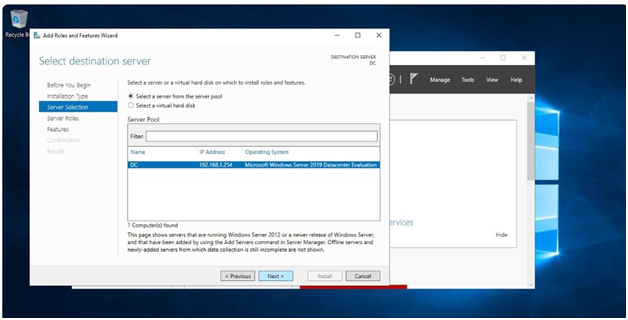
- From Server manager use the App roles and features option and go on the tabs until you reach the option of SNMP in the features
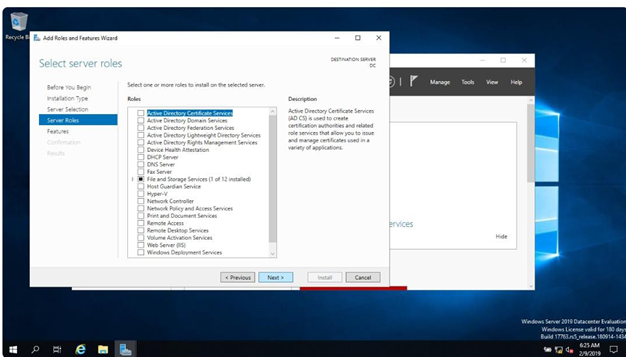
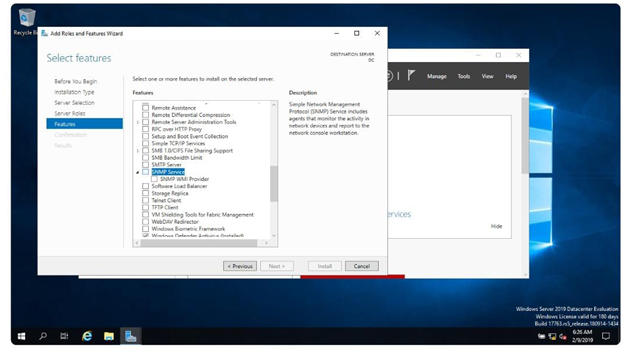
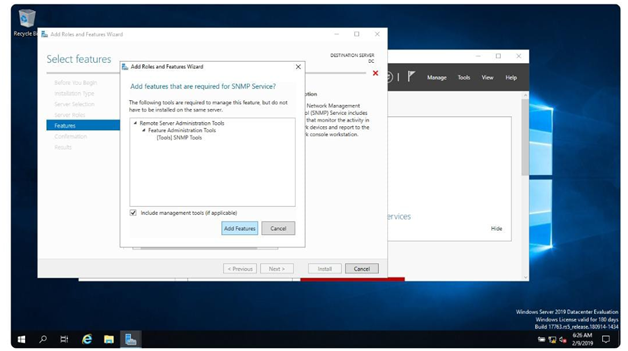
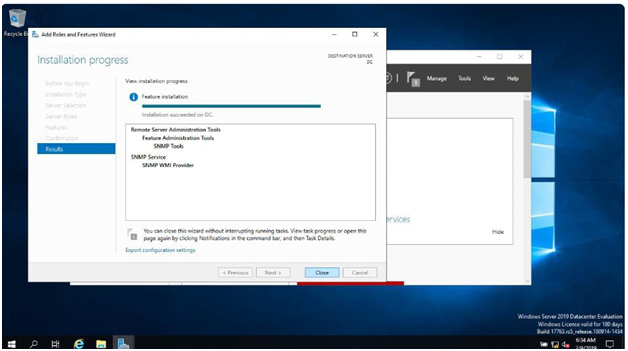
2- By selecting the SNMP service you will continue to install

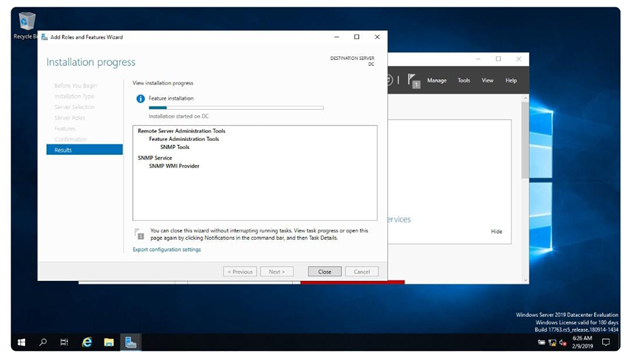
3- When the installation is done close the program.
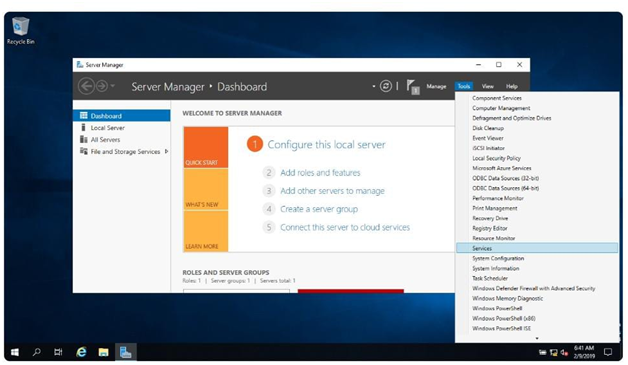
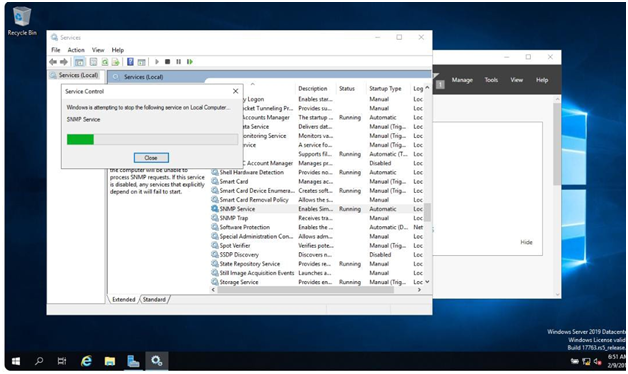
4- After installing, select Services from tools of the server manager.
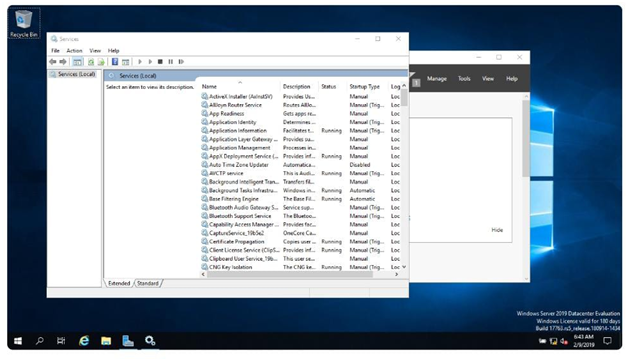
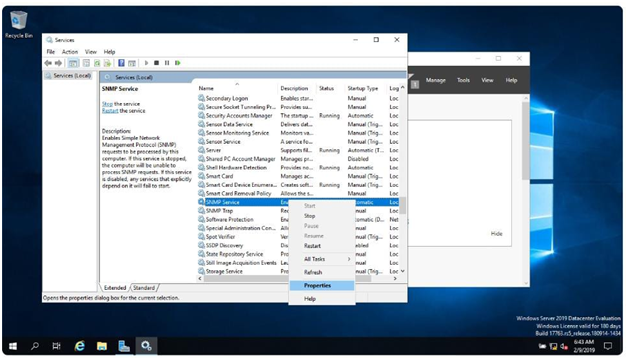
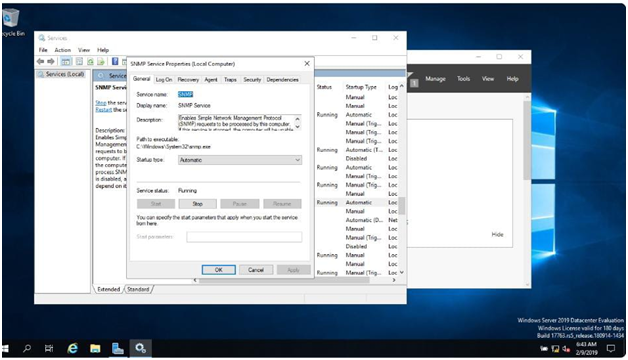
5- From Services tab open SNMP and its properties
6- Make sure that you select the Automatic from the startup section in the General tab so that it remains available even after restarting.
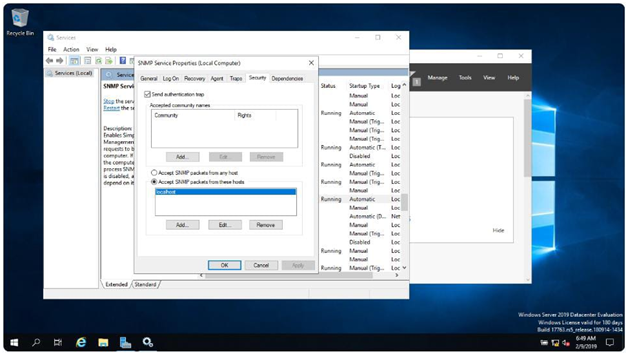
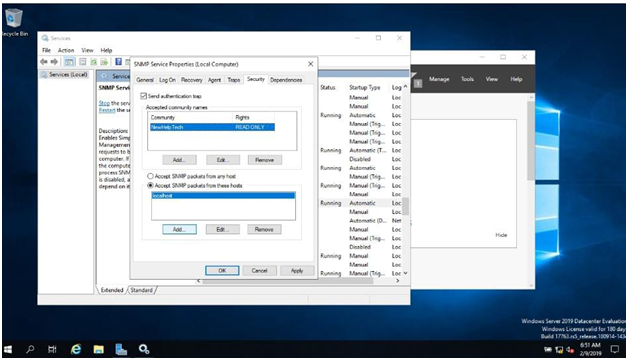
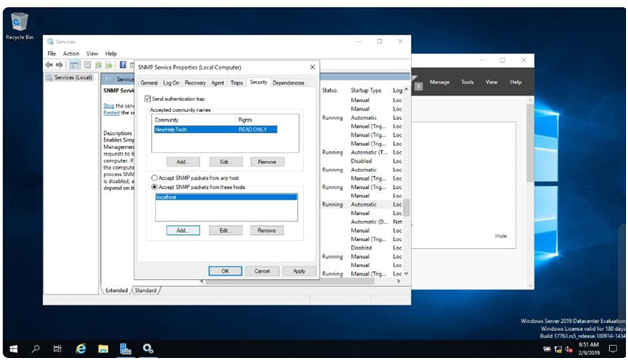
7- Open security tab on SNMP server
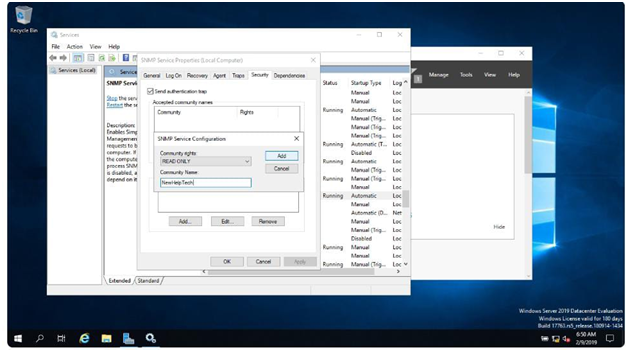
8- To get services you have to assign a community name as help tech is used by me. Please make sure to assign READ ONLY RIGHTS.
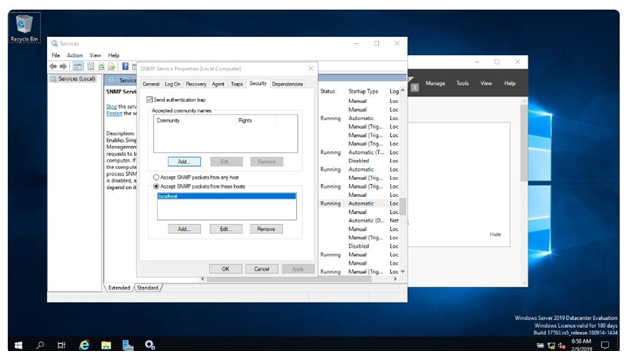
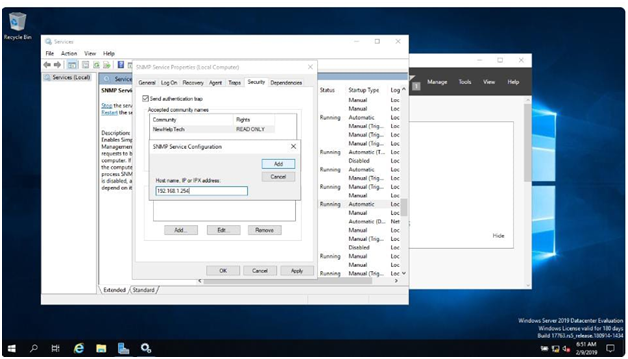
9- Then select packets from host options and add further information as hostname and IP address.
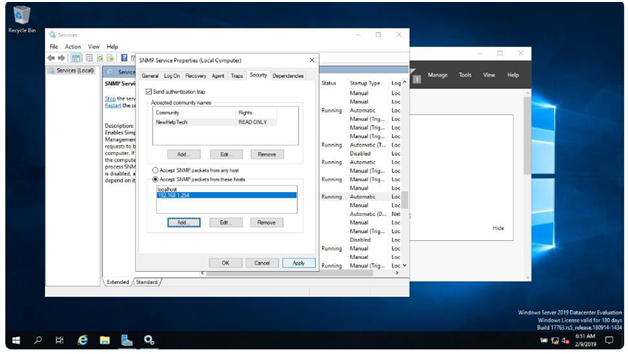
10- You are done! Select OK and restart.

You have to design an SNMP service in such a way that it could monitor any device and when it’s ready to gather information.