Since
Microsoft Windows 2012, Microsoft has reconfigured the approach during which you’ll
be able to manage High convenience with
print services. They introduced the
power to use Hyper-V and failover cluster to form your
print server an extremely offered virtual machine.
This resolution provides
full server failover choices and might be enforced with the Papercut NG/MF
Application Server, Secondary Server, and/or website Server.
There area unit many steps concerned within the setup of this failover
solution:
Before you start Step 1: piece roles / options on nodes for prime convenience
Step 2: Connecting to iSCI network drives
Step 3: produce the failover cluster
Step 4: produce a high convenience virtual machine
Step 5: established your print server
Before you start
Systems Requirements:
- 2+ physical servers
- MS Server 2012/2016 with Hyper-V capabilities
- iSCI SAN with two drives designed
- Drive 1: 5GB (to be used for the gathering if victimisation solely two nodes)
- Drive 2: VM server storage
You will additionally need the following:
- Administrative rights to be ready to be a part of machines to the domain
- IP address to attach to your SAN
- IP Addresses for the following:
2 x information processing addresses for the Physical Servers
1 x information processing address for the Cluster
1 x information processing address for the VM
Step 1: piece roles / options on nodes for prime convenience
- Install MS Windows Server 2012 or MS Server 2016 onto your 2 server nodes.
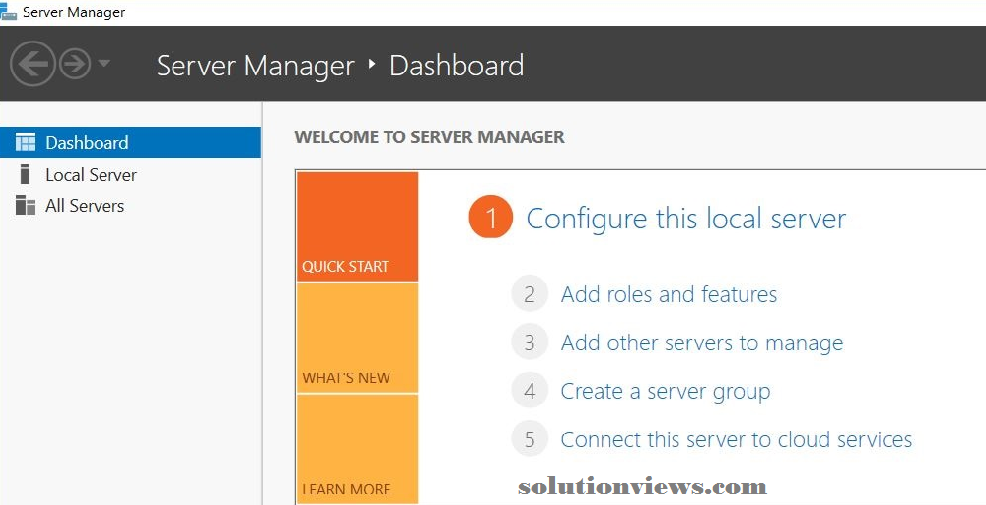
In the Server Manager > Dashboard, click Add roles and options.
The Before you start window is displayed.
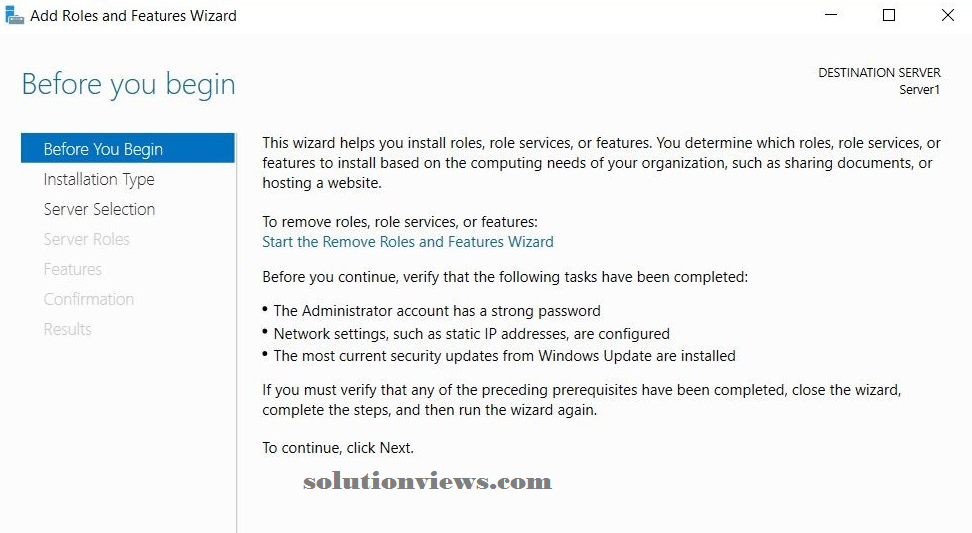
Click Next.
The choose installation kind window is displayed.
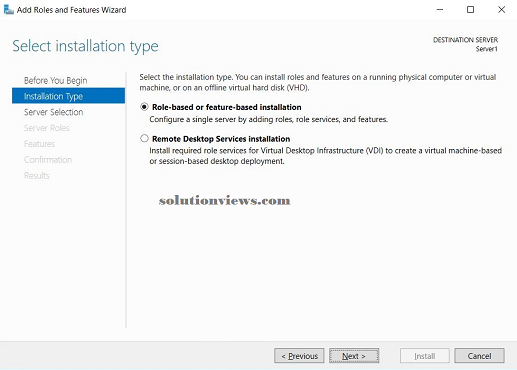
Select Role-based or feature-based installation.
Click Next.
The choose destination server window is displayed.
- Select the server that you just area unit logged in on.
- Click Next.
The choose server roles window is displayed.
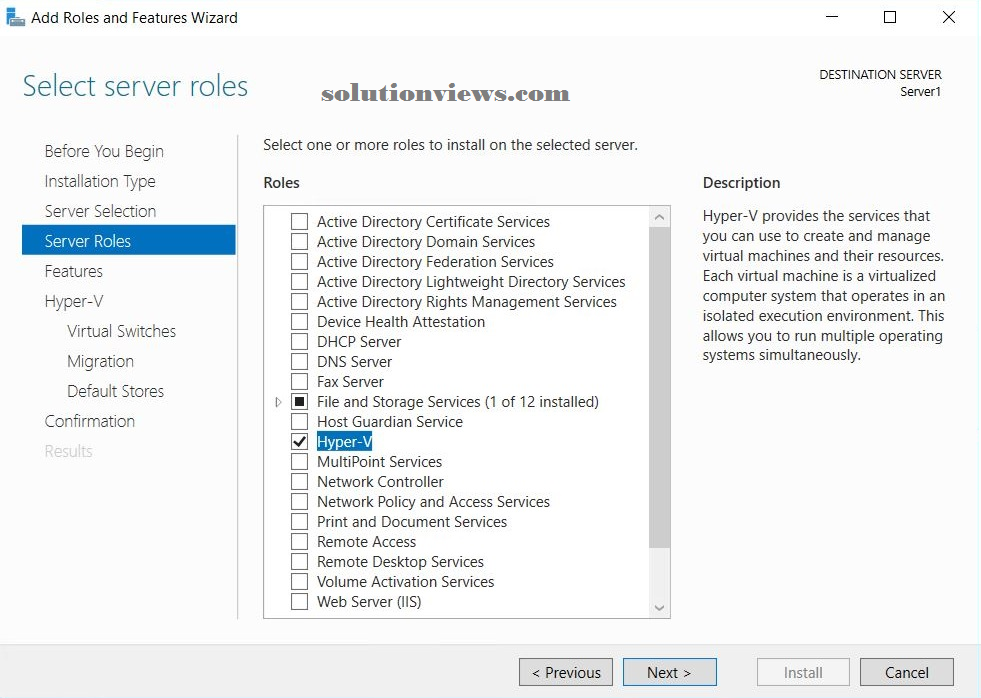
In the Roles list, choose Hyper-V.
The Add feature that area unit needed for Hyper-V window is displayed. This window shows the dependencies which will be put in.
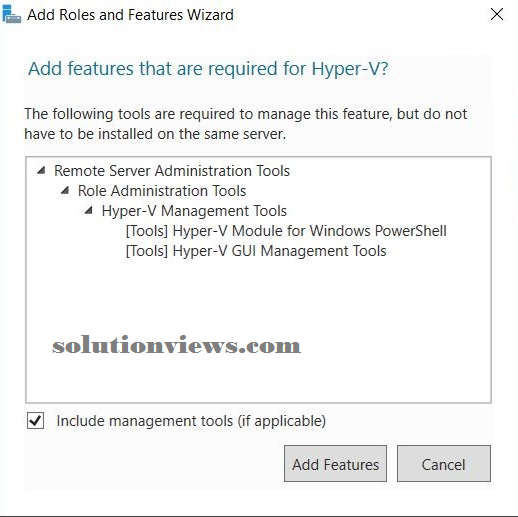
- Click Add options.
Click Next.
The choose options window is displayed
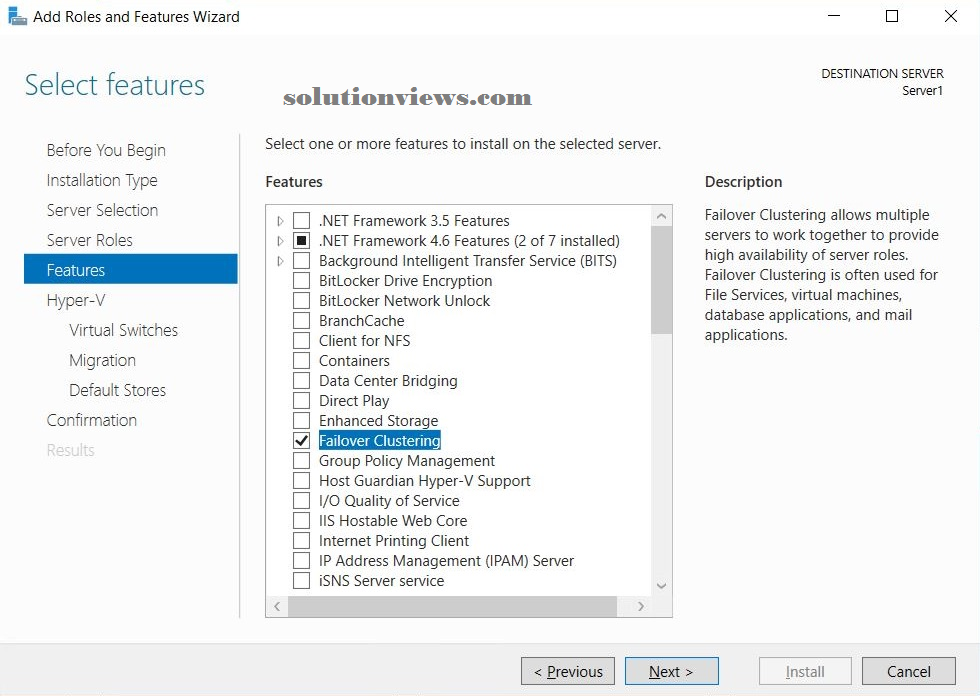
In the options list, choose Failover cluster.
The Add options that area unit needed for Failover cluster window can appear and currently be displayed. This window shows the dependencies which will be put in with this feature.
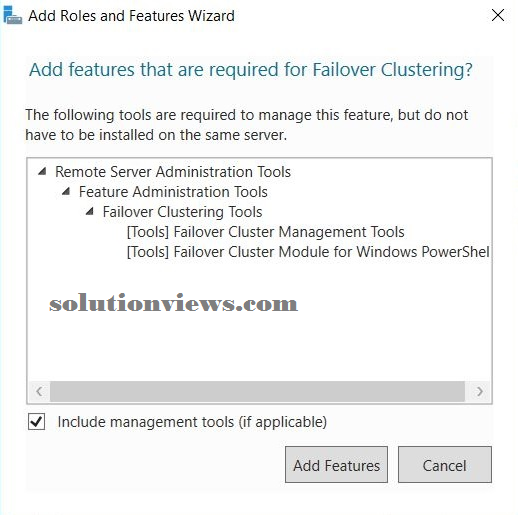
Click Add options.
The Hyper-V window is displayed.
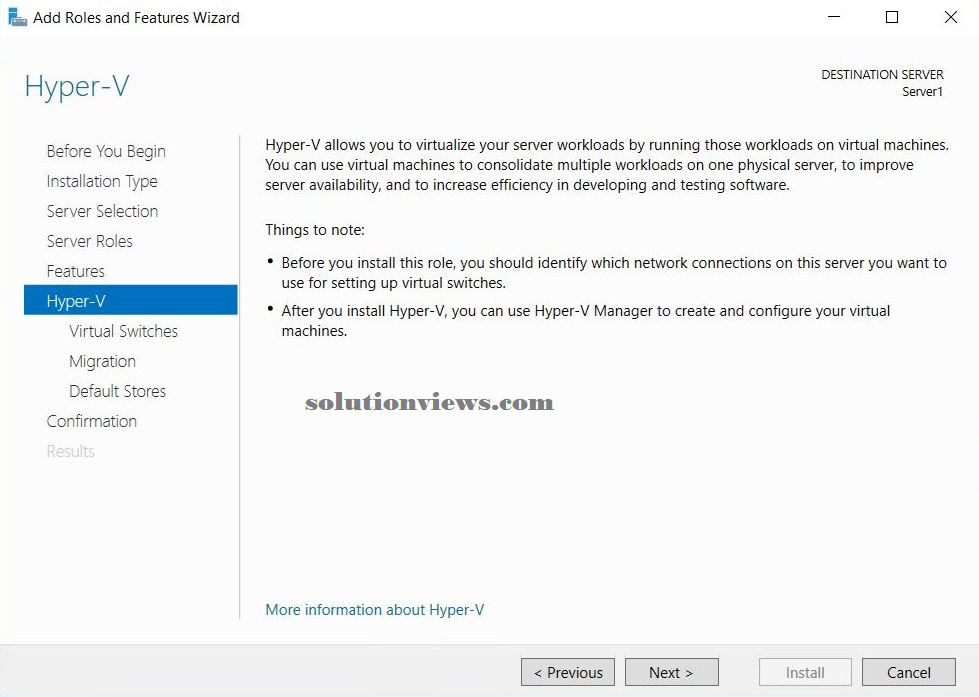
Click Next.
The produce Virtual Switches window is displayed.
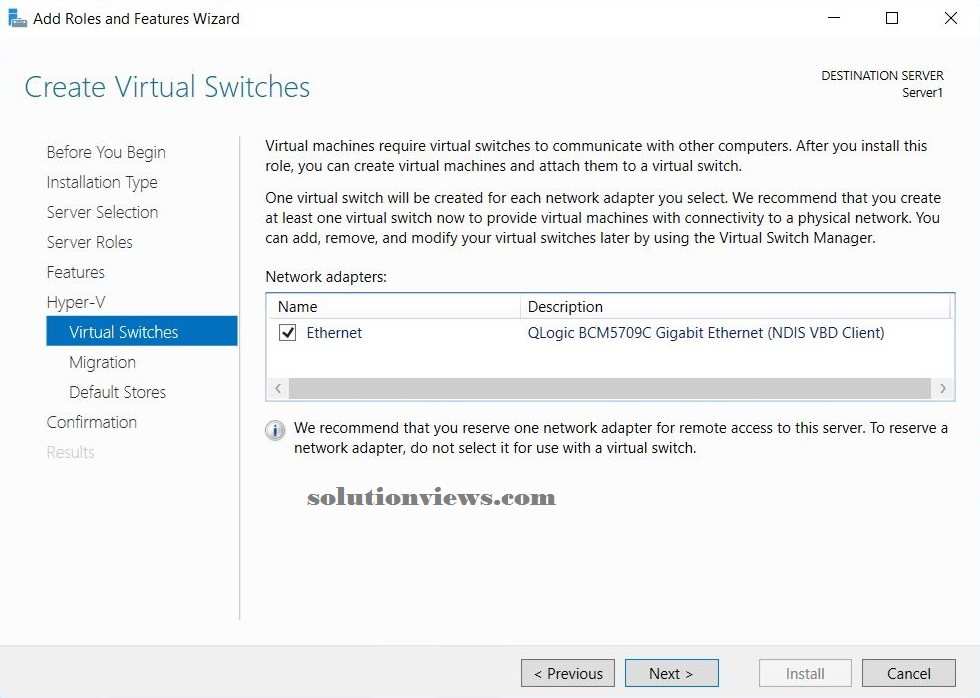
- In Network adapters, choose the network that you just need your virtual machine to use for the cluster. If you have got multiple NIC’s listed here, select the suitable one/s.
Click Next.
The Virtual Machine Migration window is displayed.
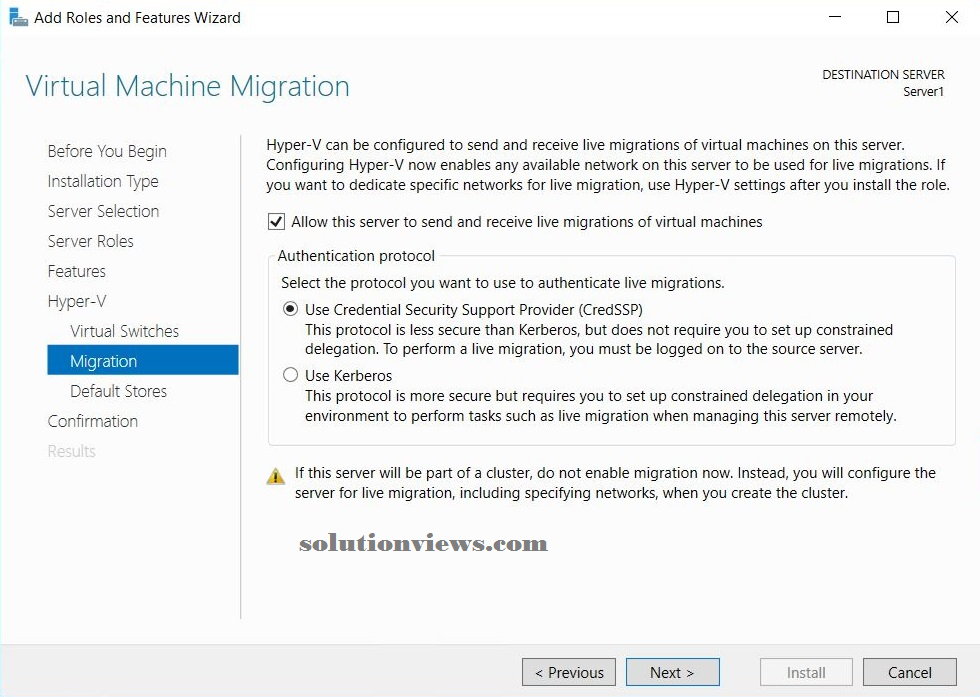
- Select the permit this server to send and receive live migrations of virtual machines checkbox. this permits the VM to transfer between your nodes wherever needed.
- Click Next.
The Default Stores window is displayed. don’t amendment the default stores.
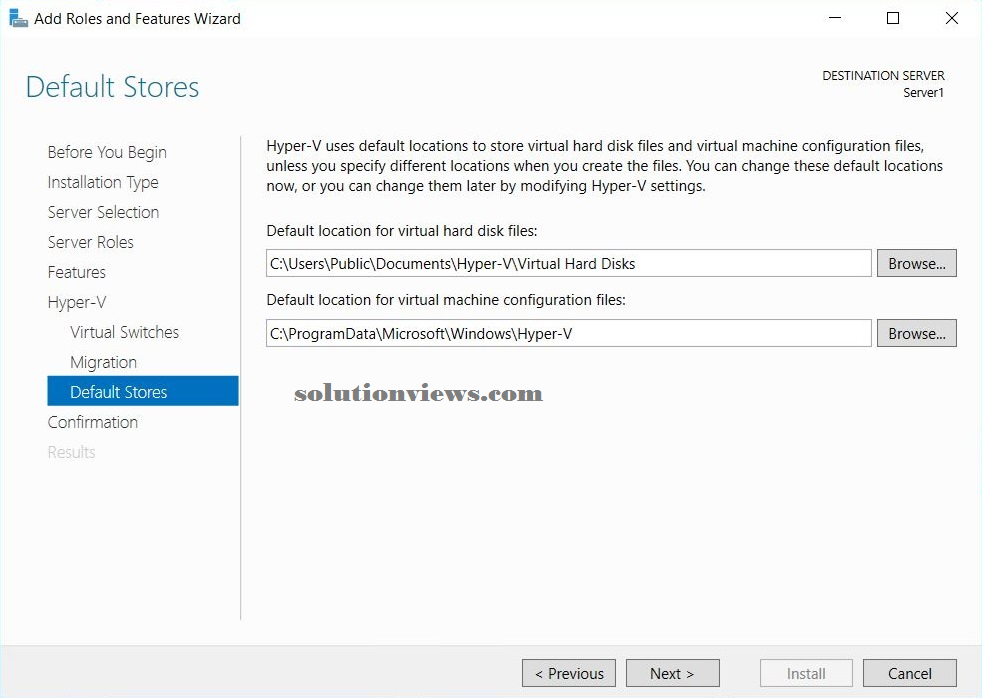
Click Next.
The make sure installation alternatives window is displayed.
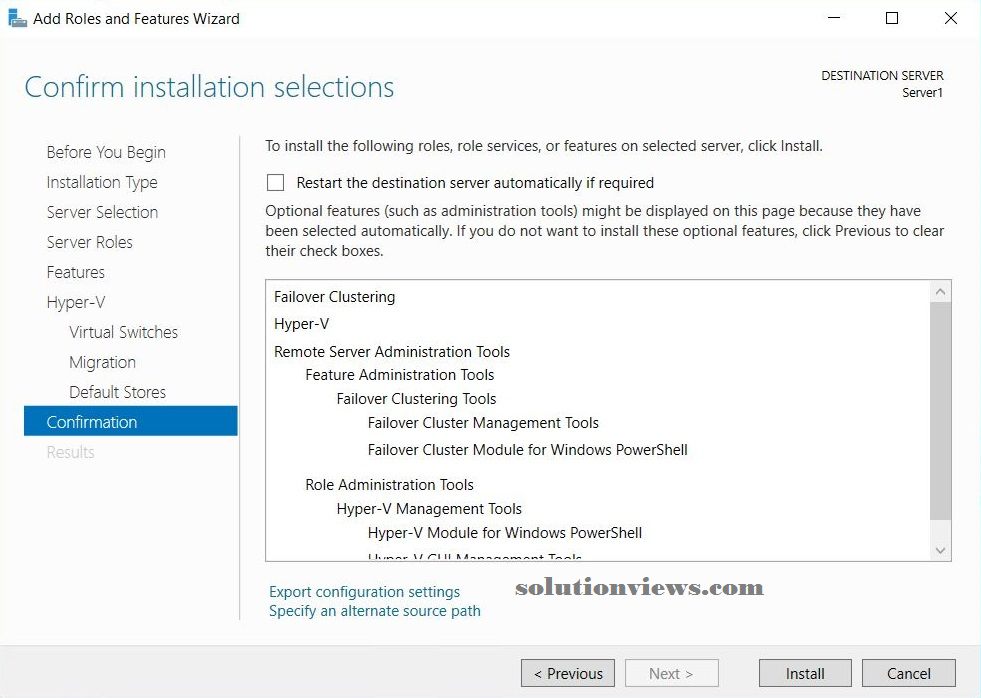
- Check the setting to confirm you’re pleased with the
chosen things to
be put in.
Click Install.
The chosen Role and have are going to be put in on your machine.
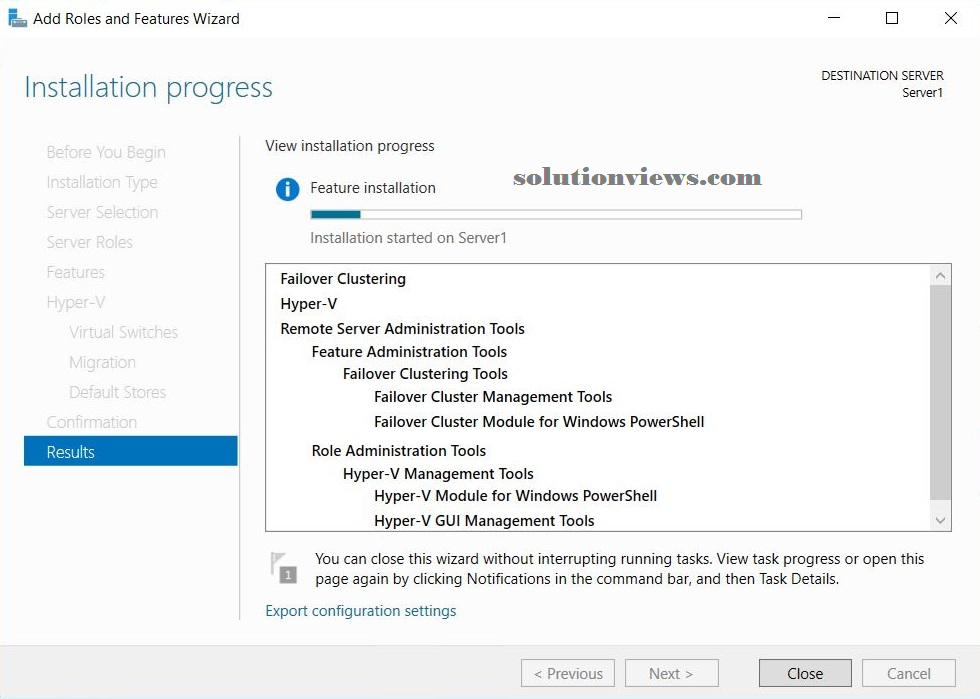
- When the installation is complete, restart the machine to nail down the installation.
- Repeat the higher than steps on any extra nodes you would like to incorporate within the failover cluster.
One Comment on “How to fix Microsoft Failover Cluster Manager on Windows server 2012/2016 Part 1”