Step 4: produce a high convenience virtual machine
- In the Failover Cluster Manager, expand the cluster created within the previous steps.
Right-click Roles; then choose Virtual Machines > New Virtual Machine.

The New Virtual Machine window is displayed.
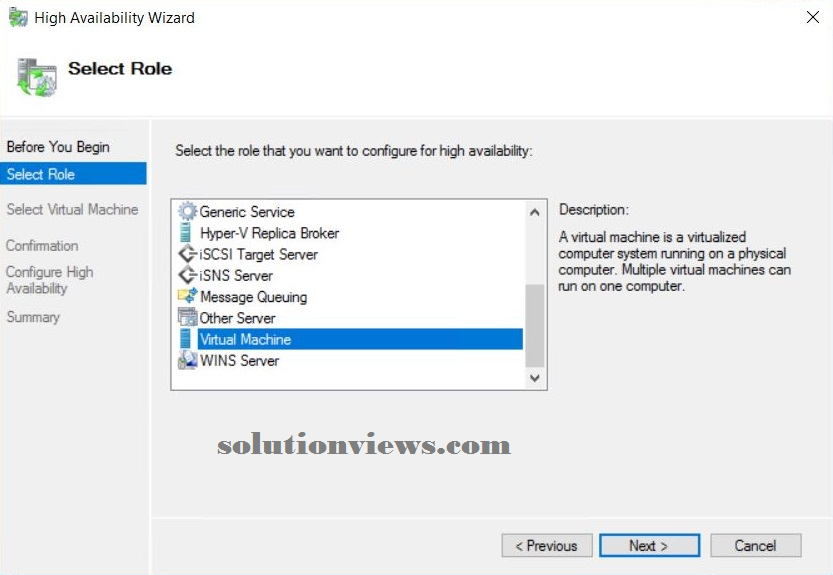
- Select the node you would like to line the virtual machine au fait. It doesn’t matter that node you decide on, however we have a tendency to advocate you decide on the node that you just area unit presently engaged on.
Click OK.
The New Virtual Machine Wizard is displayed. This window explains the steps concerned in putting in place a virtual machine.
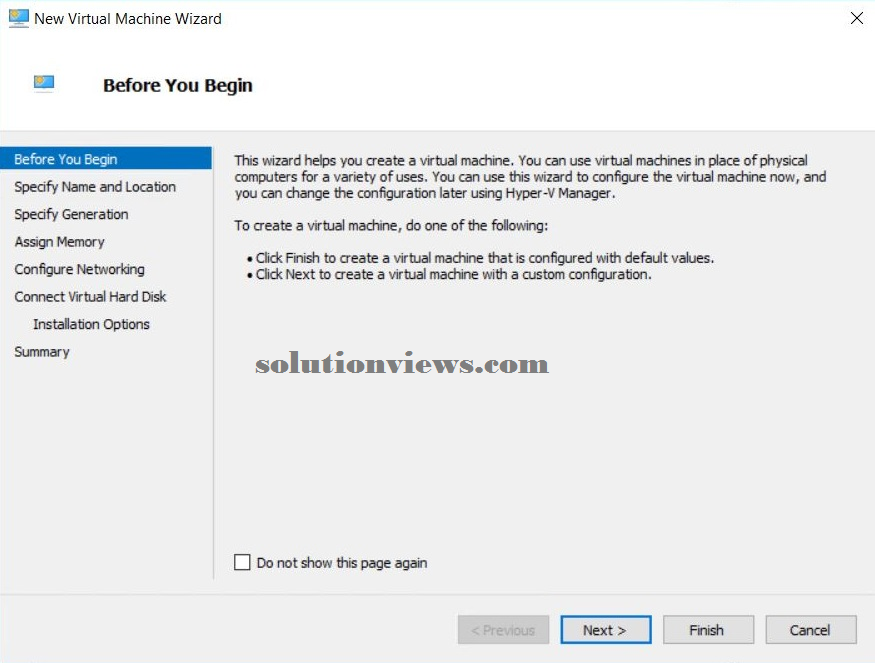
Click Next.
The Specify Name and placement window is displayed.
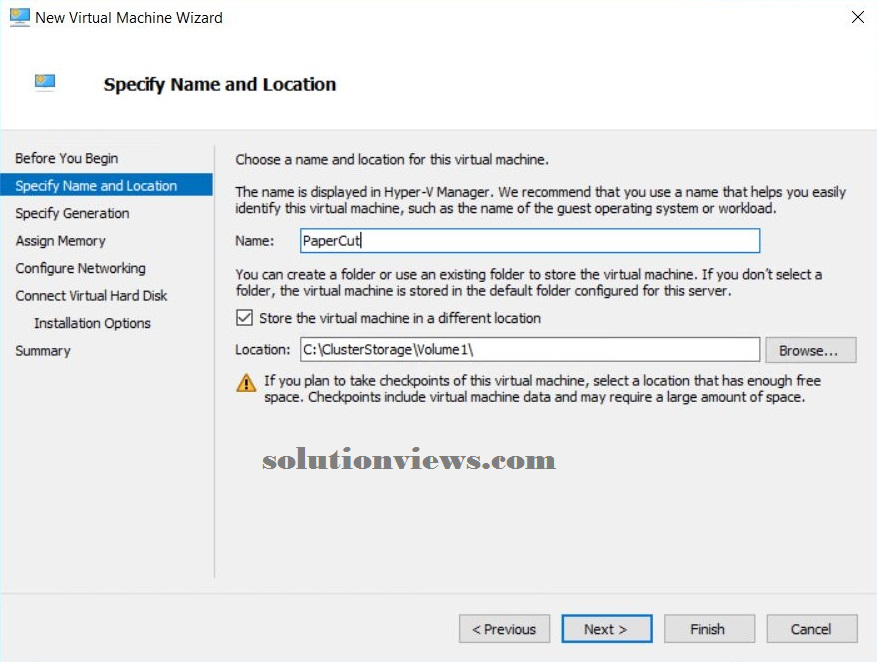
- In Name, enter a reputation for your virtual machine.
- In Location, enter the
drive wherever the
VM are going to be keep on the server.
For this VM to be ready to move between the nodes, select the ClusterStorage\Volume drive. this is often sometimes settled on C:\ClusterStorage\Volume1\ or similar.
Click Next.
The Specify Generation window is displayed.
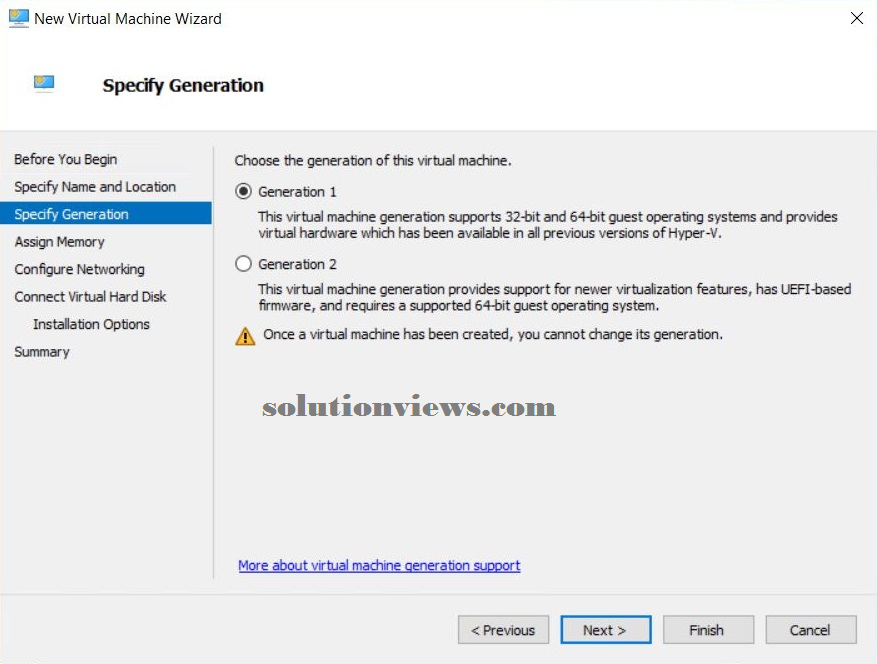
- Select the generation of
virtual machine you would like to
use:
Generation 1—offers the simplest cross compatibility with versions. Generation two offers larger security, higher performance, and supports the UEFI disk partitioning.
Generation 2—supported on the present releases, however not the older versions of Hyper-V. Additionally Generation two virtual machines don’t seem to be supported by Azure.
IMPORTANT:
Once this choice is created, it presumably won’t be ready to be modified. There area unit some tools that permit you to change generation (for example, Azure DR permits you to convert to Gen1 or Gen2 supported failover location), however it’s best to assume that it cannot be modified.
Click Next.
The Assign Memory window is displayed.
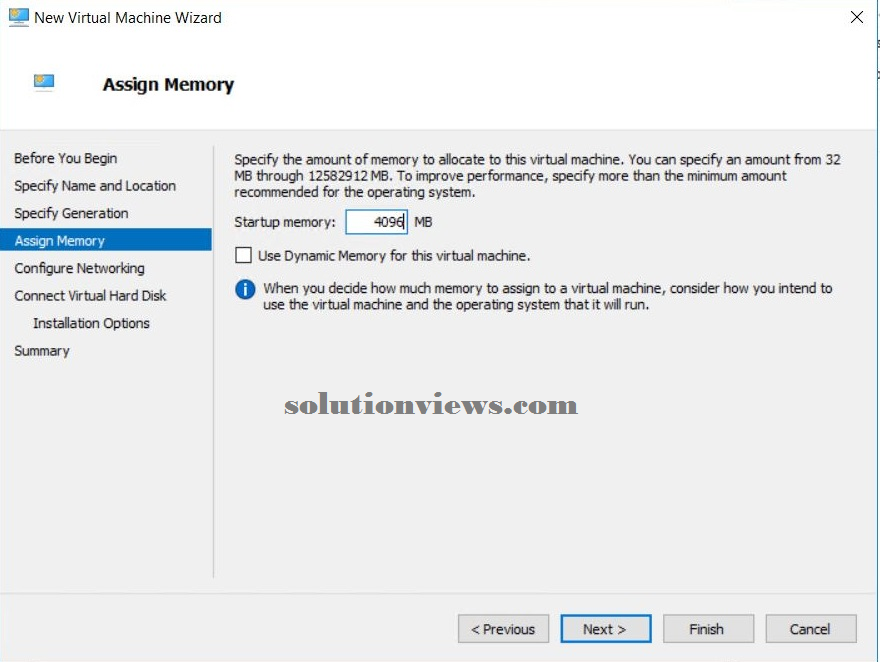
- In Startup memory, enter
the relevant quantity of
memory that you just need for this virtual machine.
- If you would like the memory to be
dynamic, choose the utilization Dynamic Memory for
this virtual machine check box.
Click Next.
The piece networking window is displayed.
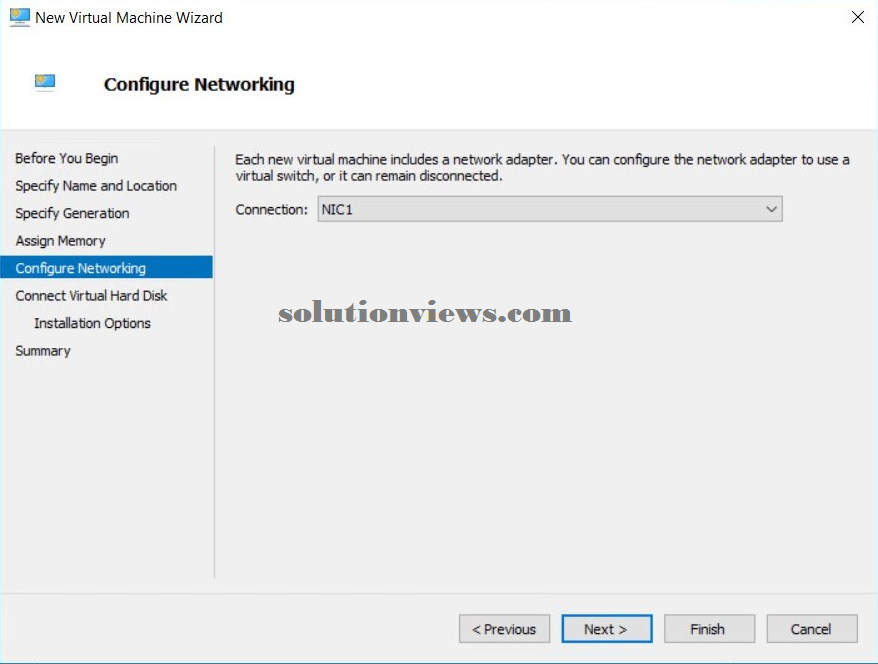
- In affiliation, choose the NIC you would like to assign to the present virtual machine.
Click Next.
The Connect Virtual magnetic disc window is displayed.
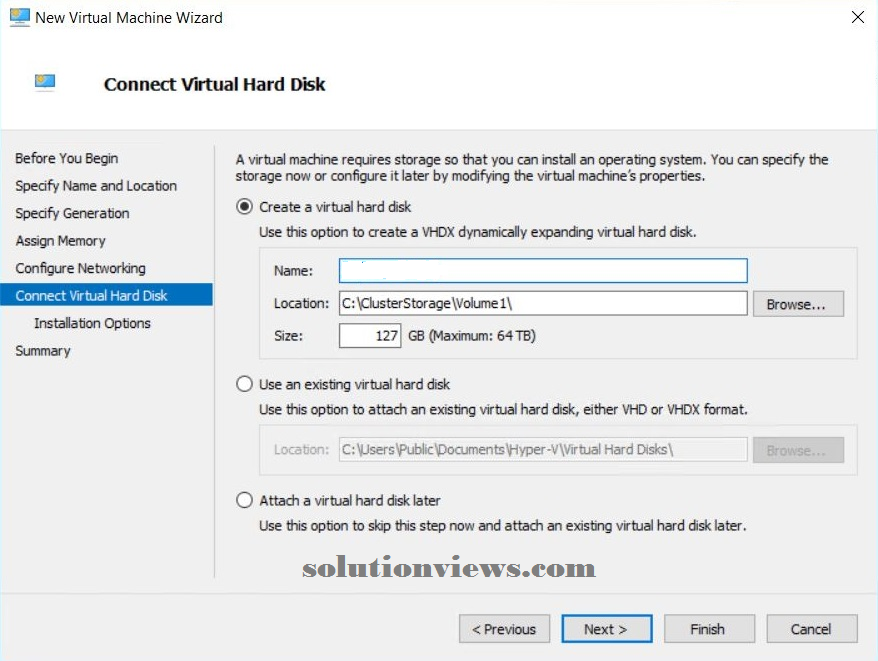
- In Name, enter a reputation for your virtual machine. this is often the name which will be displayed in Hyper-V.
- In Location, enter a location on the cluster drive for the disc drive. By default, this is often sometimes created on your system beneath C:\ClusterStorage\Volume1\.
- Set the disc drive size.
Click Next.
The Installation choices window is displayed.
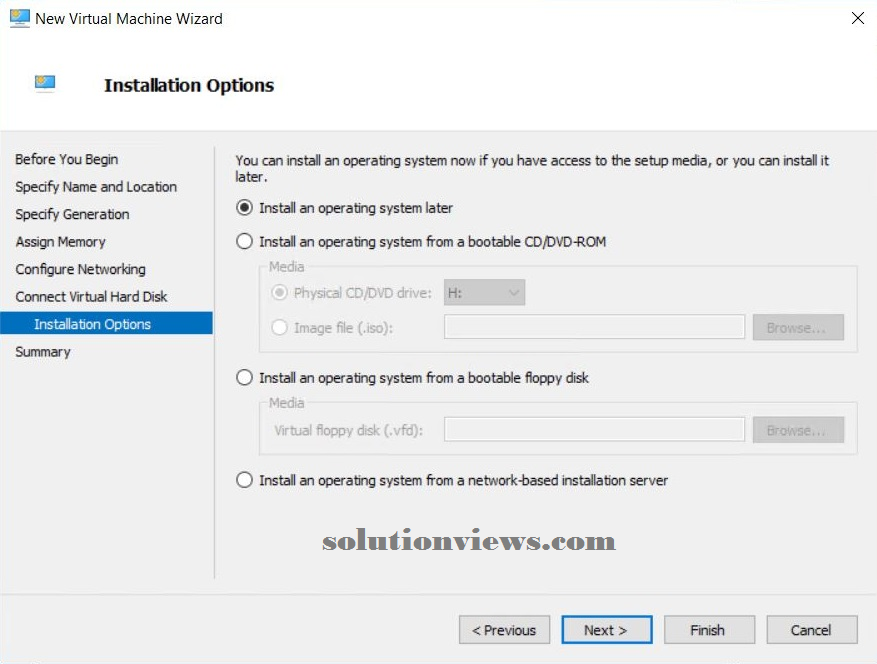
- Select the install location for your package. If you propose to perform this installation at a later time, choose Install associate degree package Later.
Click Next.
The finishing the New Virtual Machine Wizard window is displayed. This window displays the choices that you just have elite for the configuration of this Hyper-V machine.
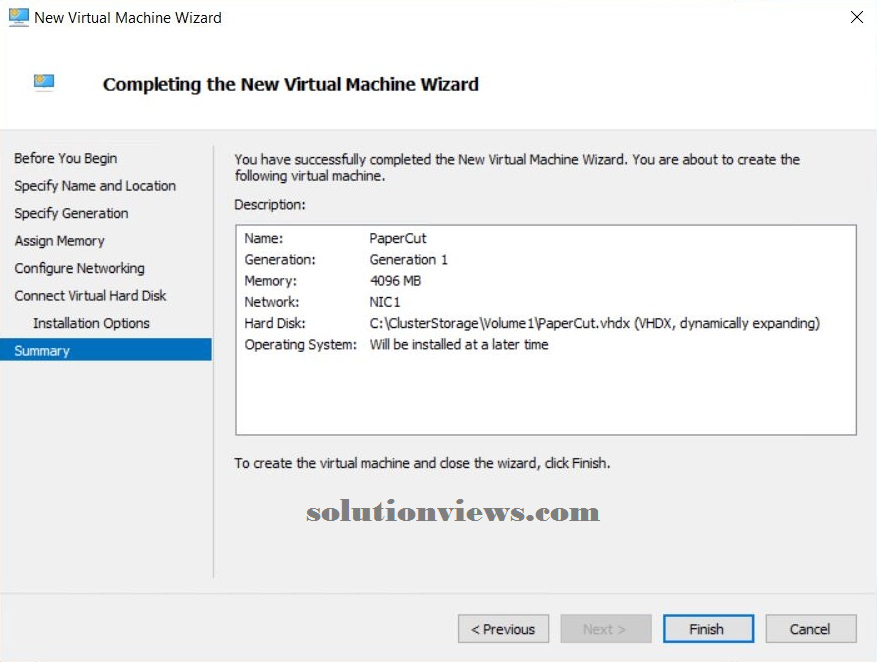
- Review your alternatives and if you’re pleased with them, click end.
When the Hyper-V machine has been designed, the outline window displays a Success message.
- Click end.
- If your 2 node machines area unit running totally different CPU models, change processor compatibility:
- With the virtual machine turned off, in Hyper-V Manager, highlight the machine.
- From the Action pane choose Settings > Processor.
Expand Processor; then click Compatibility.

- Select the Migrate to a physical pc with a unique processor check box.
- Click OK.
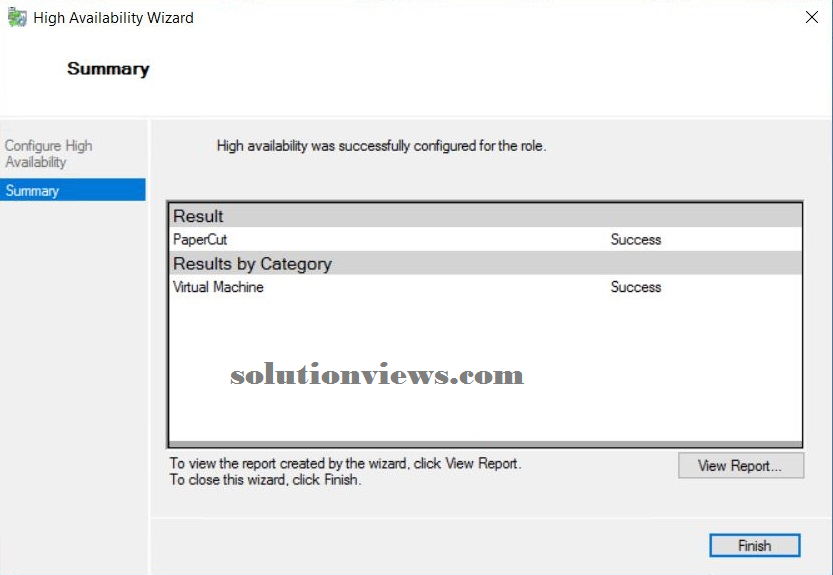
- Ensure that the new nodes area unit designed to just accept the virtual machine within the event of a failover:
In the Failover Cluster Manager, choose Roles.

Double-click your virtual machine.
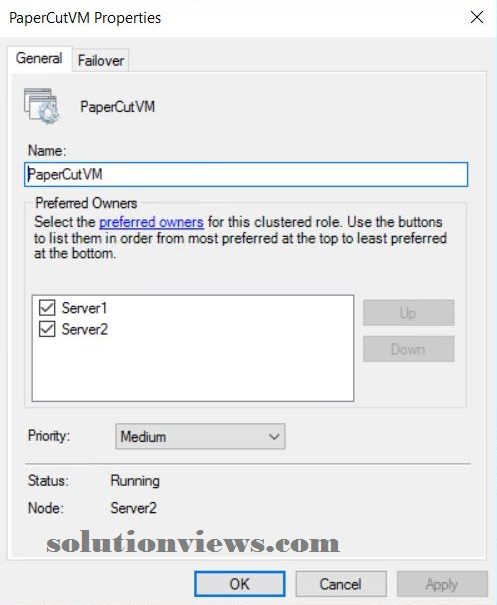
- On the overall tab, beneath most popular homeowners, choose the nodes that you just need to manage your virtual machine within the event of a failure.
- Click OK.
Step 5: established your print server
- From the Cluster Manager
window begin your VM
and install Windows.
- Configure the machine on
your network.
- For testing functions, close up Windows Firewall thus you’ll be able to RDP and Ping this machine.
- Configure your print
queues.
- Test that printing works
successfully:
- Check printing on the server.
- Map the print queue from a shopper machine on the network and take a look at printing.
- When printing is functioning with success, take a look at the failover.
- In Failover Cluster Manager, right-click the VM you have got created.
- Click Move.
- Select fast Migration > choose Node.
- Select a node that the VM isn’t presently residing on.
- The VM can currently start off on the opposite node.
- When the virtual
machine standing shows
that it’s running,
remote desktop into this machine to
confirm it’s still
operational. Any windows you had open antecedently ought to still
be running.
- Install PaperCut NG/MF
onto this machine.
- Send many take a look at print jobs to confirm that PaperCut NG/MF is working properly.
- Install your shared
print queues to a shopper machine.
- Print a document.
- Log in to the server
node that the Papercut NG/MF VM is running on; then restart the server.
- While the server is
restarting, from the shopper machine,
send many take a look at print documents to
the shared printer.
- The print jobs area unit processed and therefore the VM fails over with success to 1 of your alternative nodes.
Need any help in how to install Microsoft SQL server express local DB click the below link: