We recommend using a built-in windows firewall troubleshooter first
1- Press Win + I to launch Windows Settings
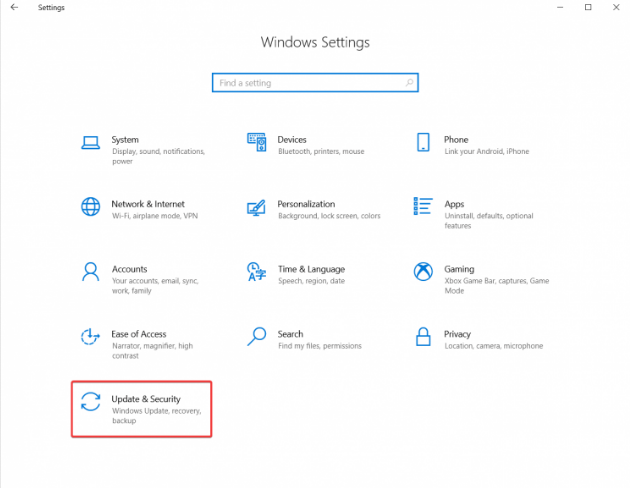
2- Go to Update and Security – Troubleshoot
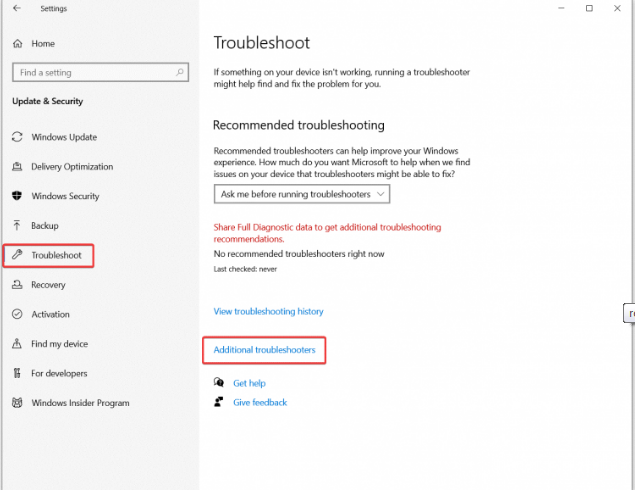
3-Click Additional Troubleshooters.
4-Select Incoming Connection.
5- Click Run Troubleshooter button
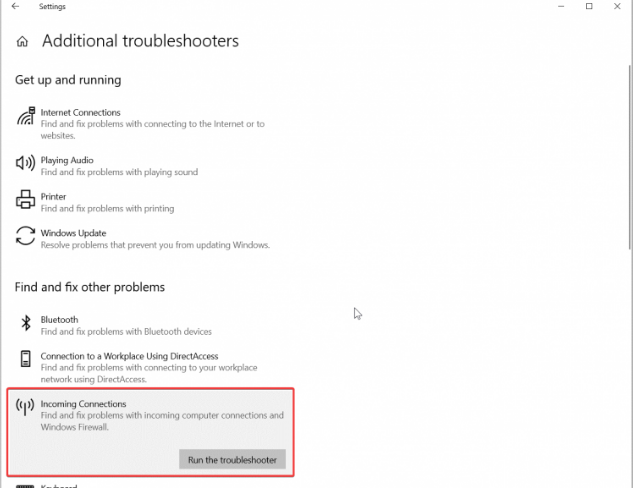
6- Follow the instructions.
If a built-in troubleshooter is failed fixing your Windows Firewall settings, Go to the next section to learn how to reset Windows Firewall.
Resetting Windows Firewall in Windows 10 – Backup the Rules before you reset
You need an Administrator account to reset Windows Firewall in Windows 10. If you have a regular profile, Windows will ask you to enter the Administrator password. Remember, you cannot delete Windows Firewall rules without an Administrator account. Before you proceed with the reset option, backup all your data. Remember, you are unable to delete Windows Firewall rules without an Administrator account.
Launch Command Prompt in the elevated mode of Run as Administrator using the search
- Press Win + S to launch Window Search and enter cmd.
- Windows Search will show you a command prompt with several commands to the right.
- Press Run as Administrator.
- Run the following command:
netsh advfirewall export “C:\Archive\firewall-config.wfw”
- Press Enter to run the command.
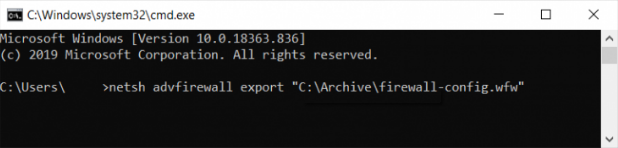
After you run this command, Windows will put the backup file in the C:\Archive folder. Copy the file and store it whenever it is easy for you. You can also use Windows Control Panel for this purpose
- Launch the Windows Security app using the search or the icon in the notification area. You can also launch the Windows Security app from the list of all apps in the Start menu.
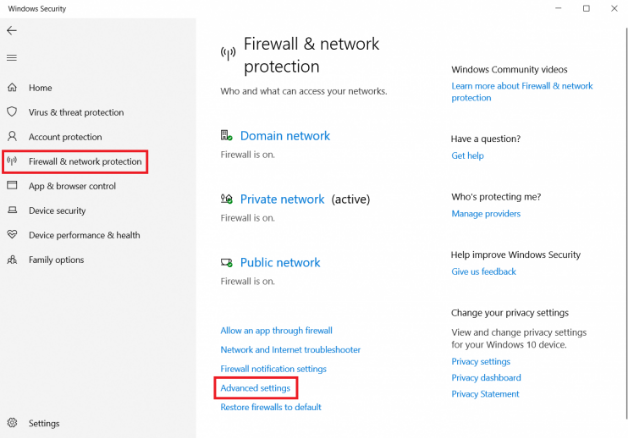
2- Go to Firewall & network protection.
Locate the Advanced settings link and click it. That launches the Windows Defender Firewall with an Advanced Security window.
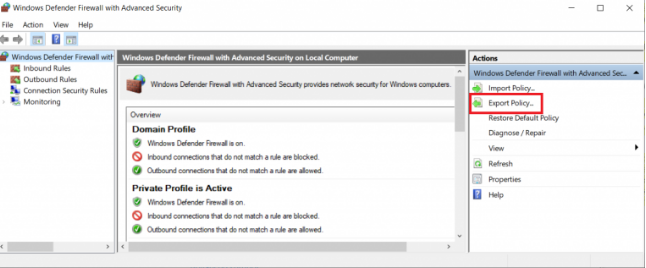
3- Click Export Policy and specify where to store your backup file.
Now you can reset Windows Firewall settings to default.
Reset Windows 10 Firewall – Control Panel
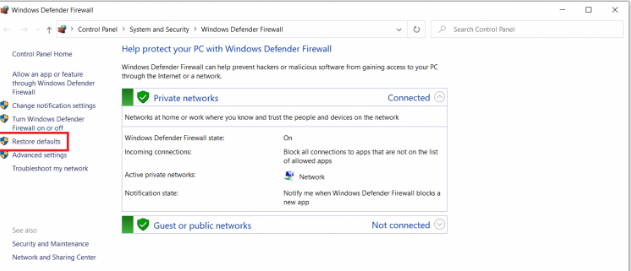
The simplest way to reset Windows 10 firewall rules to default is the Control Panel and Windows Firewall section. Although we use Windows 10 as a reference in this article this part is also applicable to Windows 8.1, Windows 8, and Windows 7.
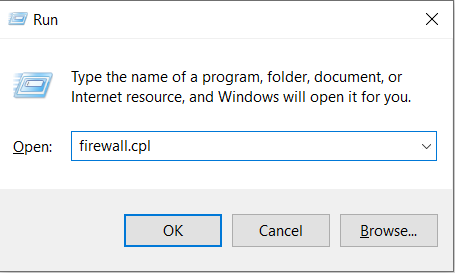
- To open the Windows Firewall settings, press Win + R and execute the firewall.cpl command
2. Click Restore Defaults
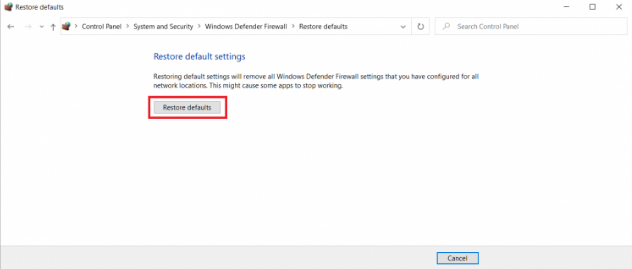
3. Click Yes to reset
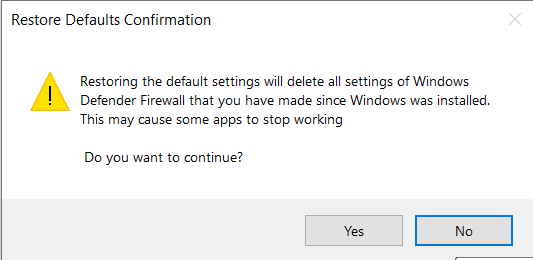
This will reset all Windows Firewall settings. It will maintain standard network access rules in the list of Windows Firewall settings. Now you can add new Windows Firewall rules and configure it up to your preferences or leave it as it is.
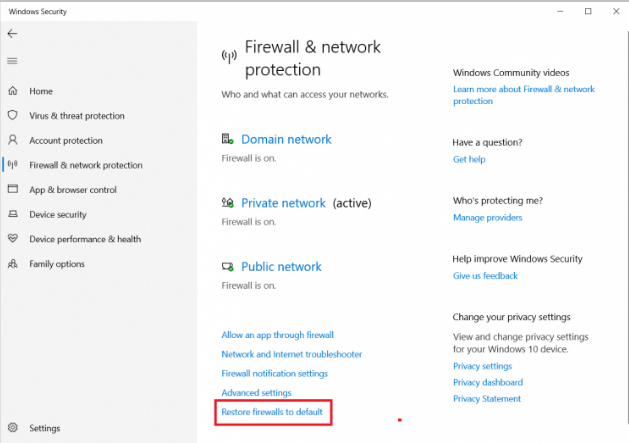
Another way to reset Windows Firewall in Windows 10 – Windows Security
It’s another way to reset the Firewall in Windows 10. All you need to do is to launch the Windows Security app and go to the Firewall and network protection section.
Reset windows firewall settings to default (by using command prompt or PowerShell)
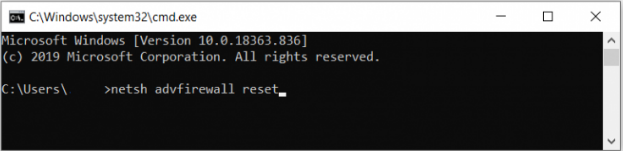
If you are using Windows Command Prompt, don’t miss to launch it with Administrator access by the use of following command:
netsh advfirewall reset
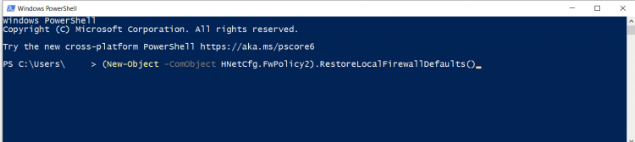
If you want Windows PowerShell or Windows Terminal, use this command:
(New-Object -ComObject HNetCfg.FwPolicy2).RestoreLocalFirewallDefaults()
How to Reset Windows Firewall in Windows 7?
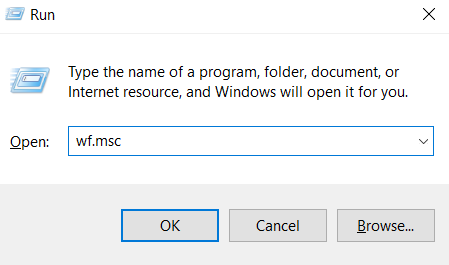
- Click Win + R on your keyboard and enter the wf.msc command
2. On the right side click restore default policy and then confirm
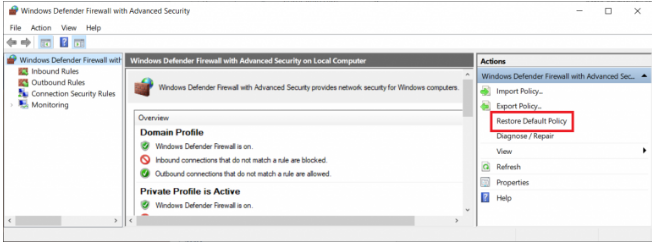
The firewall settings have been restored to default.