The option to construct DHCP failover setups was added to Windows Server 2012, and it is now available. We’ll show you how to set up load balancing on a Windows Server 2016 DHCP server in this article.
You’ll need two servers with the DHCP Server role configured for fault tolerance and load balancing. However, both servers must first assign the necessary DNS names, static IP addresses, and join the AD domain.
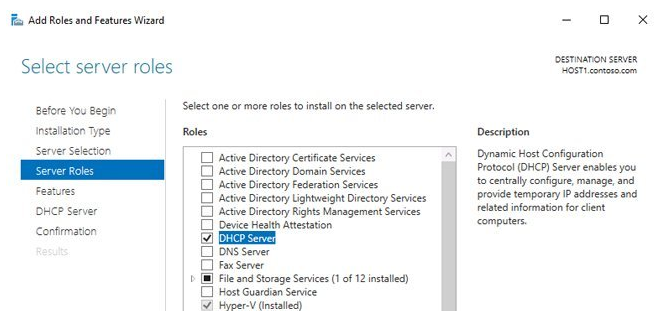
Add-WindowsFeature DHCP –IncludeManagementTools
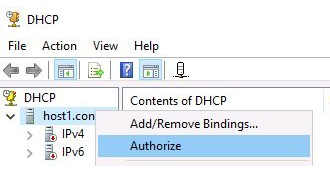
Make sure to authorise a DHCP server in Active Directory after installation.
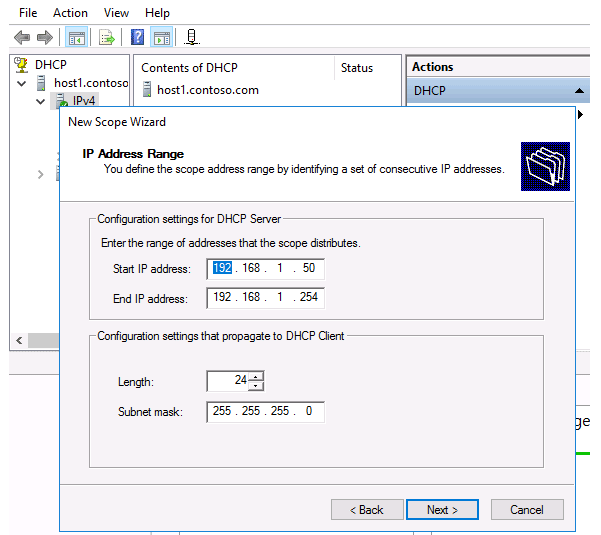
Create and setup a new IPv4 DHCP scope on one of the servers.
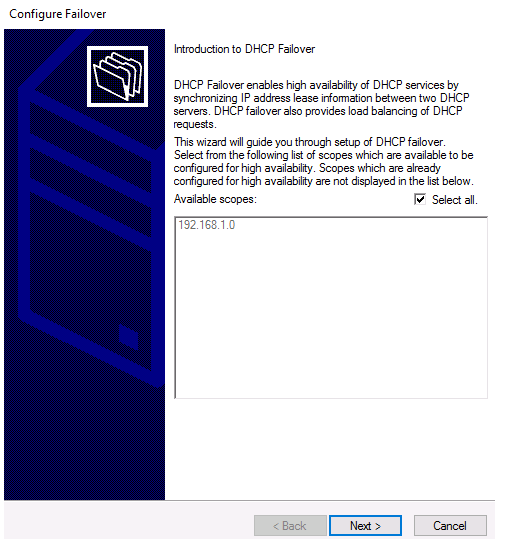
Then right-click on the root of the ipv4 or on a specific scope and select Configure Failover in the drop-down menu.
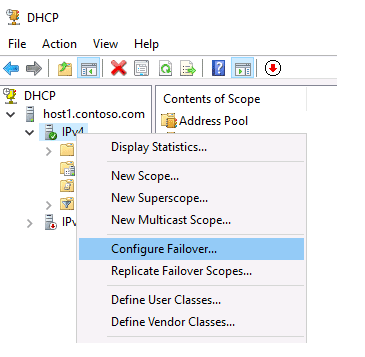
A wizard will appear prompting you to select the scopes for which you want to implement fault tolerance.
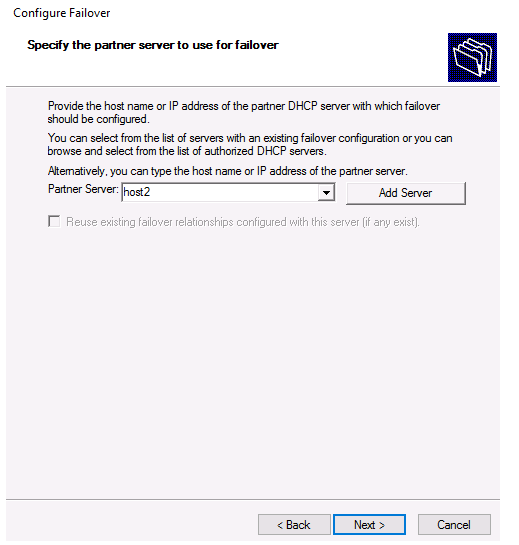
In the next step, you will be prompted to select a partner server. This can be any available DHCP server based on Windows Server 2016. In the domain network, you will see a list of authorized servers, or select the server using the Browse button.
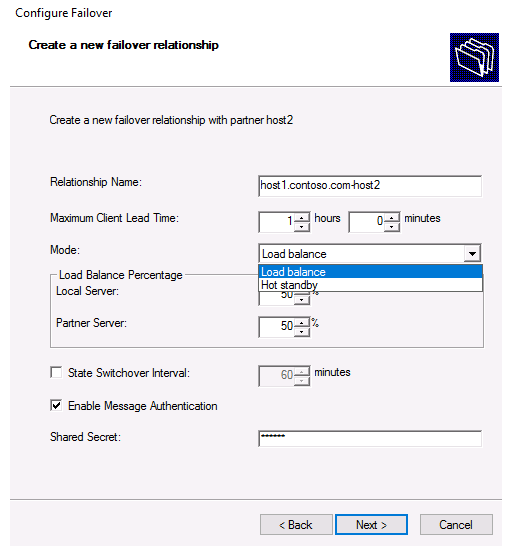
It is still necessary to select the DHCP server’s operation mode, correct some parameters, and set a shared secret (the key phrase to create an encryption key).
For the DHCP server, there are two failover modes:
Load Balancing — two servers offer IP addresses and options to clients in a subnet at the same time. Client requests are divided between two load balancing servers (you can set the desired percentage). This is the default mode of operation.
Hot standby — in this mode, the two servers work together in a fault-tolerant arrangement, with the active server in charge of IP address leasing and configuration information for all clients in the scope or subnet, and the secondary (standby) server taking over if the primary server fails. In the context of an IP subnet, a server is classified as primary or secondary.
Consider the following possibilities:
If contact with the partner server is interrupted, the maximum client lead time is the time during which the partner server extends the lease of IP addresses to the clients of the second server.
Load Balance Percent – determines how requests are spread among servers.
State Switchover Interval – the time it takes for the server to switch from “connection lost” to “partner disabled” after losing communication with the partner.
Enable Message Authentication – a secure communication channel is established between servers using a passcode.
The list of settings in hot standby mode is slightly different:
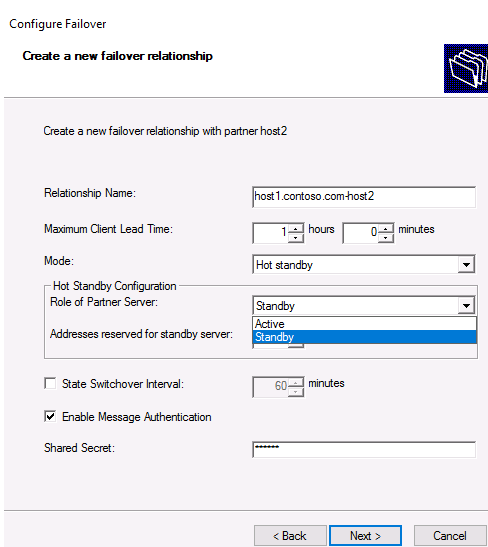
Partner Server Role – allows you to choose server roles. By default, the server on which the failover is enabled becomes active, while the partner is placed in standby mode; Addresses reserved for standby server – a portion of the scope assigned to the standby server to serve new clients in the “lost connection” mode.
After you’ve made all of the necessary adjustments, click Next. The DHCP failover setup wizard comes to an end here.
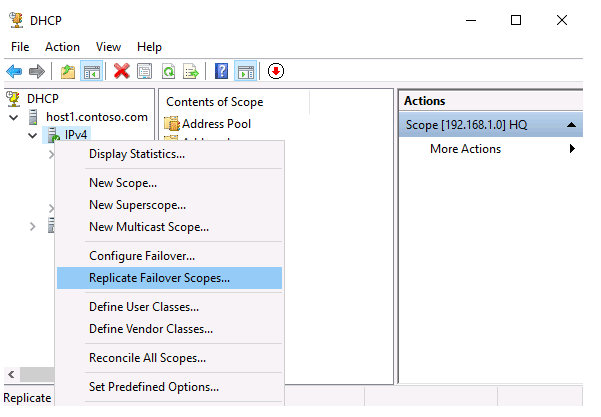
Only information regarding assigned IP addresses is duplicated between partner servers; changes to scope parameters, such as reservation, must be explicitly synced. To do so, right-click the scope in the DHCP console and select Replicate Failover Scopes.
Or you can start all scopes replication from the host1 using PowerShell:
Invoke-DhcpServerv4FailoverReplication -ComputerName host1.contoso.comIn Windows Server 2016, DHCP failover has the following limitation: two DHCP servers per scope. It’s important to remember and understand that DHCP’s high availability is achieved through the use of scopes rather than servers. When a single server has numerous areas, it can be used in multiple high-availability configurations. Furthermore, for IPv6 scopes, the failover relationship is not supported.