This article will walk you through the process of configuring Microsoft SQL Always on databases. Due to the fact that we will be utilizing SQL Server 2019 standard edition, this will result in you having a read-only copy of your replica. This is ideal for situations such as a Remote Desktop Farm, where we only require a standby database to failover to.
To begin, we must configure each replica with Windows Failover Clustering (WSFC).
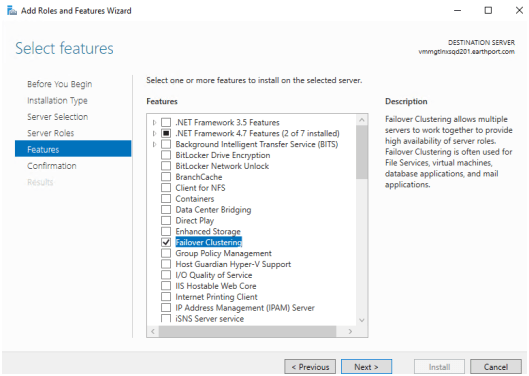
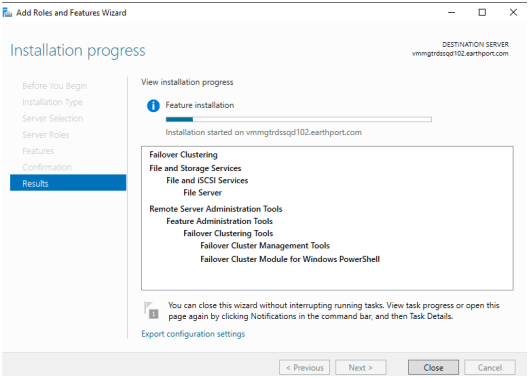
Open Server Manager on each replica, click Add Roles & Features, pick Add Failover Clustering, and click Install. Continue through the procedure until you reach the Select Features page, where you can click the Failover Clustering checkbox.
If your server does not already have the.NET Framework 3.5.1 or higher installed, choose that checkbox as well. (If you are required to install the.NET Framework, you must reboot the server upon installation.)
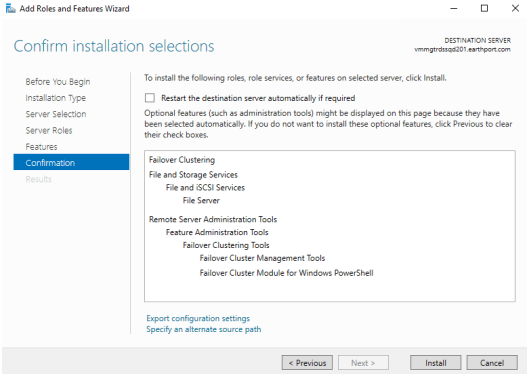
Continue through the process and click Install to close it. This must be done for each replica in your AG.
Add the Failover Clustering Role using the Add Roles and Features Wizard.
Now we need to configure the primary replica’s WSFC server
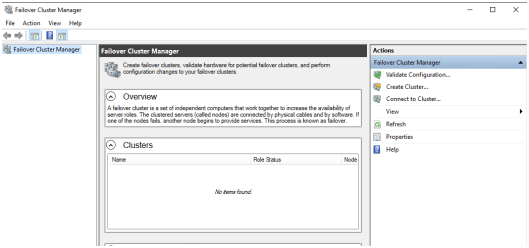
Open the Failover Cluster Manager from Administrative Tools and click Validate Configuration.
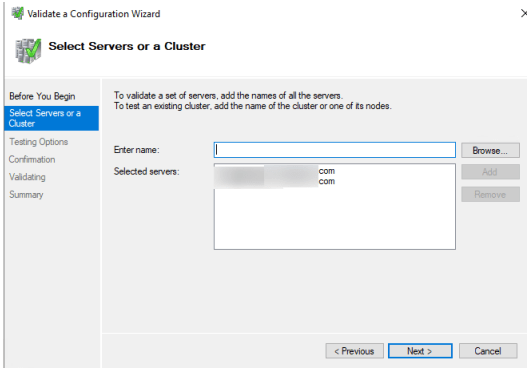
Include the names of all SQL Servers in your AlwaysOn group that you wish to setup as replicas.
Click Run all tests on the Testing Options screen (recommended). It is natural to encounter a few warnings warnings. Ensure that you review the warnings and make any necessary corrections.
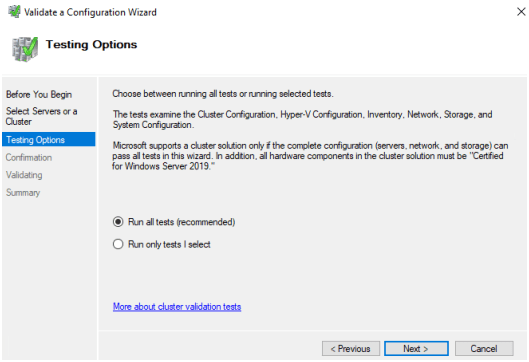

If you’re using ESXi, you’ll almost certainly receive a warning about using a single NIC. This is acceptable because the test is unaware of the many NICs operating on your hypervisor.
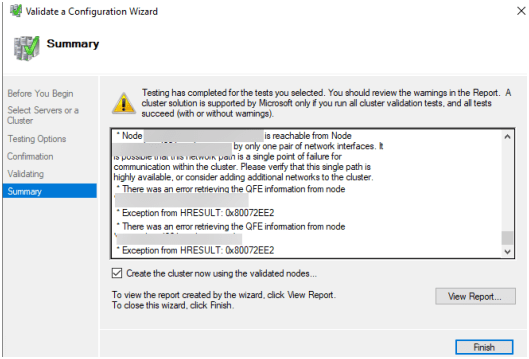
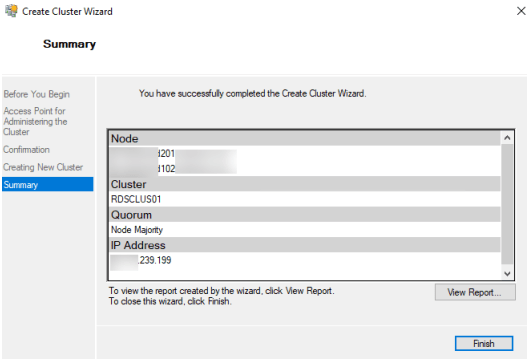
The Create Cluster Wizard will launch once the validation and summary are complete. Enter the virtual cluster name (not the server or instance name) and the cluster’s virtual IP address in the Access Point for Administering the Cluster dialogue box. This was accomplished by using an accessible IP address on the same network as the core SQL node.
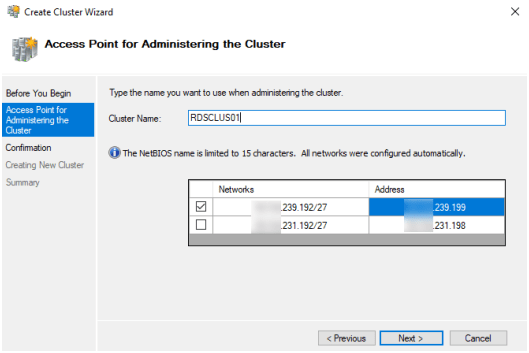
Select Next.
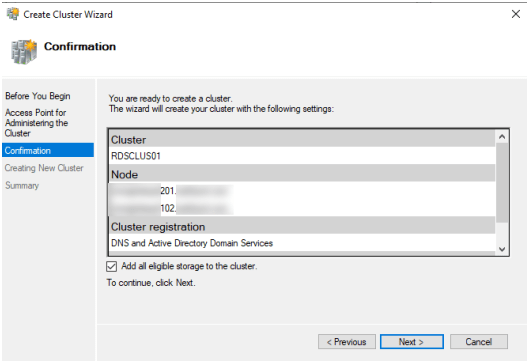
The cluster has been established.
You should receive proof of your success.
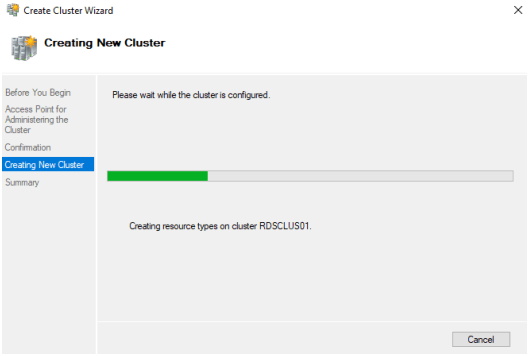
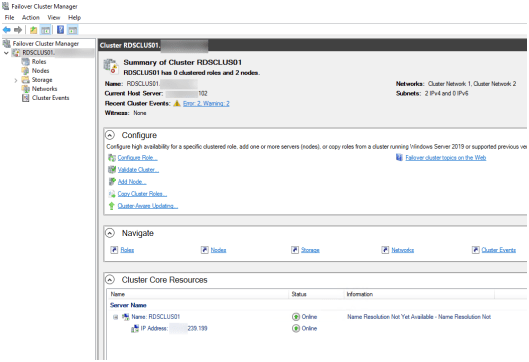
Following that, the wizard will create your cluster. The secondary nodes will be joined to the cluster, at which point your cluster should appear on all replicas (through Failover Cluster Manager). You are not required to repeat these procedures for the remaining replicas; you are now finished configuring the cluster.
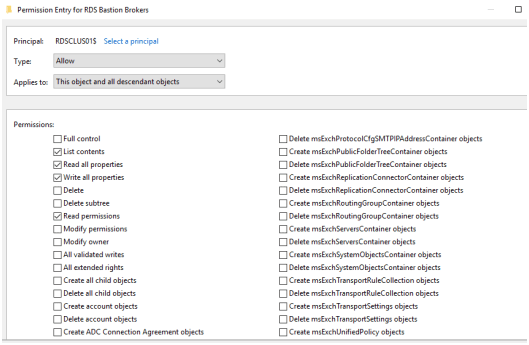
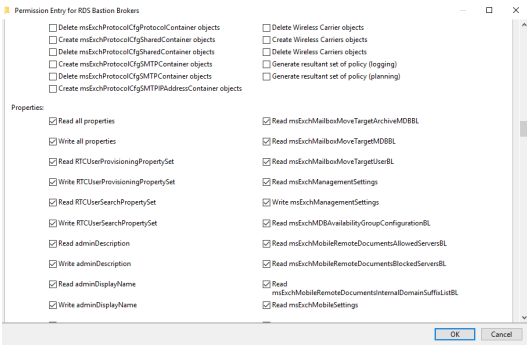
Following that, configure the following permissions on the OU that contains the cluster AD account.
Create Objects for the Computer
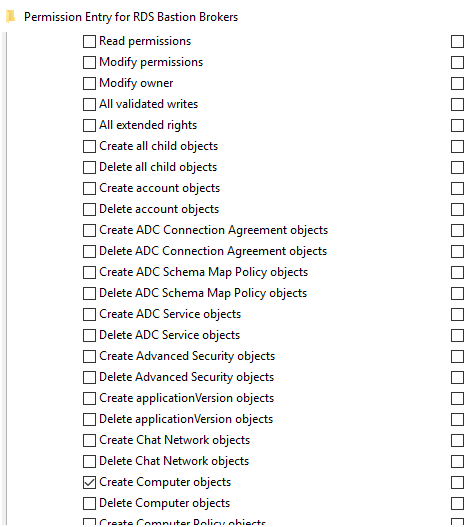
All properties can be read/written.
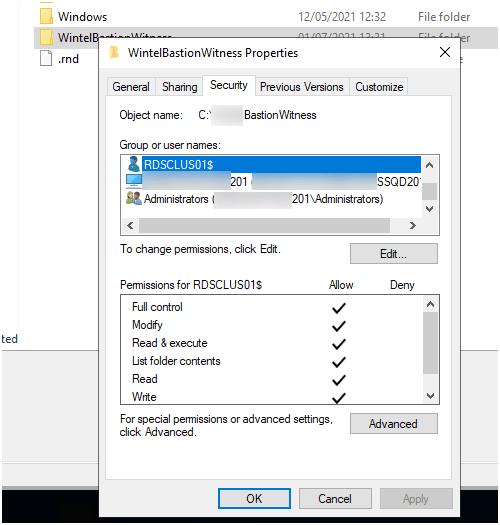
We now need to configure a witness for the file sharing.
Create a file share on a file server and grant full control to your cluster (computer) account.
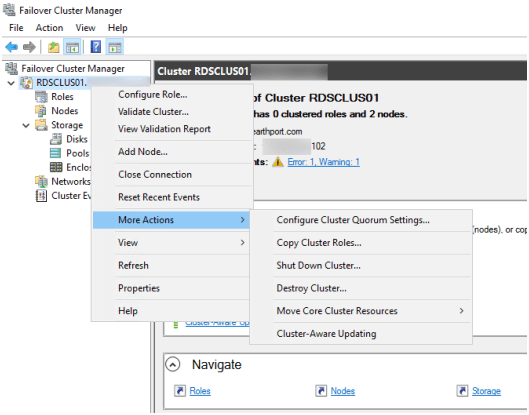
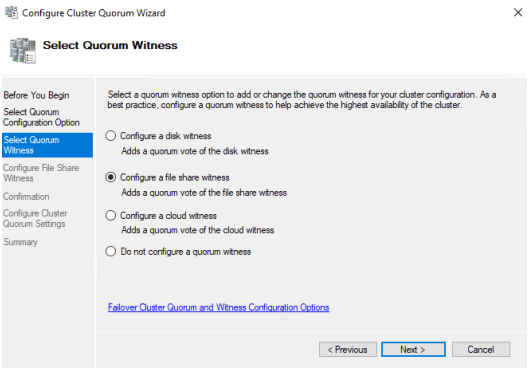
To configure the cluster’s quorum settings, right-click on the cluster and select More Actions, then Configure Cluster Quorum Settings.
Click Click Next after selecting the quorum witness.
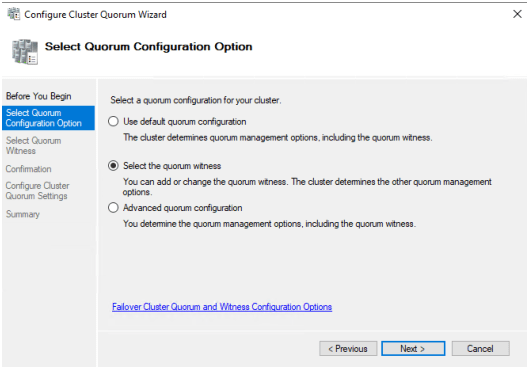
Select Configure a witness for the file share and click Next.
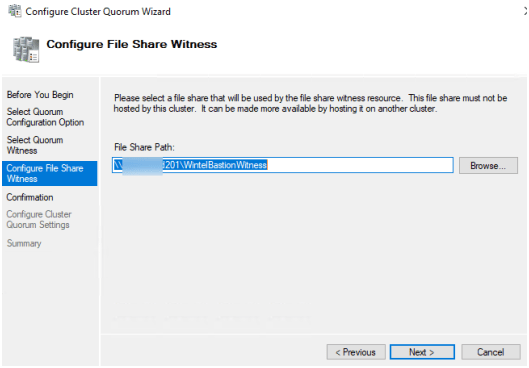
Enter the network path to the location of your file share and click Next.
Verify and click Next
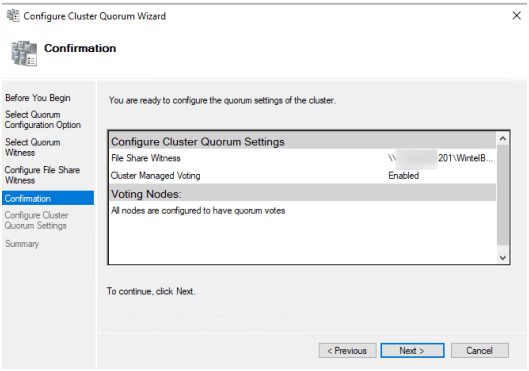
Select Next.

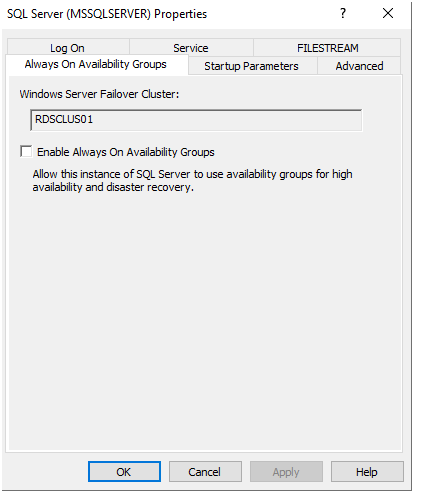
On the primary node, launch SQL Server Configuration Manager. Locate the SQL Server Service and click the Properties button.
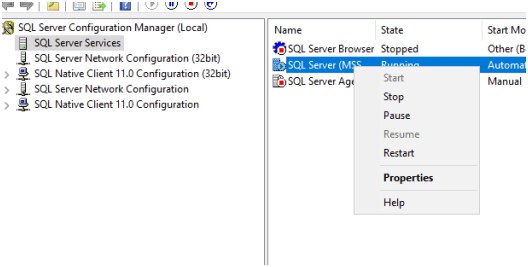
Select the Enable Always On Availability Groups check box.
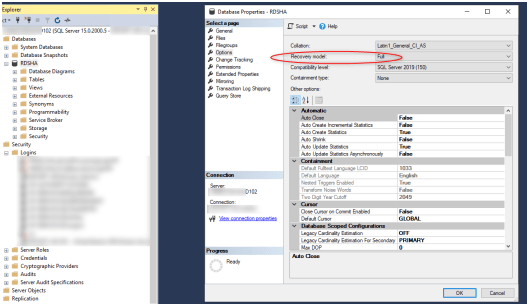
Log into SQL Management Studio and choose the database that should be Always On. Select the Full Recovery Model. Then create a full database backup.
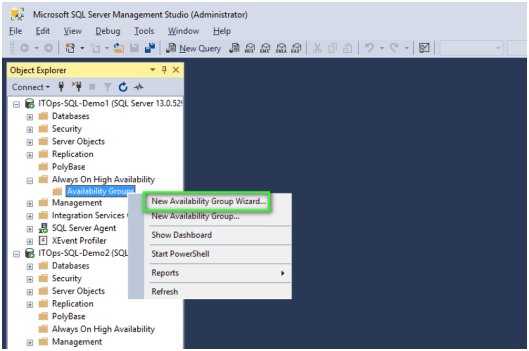
Launch the Wizard for Creating a New Availability Group
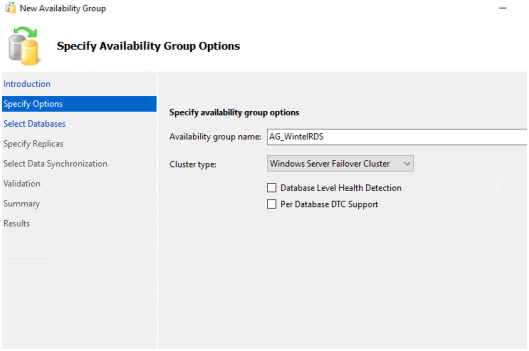
Assign a name to your Availability Group and choose Windows Server Failover Custer.
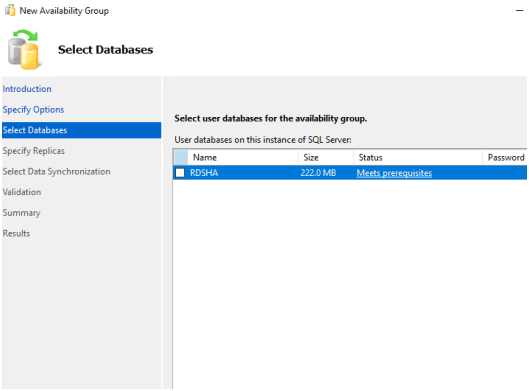
Select the database that you want to remain online at all times (I am choosing an RDS DB).
After selecting the replica server, you will be prompted to log in.
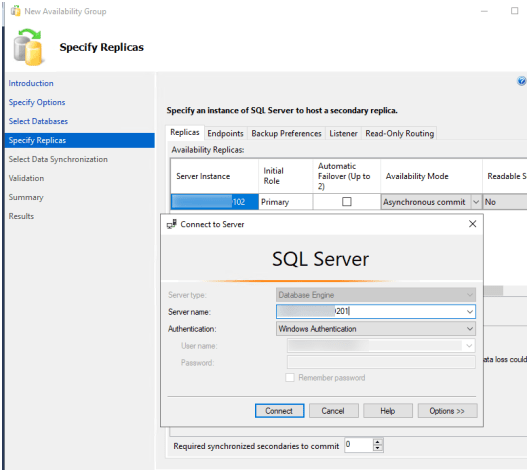
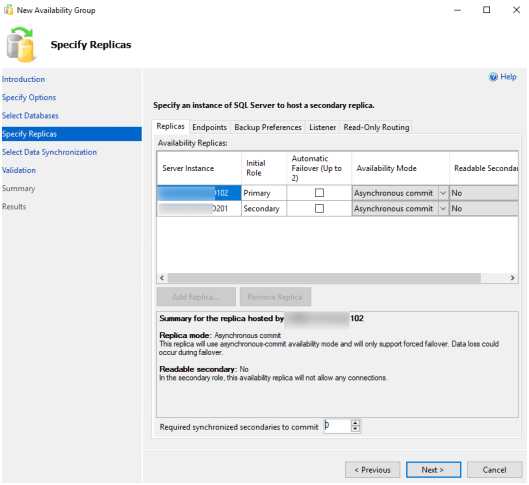
Indicate the location of the replica servers.
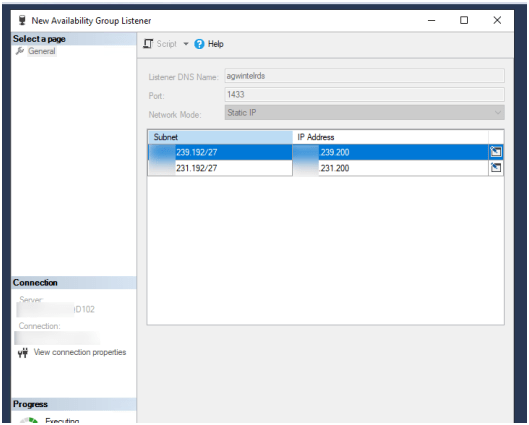
To begin, navigate to the Listeners tab and add a new listener. I required a listener in order to construct a connection string to a Remote Desktop Farm’s availability group. I created two new IP addresses for this, one for Server 1’s subnet and another for Server 2’s subnet
Create two DNS A records, one for each listener IP and one for the Availability Group name. This will ensure that both nodes in the cluster participate in a DNS round robin.

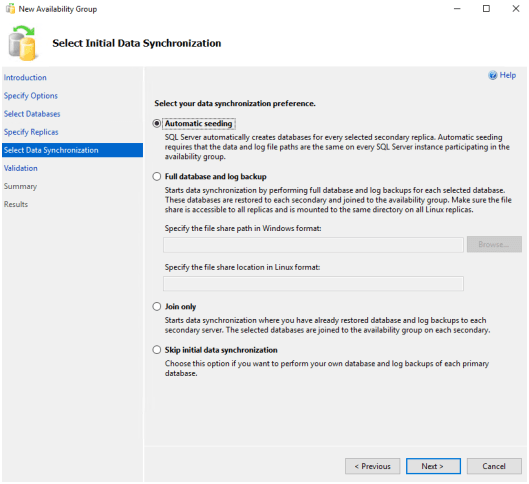
Select Automatic Seeding from the drop-down menu and click Next.
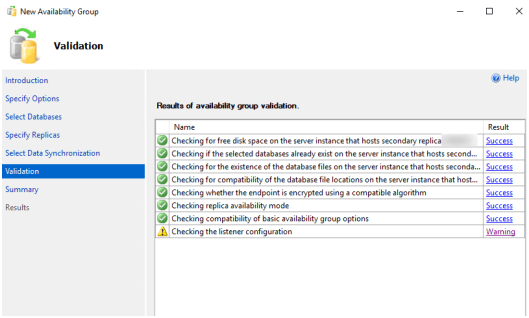
Conduct the verification checks.
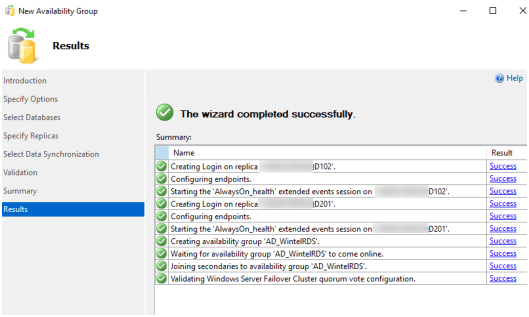
Examine the Summary
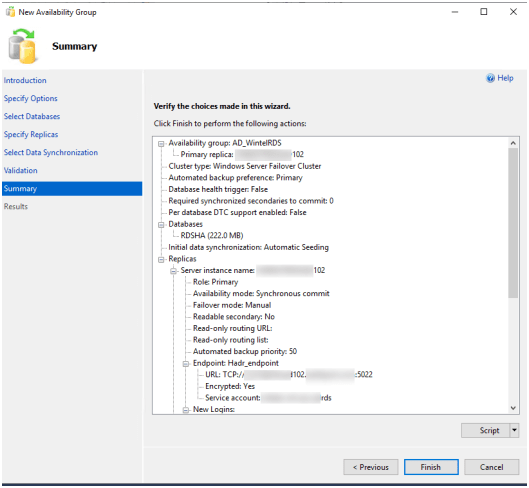
Verify if the findings are successful.