Introduction
In today’s article you may learn the way to make a site in Windows Server 2012.
Step 1:
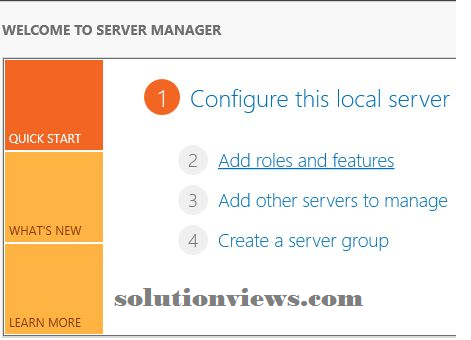
First of all login to your Windows Server 2012 and open the Server Manager. Within the Server Manager click on “Add Roles and Features”.
Step 2:
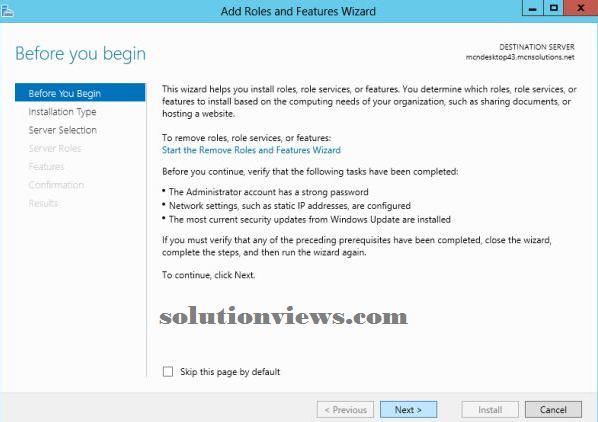
Now some necessary info are given, you’ll browse it then click on the “Next” button.
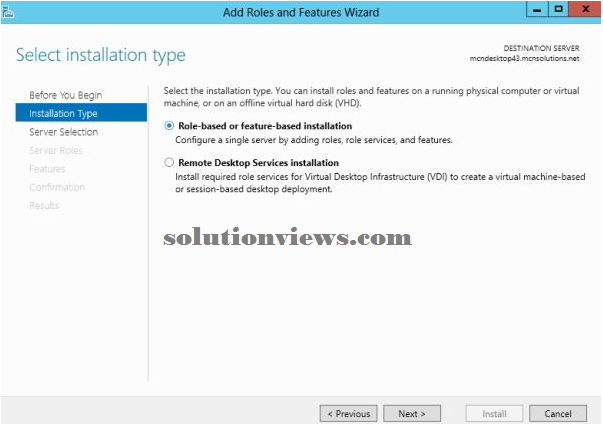
After clicking on Next, The Installation sort page are opened that may raise you to pick one in all the choices. Choose the primary choice i.e. “Role supported Feature primarily based Installation” then click on “Next”.
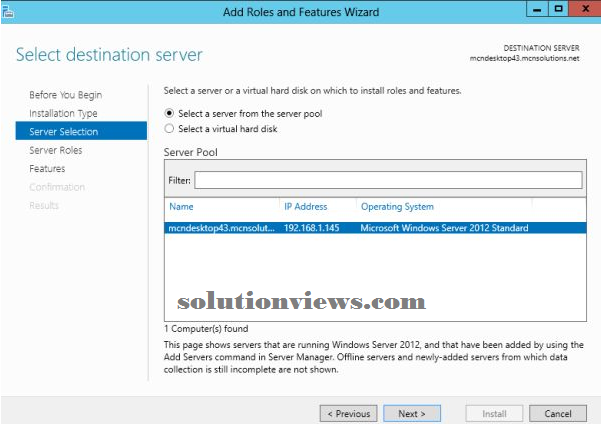
Step 3:
Now you need to choose a Server from the Server Pool. Since I actually have just one server, my default server is mechanically chosen. When choosing the server click on “Next”.
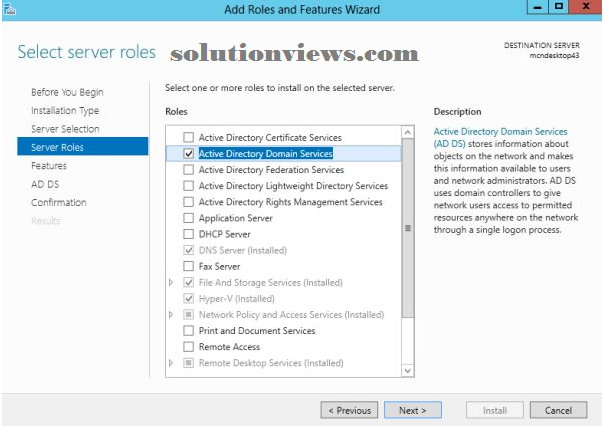
Now an inventory are displayed ahead of you from that you need to choose “Active Directory Domain Services”.
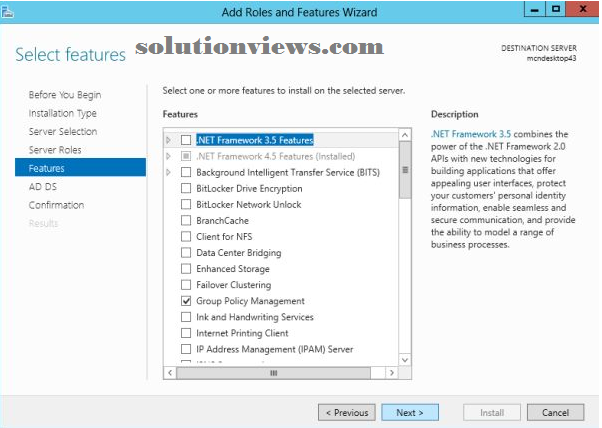
Step 4:
Now there’ll make sure options to be chosen. Will |you’ll| you’ll be able to} choose any of them or can simply click on “Next” if you just need to maneuver on.
After that an added page are opened showing you some points to recollect.

Step 5:
Now you need to offer permission to the Server to urge restarted if needed.
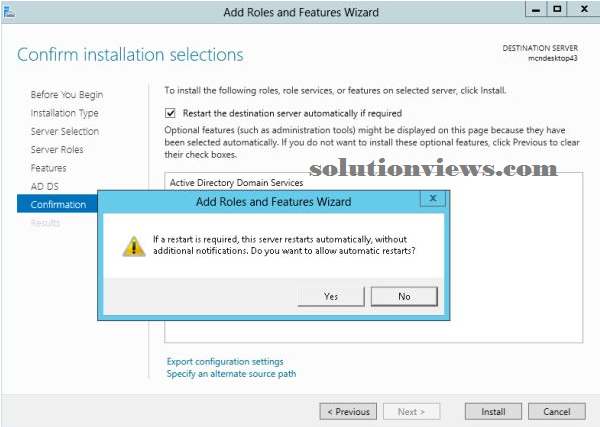
After that click on Install and also the installation can begin.
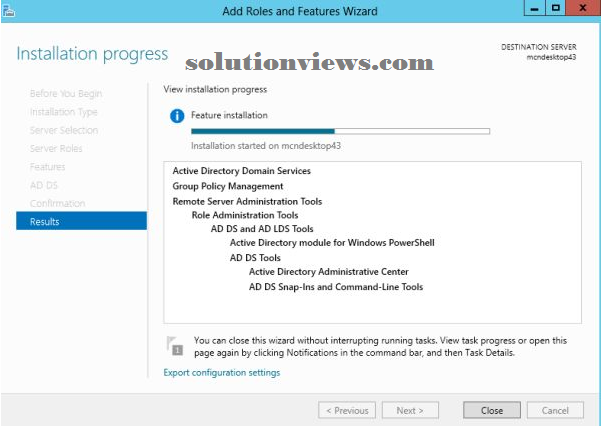
Step 6:
Since the installation completes however does not shut it, instead click on “Promote this Server to Domain Controller”.
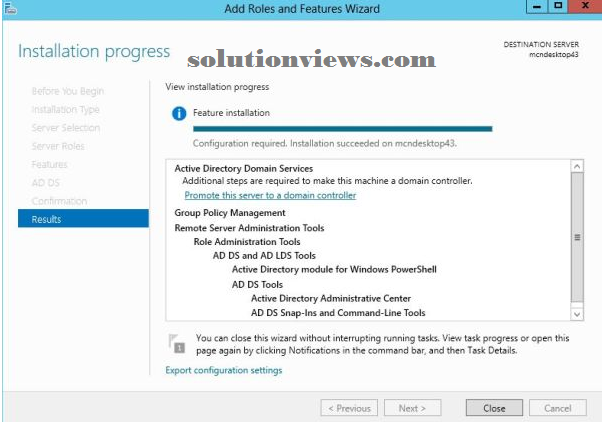
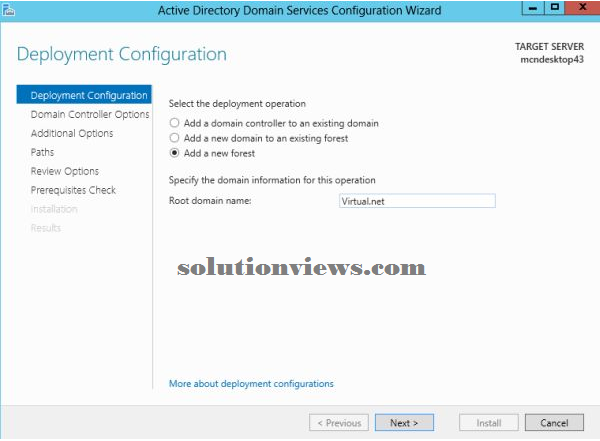
This will take you to the Configuration Wizard. Within the Configuration Wizard choose the primary choice i.e. “Add a replacement Forest” and supply the basis Name (I provided Virtual.net) then click on “Next”.
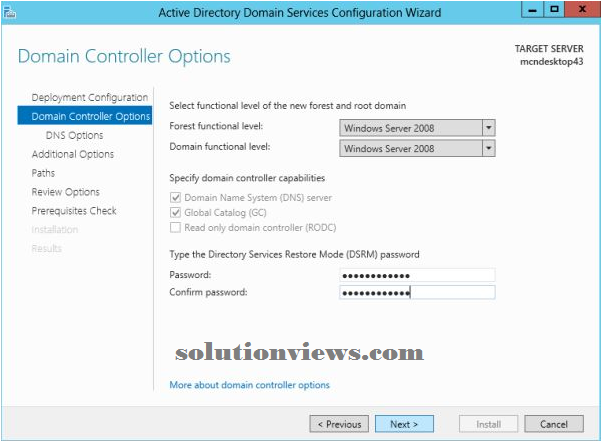
Step 7:
After that the Domain Controller choice page are opened within which you would like to pick the Forest purposeful Level and Domain purposeful Level. You’ll choose these from an inventory of accessible choices. Here I had chosen Windows Server 2008 in each of them. You need to conjointly offer the parole in order that just in case a retardant occurs you’ll live through it.
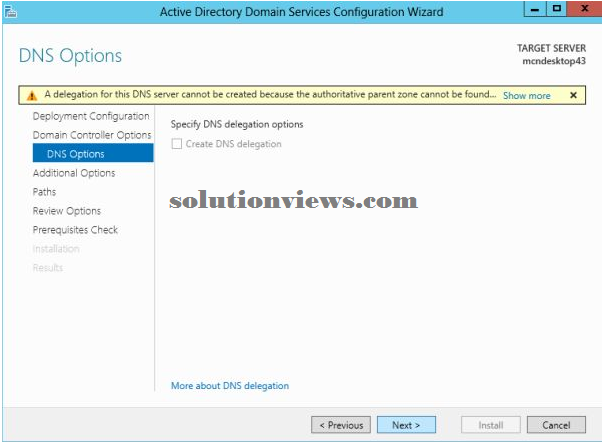
Now the DNS choices Page are opened, on this page you simply got to click “Next”.
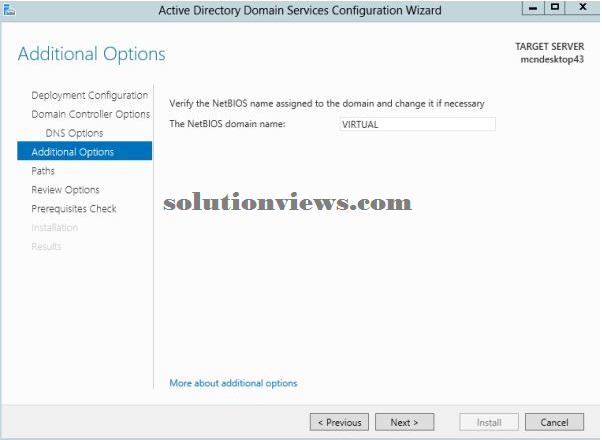
Step 8:
On following page associate degree automatic NetBIOS name are provided, you are doing not got to offer any new name, simply click on the “Next” button.
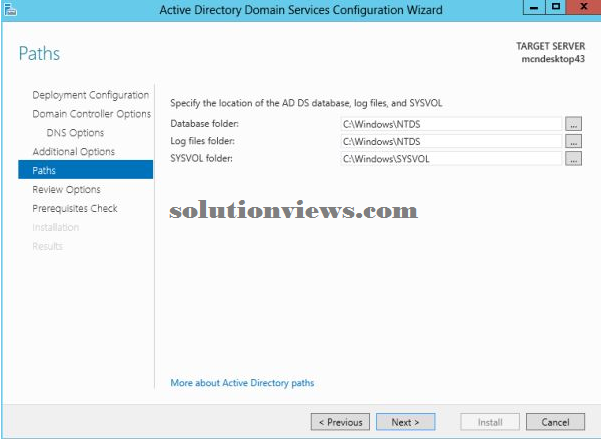
Now numerous ways for numerous files are provided, here conjointly simply click on “Next”.
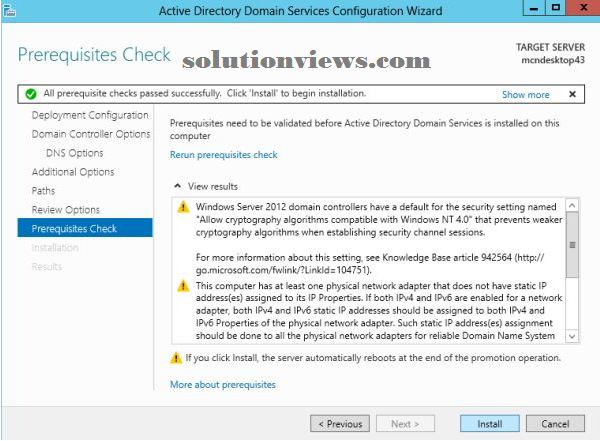
Step 9:
Now you may reach the Installation page, here click on the “Install” button to start the installation.
After the installation is completed your server can restart on it’s own and it’ll take a protracted time to restart thus simply look forward to the procedure to complete.
Step 10:
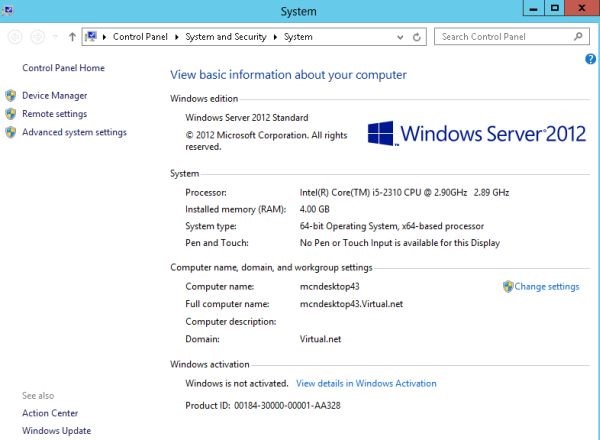
Now you’ll check whether or not your Domain is properly put in and dealing or not. For this head to the settings of your server, there you may notice associate degree choice “Server data,” click on this selection.
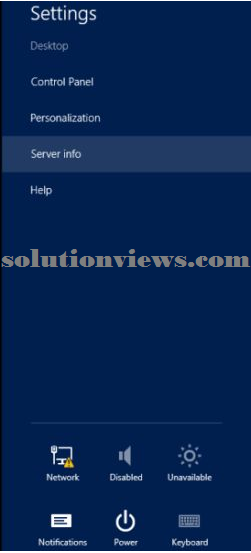
As you click on {this choice |this feature |this selection} you may see that within the Domain option Virtual.net is provided; this suggests that your Domain is properly put in and dealing.
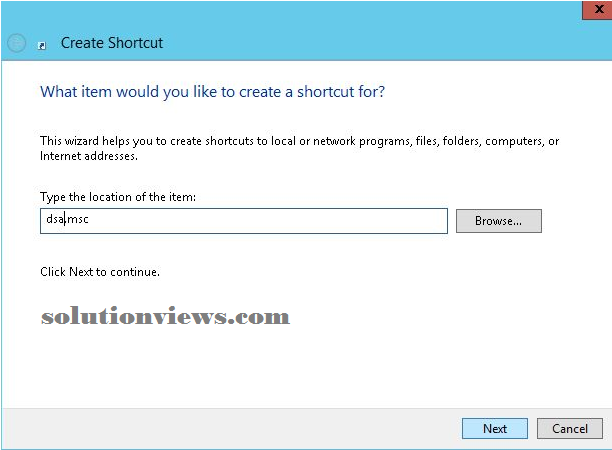
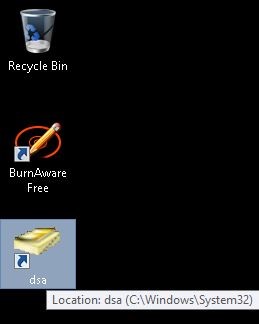
Step 11:
On your Desktop produce a replacement crosscut and within the location sort “dsa.msc” and click on on “Next”.
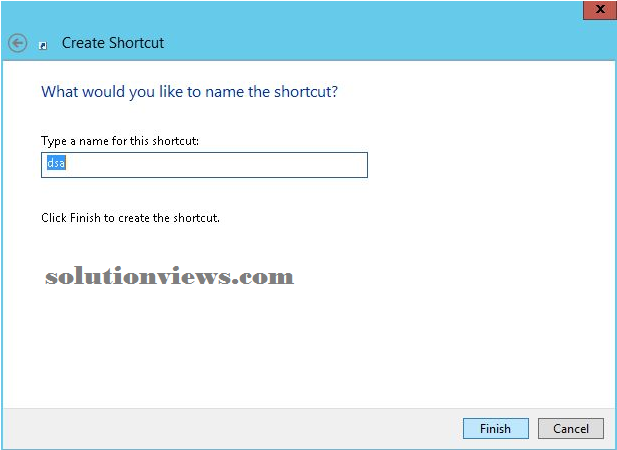
This will show you the name for this crosscut, click on “Finish” button to complete the method.
Step12:
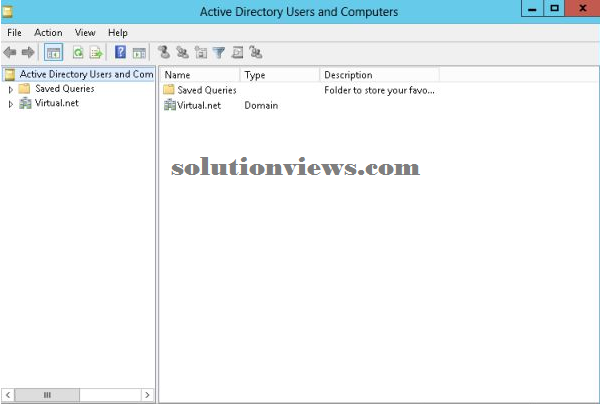
On your Desktop a replacement golden coloured icon is created.
Open this icon and you may see the Virtual.net Domain residing there.