Welcome to my orient a way to tack one server Remote Desktop Services (RDS) preparation victimization server 2016. We’re seeing less and fewer RDS deployments however some things still need some low-cal RDS access. Specialist package that doesn’t run over a VPN or isn’t cloud primarily based is ideally suited to RDS deployments.
I’ve still seen innumerable engineers struggle to properly tack one server preparation therefore lets mire in as a result of truly is basically easy!
First install Server 2016 with user interface and find all the updates put in.
Add the server to the domain as a member server, during this workplace I decision mine RDS2016.
Login as a site administrator.
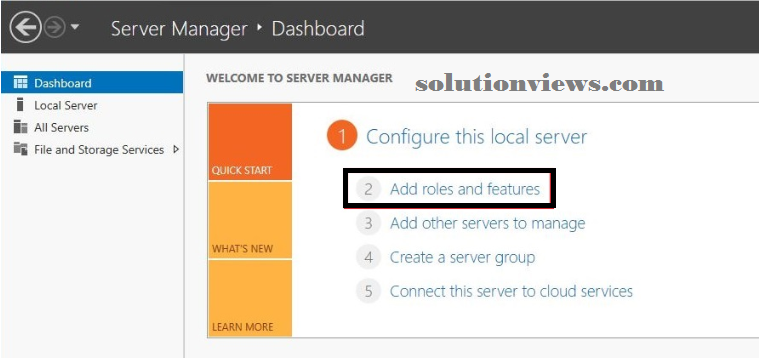
Server manager ought to mechanically launch, click on Dashboard then ‘Add roles and features’.
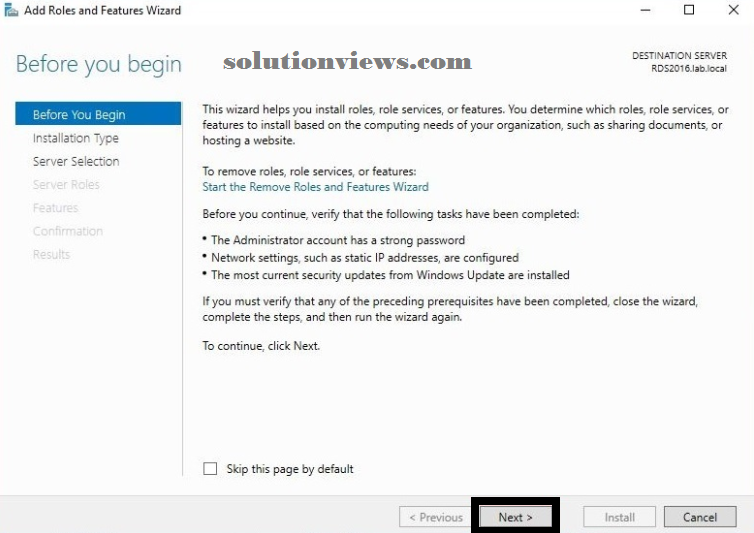
The wizard can launch therefore click on Next.
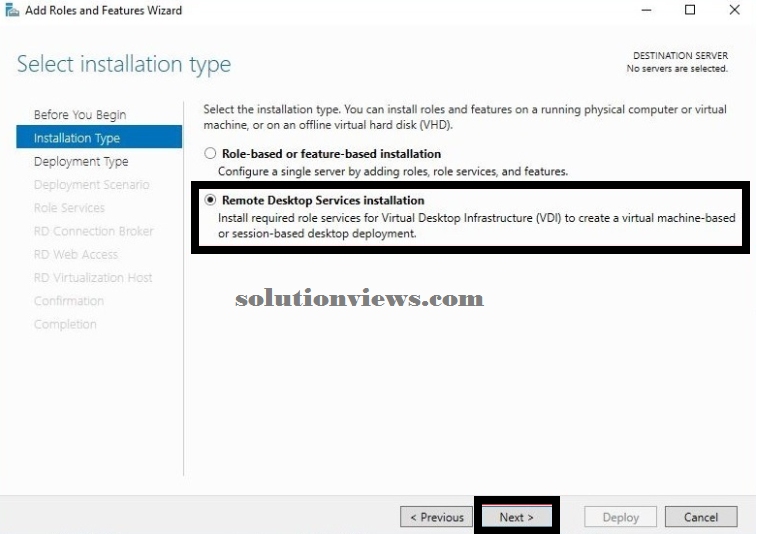
Click on ‘Remove Desktop Services Installation’ and click on Next.
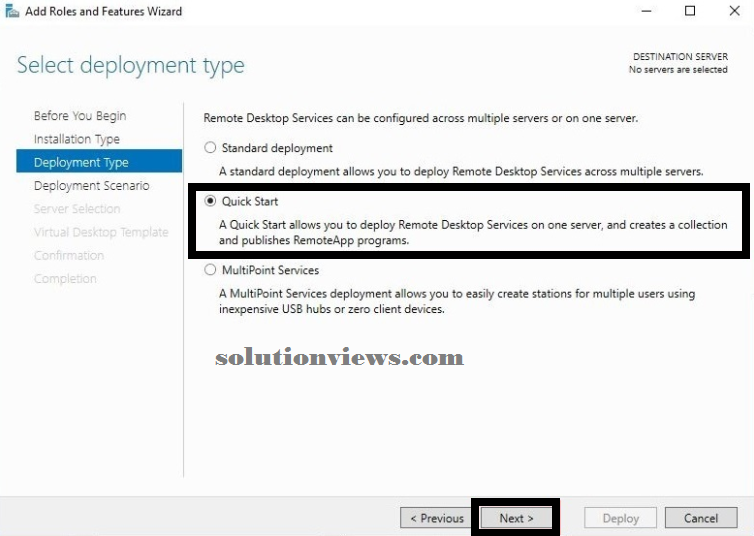
Click ‘Quick Start’ then Next.
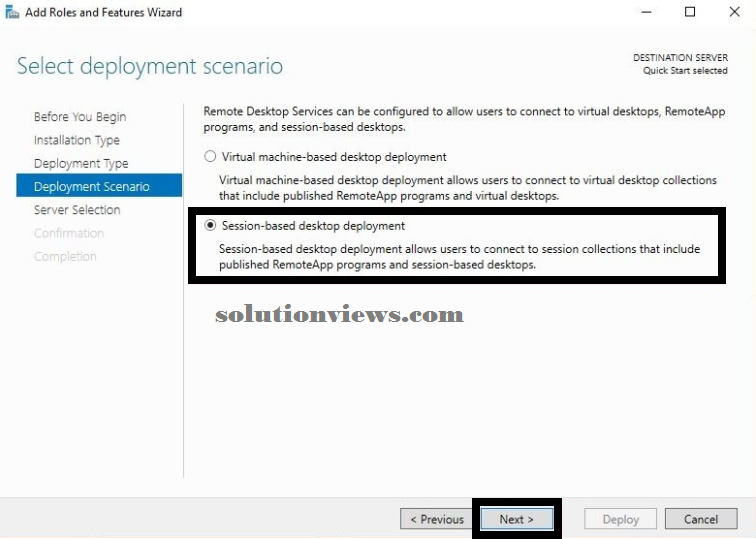
Click ‘Session-based desktop deployment’ and click on Next.
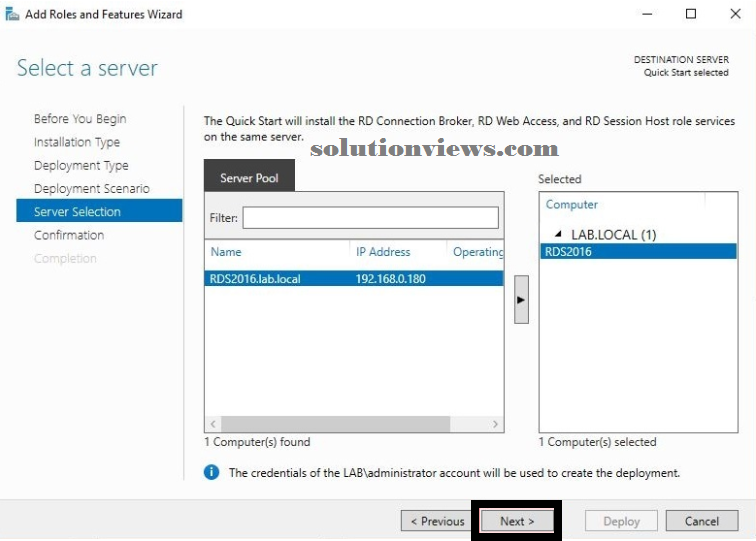
Your server ought to already be within the designated server list on the proper however if not highlight your server from the Server Pool and move it into the chosen panel and click on Next.
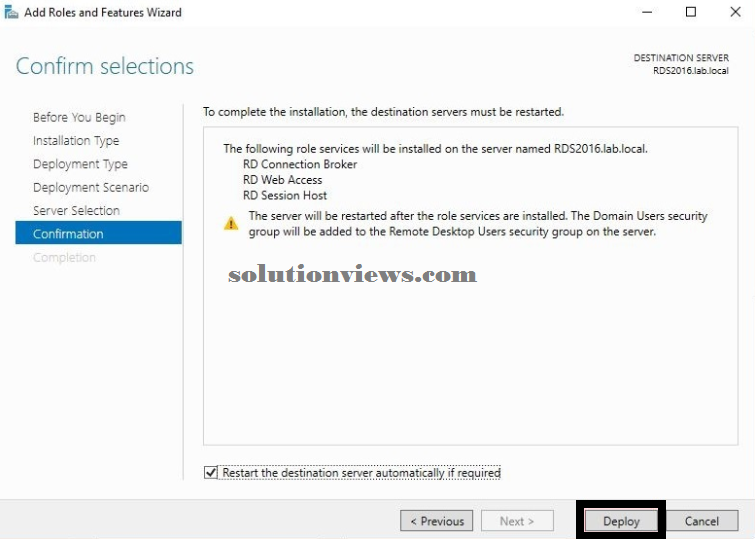
Tick the box to restart the destination server and click on Deploy.
Let the installation complete.
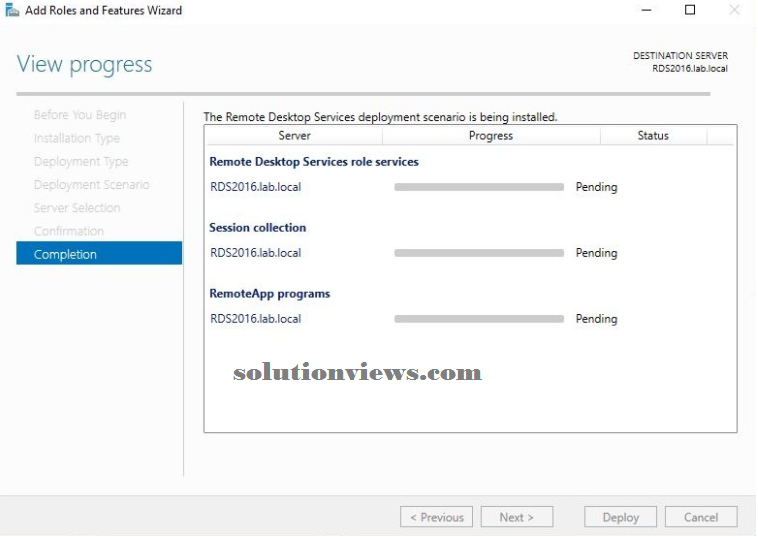
The installation can begin and therefore the server could boot, if it will then log back in and watch for the install to complete and click on Close.

In the server manager you’ll see the new role ‘Remote Desktop Services’ put in. Click on that from the menu to ascertain the configuration.
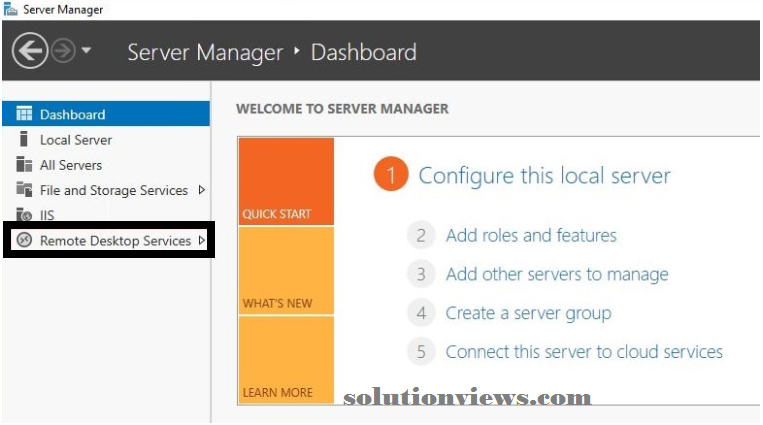
At this time some can attempt to tack the RD entranceway possibility since its inexperienced and showing able to tack. Simply ignore this as a result of in an exceedingly single server preparation we tend to don’t want a entranceway load equalization our connections as a result of we tend to solely have one server! We tend to do but have to be compelled to setup licensing.
Click on ‘RD Licensing’ to begin setting it up.
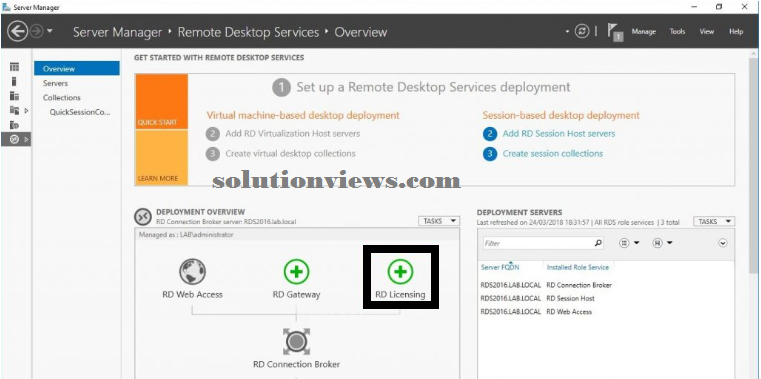
As before your server ought to already be designated within the paw panel however if not choose it within the left and move it into the proper and click on Next.
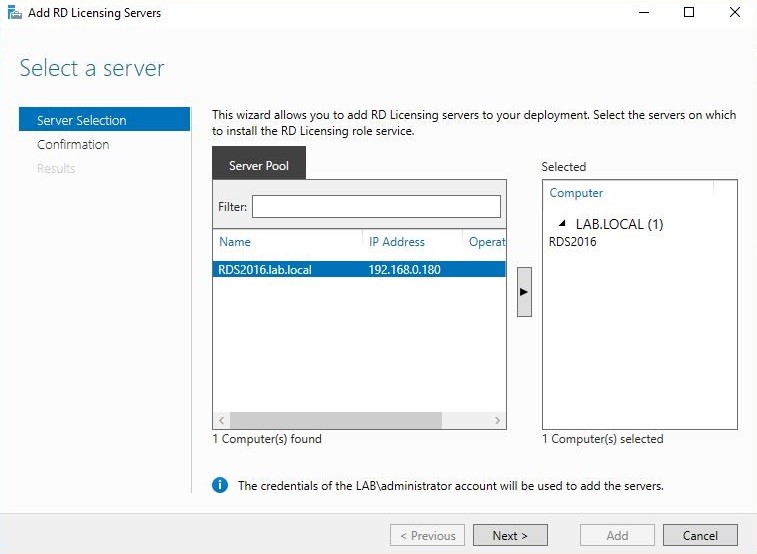
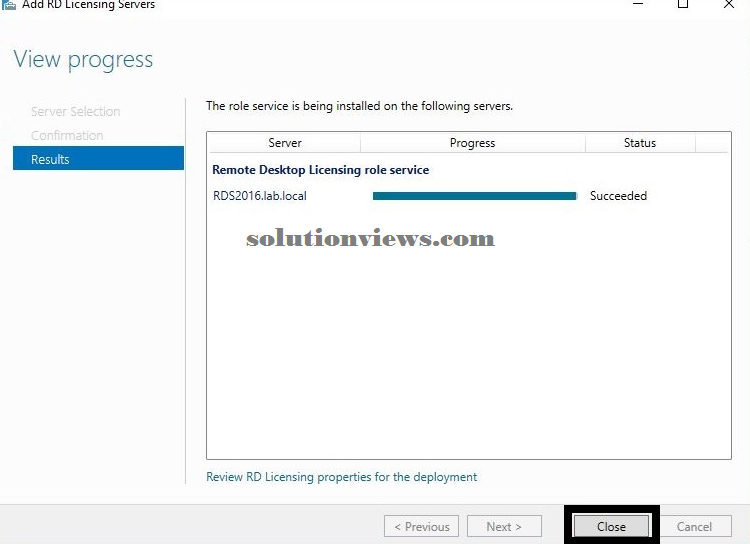
Click Add install the licensing role to the server.
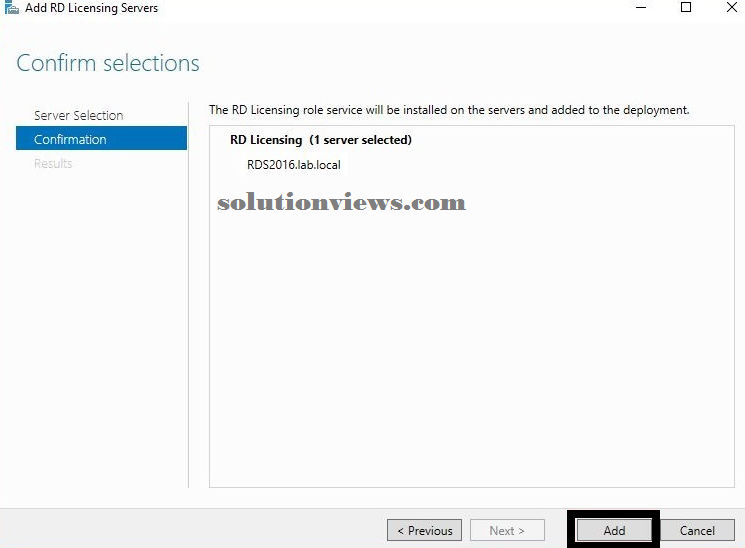
Let the role install and click on shut.
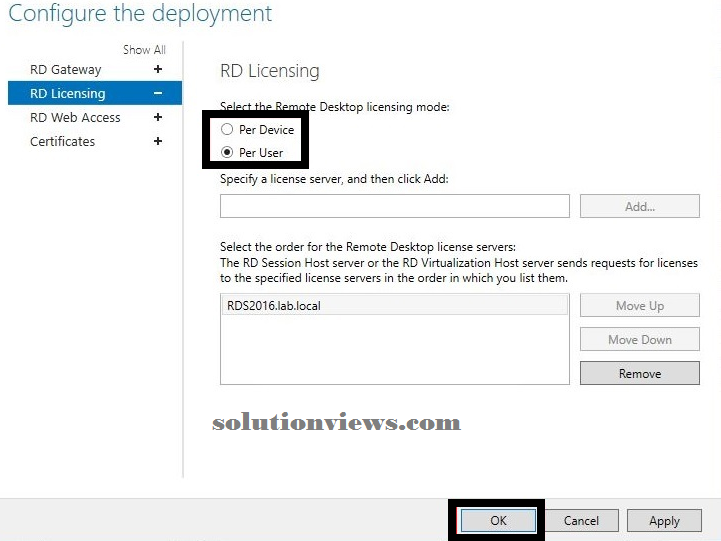
Next return to the server manager and right click on ‘RD Licensing’ and click on ‘Select RD Licensing Mode’ from the menu.

Select the mode supported the RDS calls that you just have purchased. Here i choose Per User as a result of I’ve got a bunch of user calls accessible. Click OK.
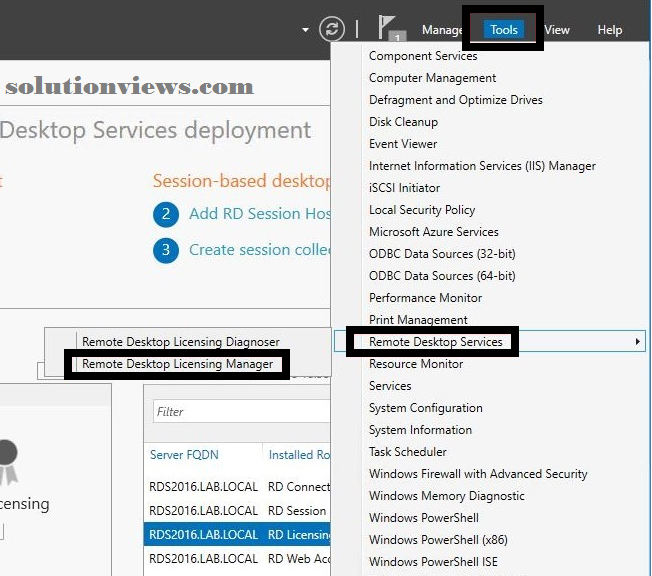
Next we’d like to put in our RDS licenses. From the server manager choose Tools then ‘Remote desktop services’ then click ‘Remote Desktop Licensing Manager’.
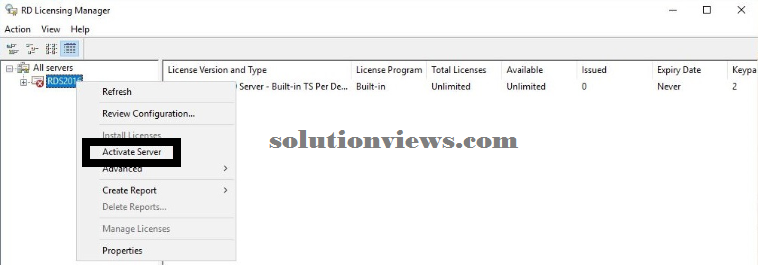
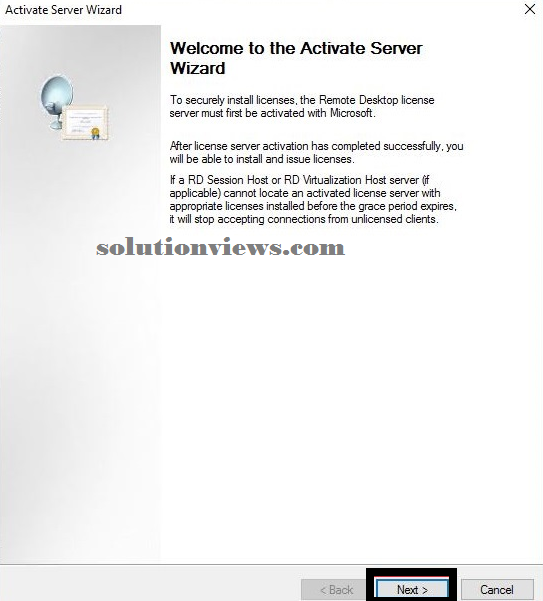
First thing we tend to waste the licensing manager is correct click the server node and click on ‘Activate Server’.
Click next on the wizard.
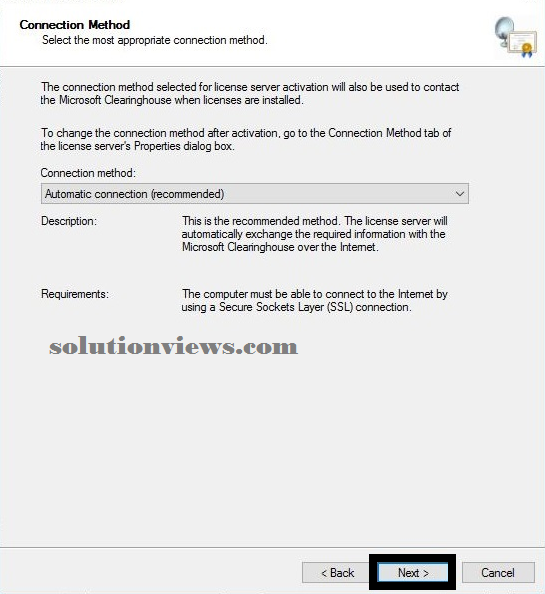
Select ‘Automatic Connection’ and press Next.
Enter you company data and press Next.
Continue getting into in your data and click on Next.
Click Next.
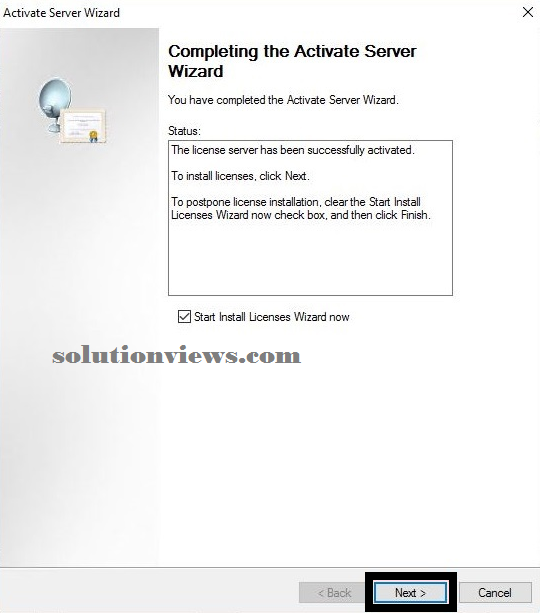
Now starts the license installation wizard, click Next.
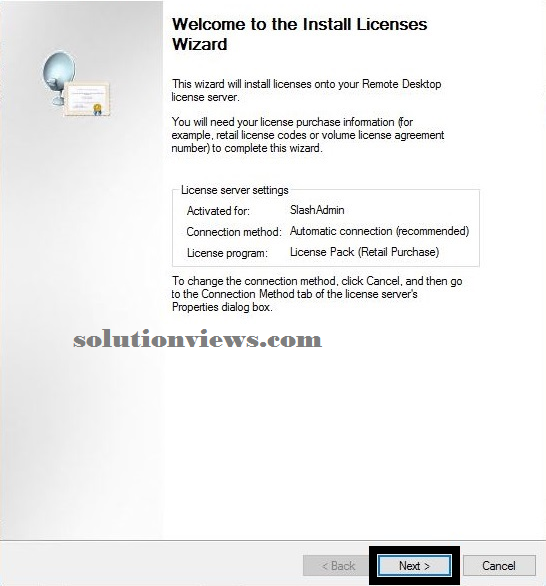
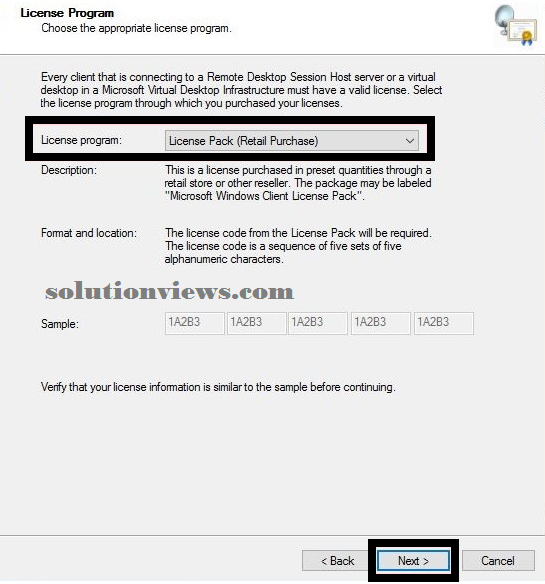
Select the license kind that you just have from the change posture. I’m victimization retail license packs here and click on Next.
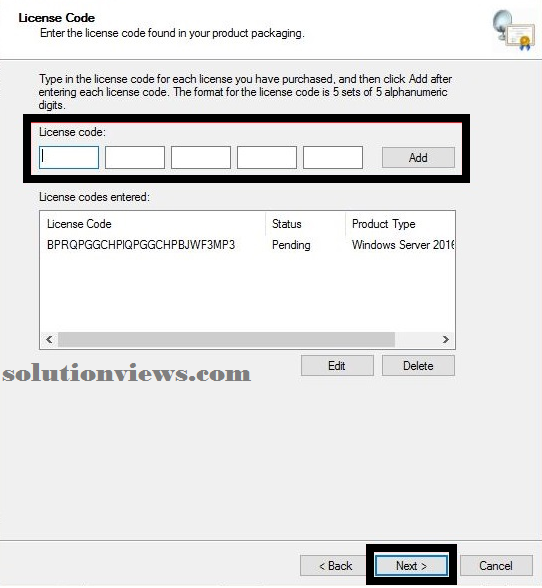
Enter your license key, click Add then Next.
Click Finish to put in the licenses.
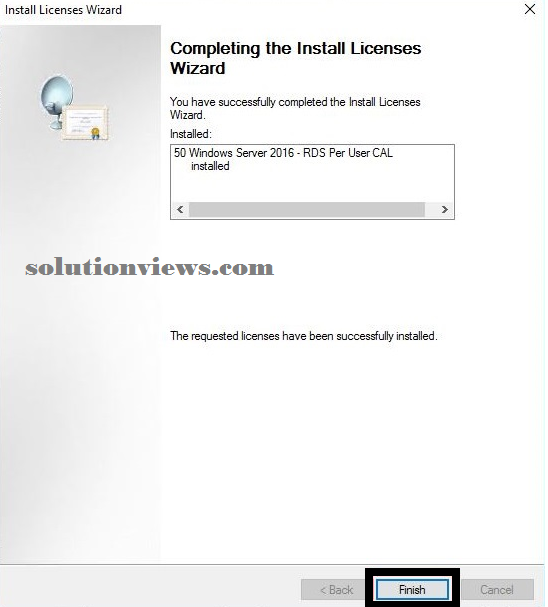
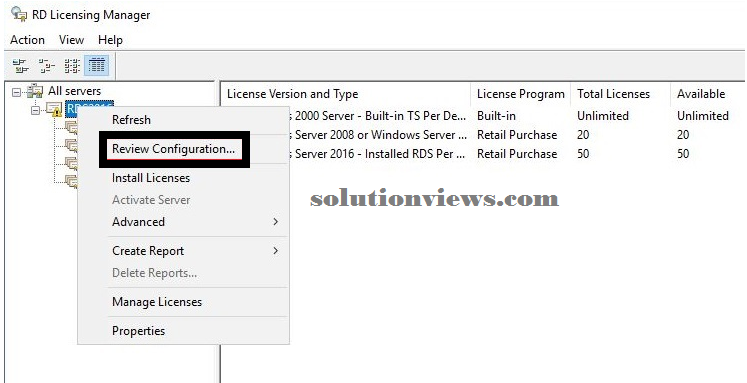
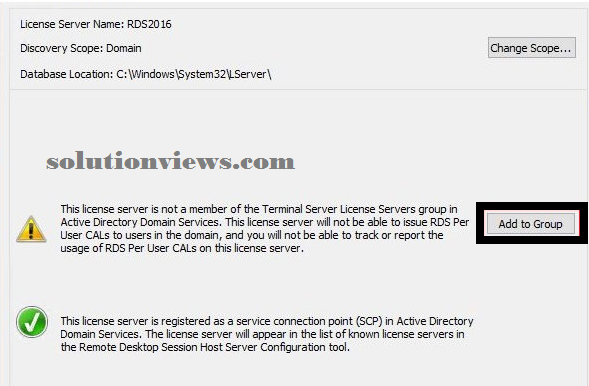
Your license ought to seem within the list of obtainable licenses. you’ll see here i’ve put in fifty 2016 user calls. Next we’d like to right click the server and choose ‘Review Configuration’.
You can see here a warning message that the server isn’t a member of the license servers’ cluster in AD. Click ‘Add to Group’.
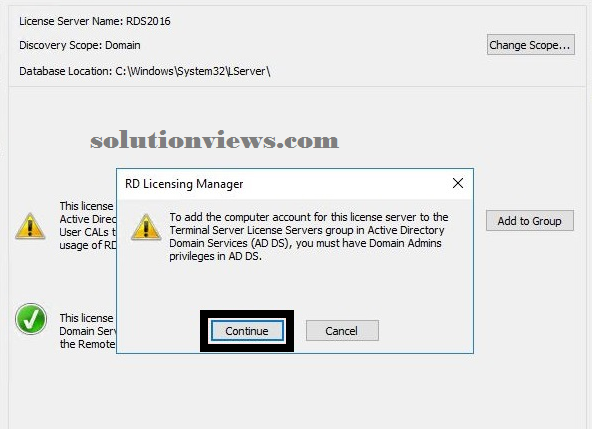
The warning says you wish to possess admin privileges in AD to continue, click Continue.
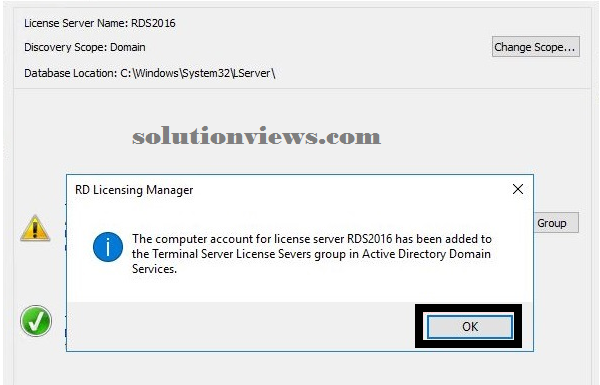
Click OK to ensure the server has been supplementary to the cluster.
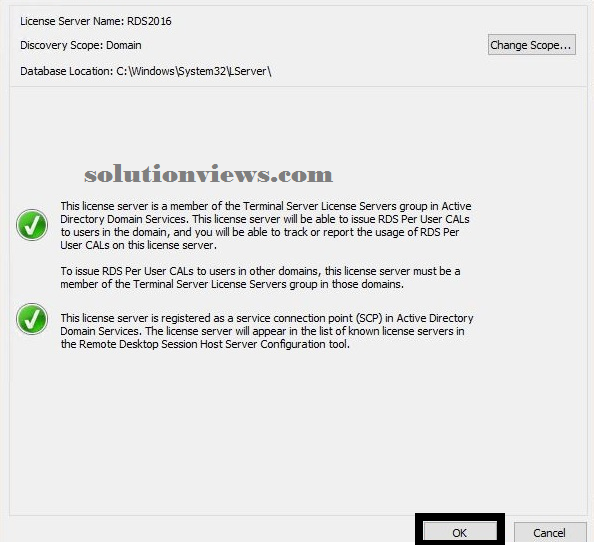
Verify everything is inexperienced and click on ok.
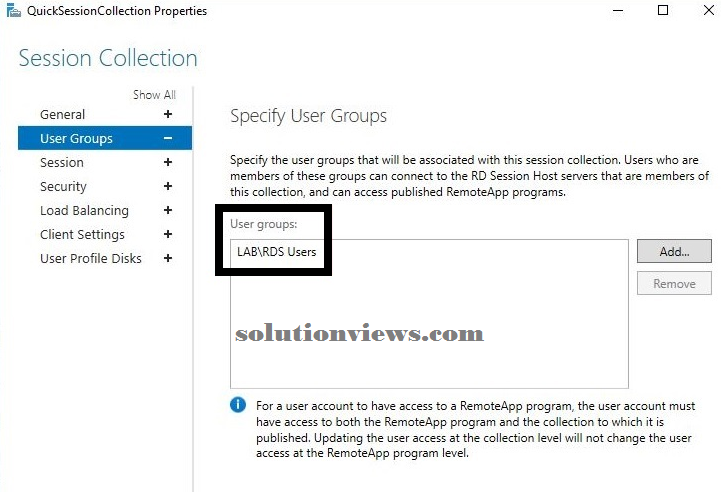
Next we’d like to specify World Health Organization will connect with the server. From the server manager click on the Remote Desktop role from the left menu, click ‘QuickSessionCollection’ then from the Tasks menu click ‘Edit Properties’.
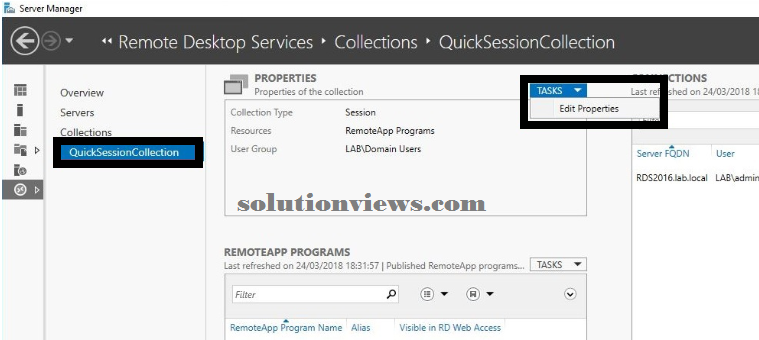
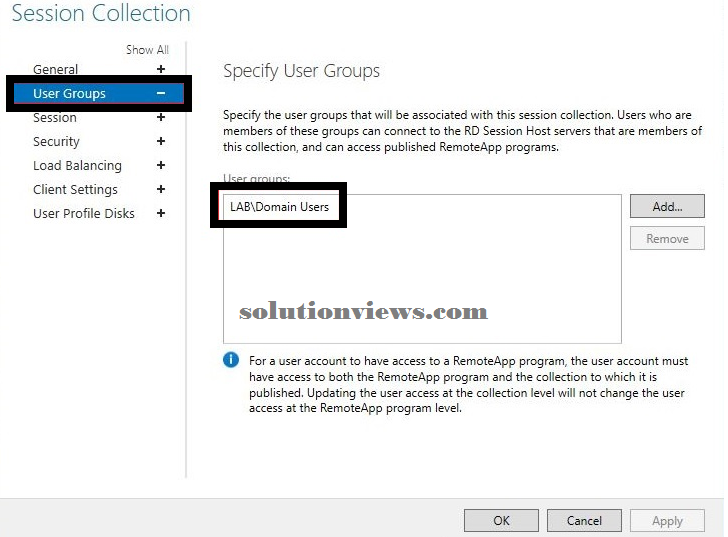
You can see here that Domain Users area unit allowed access to the server. this is often no smart from a security perspective! you cant permit everybody to attach remotely therefore its best observe to tack a selected cluster and add users thereto cluster to permit access.
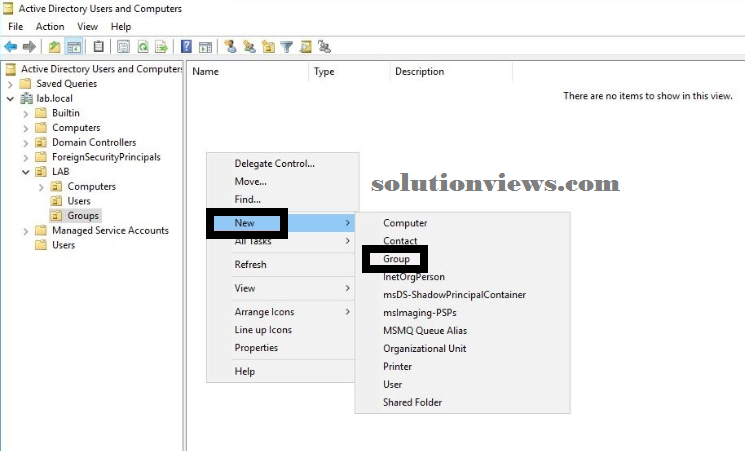
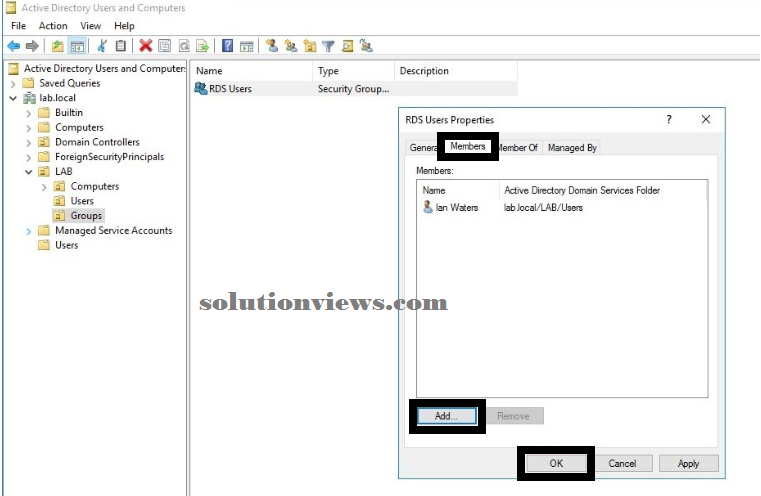
On a site controller awaken ‘Active directory users and computers’ and make a replacement cluster. Choose your applicable OU location right click, choose New then cluster.
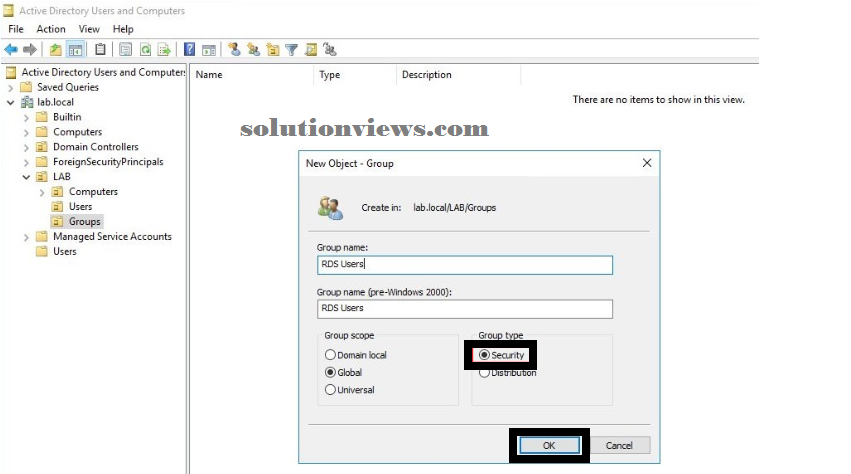
Give the cluster Associate in nursing applicable name, here i take advantage of ‘RDS Users’. Set the kind to security and click on ok.
Next move to the properties of the new cluster, click the Members tab and add users World Health Organization would require remote access and click on ok.
Go back to the RDS server and remote the Domain users cluster and instead add the new ‘RDS Users’ cluster we tend to simply created.
Congratulations
you’ve simply designed one server 2016 RDS deployment!
You next
steps area unit to tack cluster polices and different UI components so the server is secured down enough that users
cant cause it any damage damage
Also
seriously think about your
security choices,
investigate the utilization of 2 issue authentication and brute force mitigation systems to stay the system safe particularly if you open it up
to the net.
Oh and what
ever {you do|you area unit doing} guarantee your domain and native administrator
passwords are super secure. There’s loads of brute force bots out there making an attempt to login therefore be careful!