I’m going to show you how to migrate resources to a different resource group using ARM. Occasionally, you may need to relocate your Azure resources to another Azure Resource Group.
This is a simple process that might be beneficial when organizing your resources for administration or billing purposes.
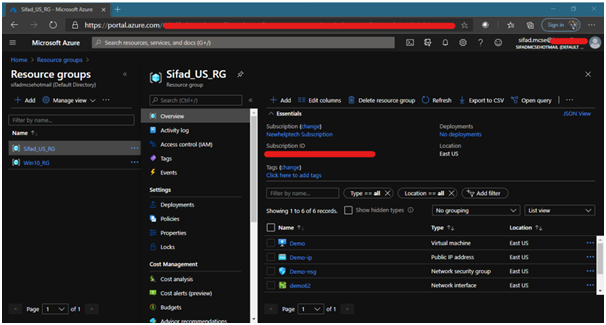
I’ll be migrating an existing Azure Resource Group to another Azure Resource Group in this example.
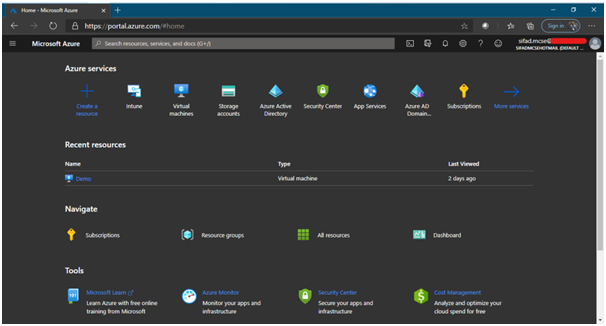
Step 1: Navigate to the Azure portal.
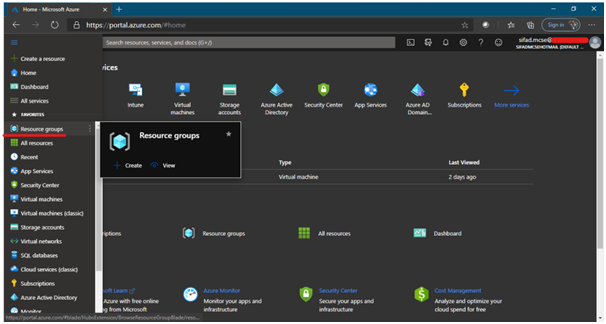
Step 2: In the Azure portal, click the Resource Groups option and then navigate to the desired resource group.

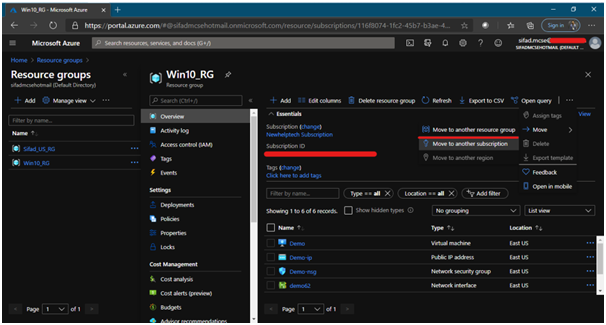
Step 3: To move to another resource group, click the Move button and then select Move to another resource group.
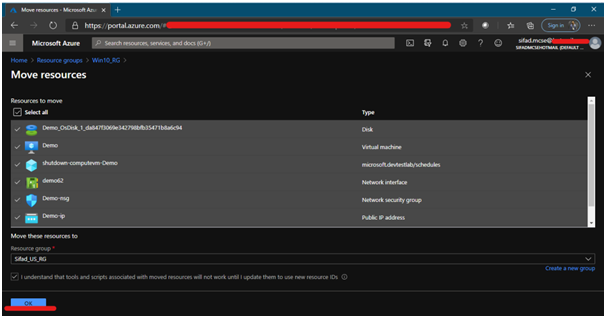
Step 4: In the resources to relocate the screen section, review the resources that will be moved, which are all picked automatically.
Then tick the checkbox next to the resource group you want to use as the resource group.
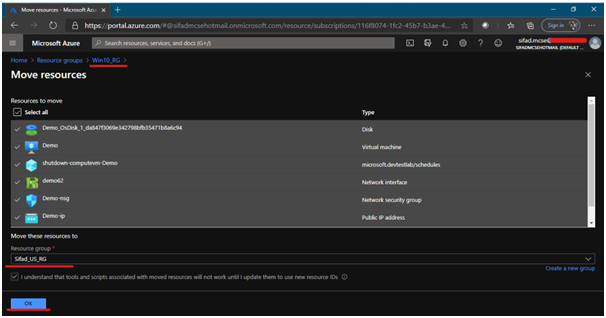
Step 5: Click the OK button to begin the process of moving the resources to the other resource group.
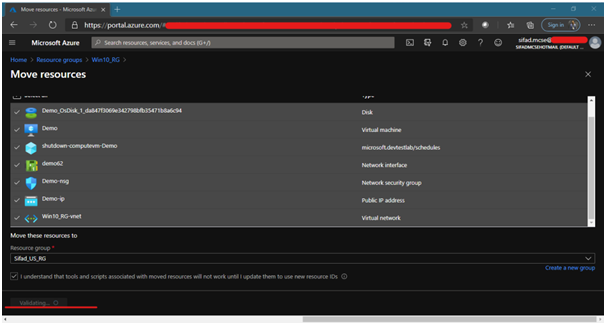
Step 6: At this point, the job will be validated, and you will see a notification of the progress of the migration.
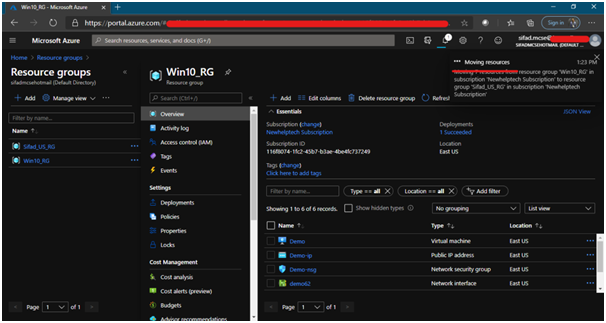
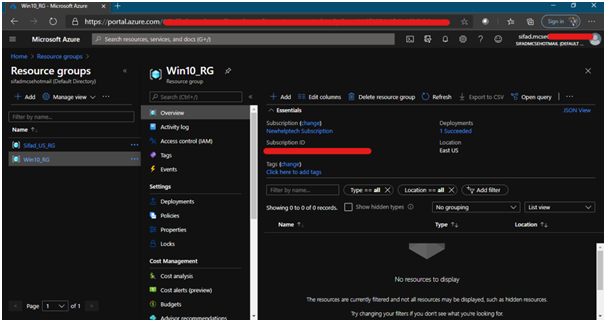
Step 7: The resources have been effectively relocated.
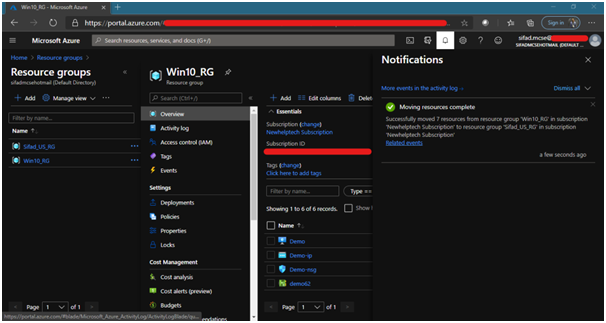
Step 8: Once the resources have been relocated, you must verify the new resource group. You will see that all resources have been relocated.
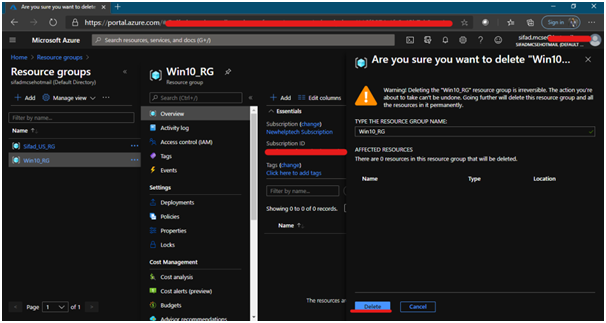
Step 9: Finally, we wish to delete the resources group because it is now empty and should not be reused.
Now, we must navigate to the previously created resource group and click the Delete resource group button. You will be prompted to fill in the resource group’s name to confirm your desire to proceed.
I hope this guide was beneficial in getting you started with Moving an Azure VM to a Different Resource Group.