File system faults and, in some cases, file system corruption can occur if the operating system is not properly configured to cope with files. The built-in command-line application Chkdsk can be used to rectify hard disc and file system issues in Windows. Before Windows starts in an emergency, the Chkdsk program analyses the disc volumes and automatically corrects any faults that are discovered.
In this manual, we will show a few ways to test your HDD and file systems for errors and corrupt sectors and fix them on Windows 10 machines.
Using File Explorer to check the hard drive
File Explorer is the simplest way to start a local disc check in Windows. Run it, then go to This PC, right-click on the hard drive you want to check, select Properties, then go to the Tools tab and click Check.
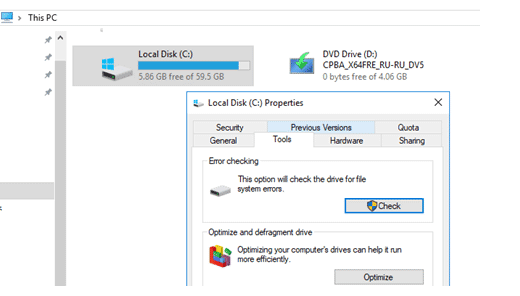
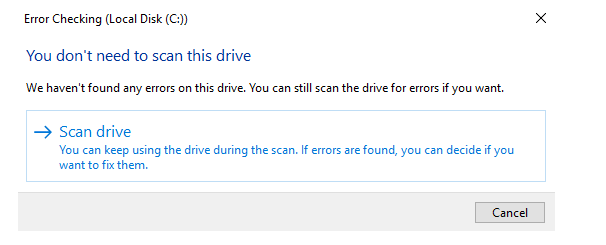
You will most likely receive a notice in Windows 10 stating that you do not need to scan this drive right now. You can, however, use the button Scan drive to force drive scanning.
Checking for Errors on a Hard Drive with Chkdsk
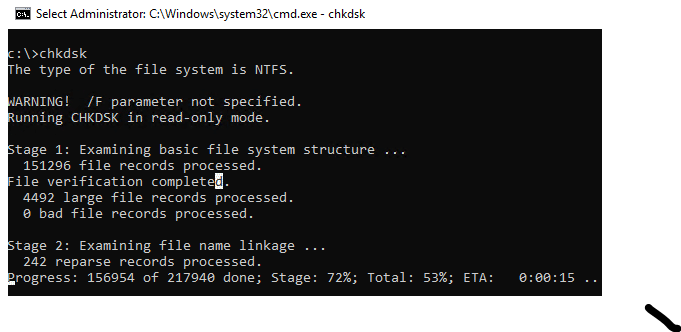
Running the Chkdsk command in Windows 10 without any parameters will display the current disc status but will not rectify any issues on the partition.
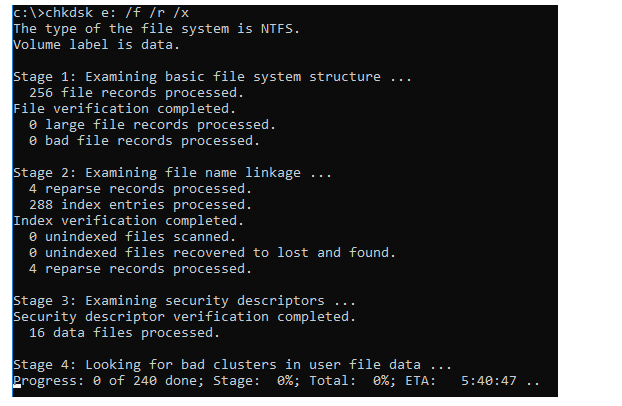
In order to fix the errors on the disk, you need to specify the drive letter and parameters. Typically, to check the E:\ drive, you should use the following command:
chkdsk e: /f /r /x

/f – tells the Chkdsk utility to correct all problems it finds;
/r – it is essential to locate and repair damaged sectors on the disc;
/x is used to unmount the drive before beginning the scan.
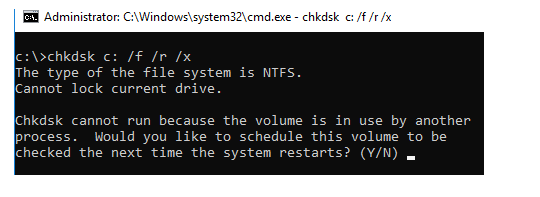
Please keep in mind that Chkdsk should be capable of locking the disk. If the disk is not a boot drive device or is external, the Chkdsk operation will begin immediately after the command is executed. However, if the drive is bootable or presently running programs are using the disk, the system will prompt you to perform a volume check when the system boots up again.
Because the volume is being used by another process, Chkdsk is unable to run. Would you like to schedule a check of this volume for the next time the system reboots? (Y/N)
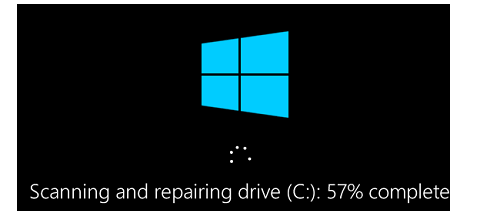
If you restart the machine after pressing Y, the check disc will run before the Windows welcome screen appears.
After restarting the computer, the message Scanning and repairing drive (c:): xx percent complete will appear, along with the status of Chkdsk.
For NTFS volume you can force to run offline drive repair using the command (this bypass all online repair scans):
chkdsk C: /f /offlinescanandfix
You can use the command to force offline disc repair for NTFS volumes (this bypasses all online repair scans):
C: /f /offlinescanandfix chkdsk
The CHKDSK command can take a long time to run, especially if you’re inspecting a huge disc. It will produce a summary result once the process is completed. This includes the entire disc volume information as well as, most crucially, all of the mistakes that were discovered and corrected.
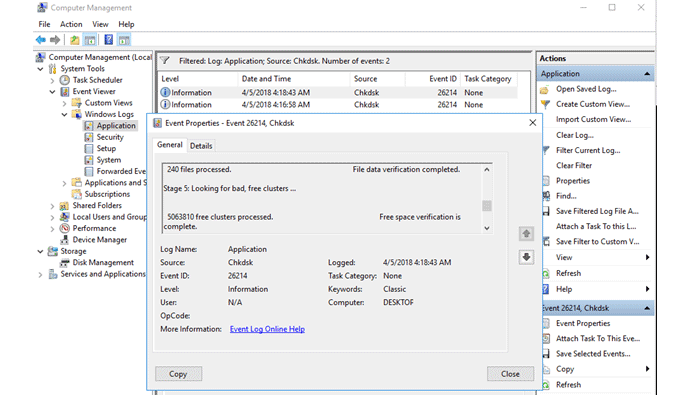
In Windows 10, you should utilise Event Viewer to see the chkdsk results. Run eventvwr.msc or the Computer Management snap-in -> System tools -> Event Viewer. Expand the Windows Logs section. Select Filter current log from the context menu of the Application node.

Select the event source – Chkdsk and press OK. A list of disk check events appears. In the event general tab you can find detailed information about the disk check statistics. For example:
Also, you can run a disk check using PowerShell cmdlet Repair-Volume. To check volume in online mode run:
Repair-Volume -DriveLetter e
If your volume is Ok, NoErrorsFound should be returned Run the following command in offline mode to check and repair the file system:
Repair-Volume -DriveLetter C -OfflineScanAndFix