If you’re running Windows 10 on a high-resolution monitor, you’ve certainly noticed that parts of your system’s or programs’ fonts are fuzzy. Working with it is really inconvenient. The problem is most commonly seen on devices with a resolution of more than 200 DPI. We discovered that the DPI scaling isn’t operating as well as it did in Windows Vista, Windows 7, or Windows 8.1. If the DPI value surpasses 120, some issues may arise. It can also happen if an application does not have the DPI-Aware flag enabled. In Windows 10, you’ll find yourself in a similar scenario.
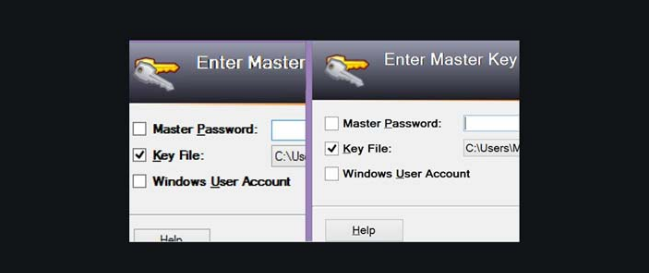
Here you can see one of the examples of such a blurry fonts problem:
If the font/display scaling does not meet your needs, you can revert to the “classic” scaling method for a particular application or the entire system.
Fix for Windows Auto Blur
The display settings in Windows 10 1803 were somewhat improved. Existing ones have been updated, and new options have been added, including the ability to remove font blur for programmes that do not support scaling (or when this process does not work correctly).
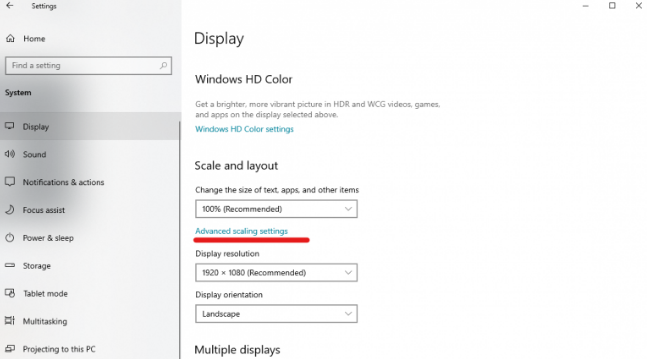
To turn it on, click to Windows Options System Display Advanced scaling settings and toggle on “Let Windows try to adjust applications so they’re not blurry.”
Set the Resolution of the Screen
Due to a lack of experience working with computers in general, other people are experiencing a similar issue. Fortunately, this is a simple adjustment, and you can get this experience right now.
The issue is that the monitor’s regular resolution may not be indicated on the system. Most of the time, this is due to the video driver’s faulty operation. Despite the fact that Windows 10 can install all of the drivers for such devices on its own, you should still go to the manufacturer’s website and download the most recent stable version of the driver for your video card.
Typically, it looks like this: the ideal display resolution, for example, 1920×1080 pixels. The system displays it in a lesser resolution, such as 1024 768 pixels. The image and text appear larger but blurry as a result of this.
You need manually set the screen resolution in this scenario. You can change the image’s scale if necessary (when using very large monitors or TVs). On the manufacturer’s website, as well as the Windows prompt near a specific value, you can get detailed information on your display’s resolution (recommended resolution).
To change the screen resolution in Windows 10, follow these steps:
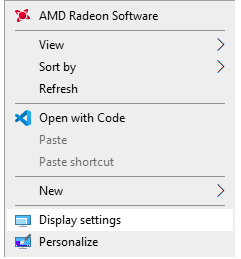
Right-click on an empty area of the desktop → select “Display settings”.
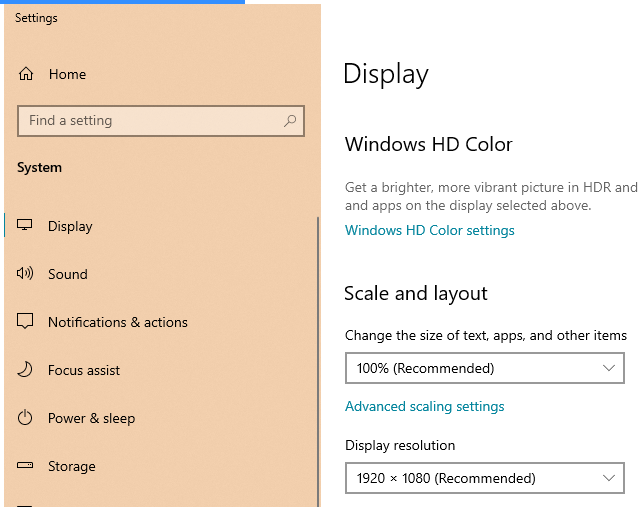
Set the “Display resolution” parameter and, if necessary, size of text (scaling) in accordance with the recommended version of Windows.
It is highly recommended to install the graphics card driver from the manufacturer’s website if the greatest available resolution does not improve the image.
When the duplication mode is enabled on multiple monitors or a TV+monitor, the system sets the same resolution on both screens, even if the text on one of them is blurred. In this situation, use the Win + P keyboard keys to convert the mode to “Extend displays” and modify the resolution for each monitor independently.
ClearType
The performance of the ClearType function, which smooths the clearType, can be affected by an issue with the system video driver. When using LCD screens, the system automatically activates it.
A problem with blurry text can be caused by incorrect operation of the ClearType font smoothing function, which is enabled by default in Windows 10 for LCD screens. In some cases (for example, due to improper operation of video card drivers), a problem with blurry text can be caused by incorrect operation of the ClearType font smoothing function, which is enabled by default in Windows 10 for LCD screens.
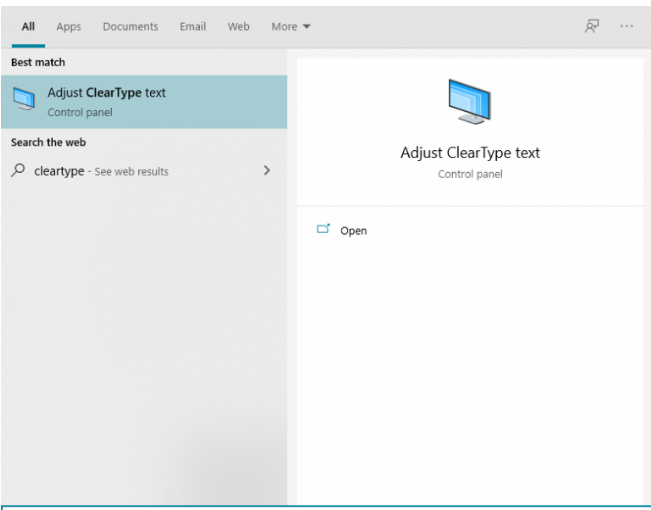
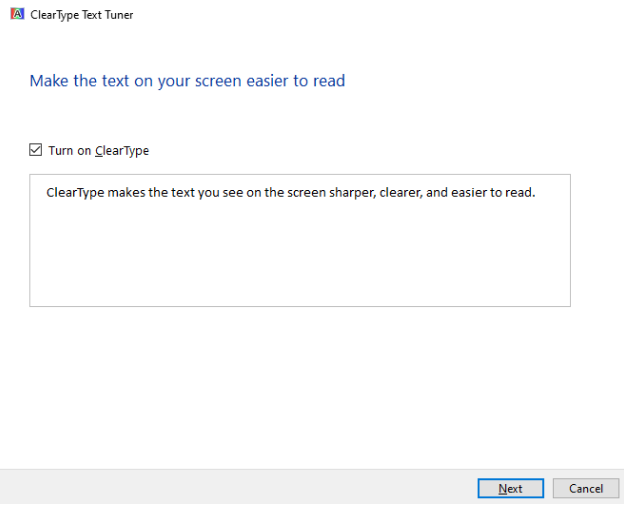
The problem can be solved by turning off or manually configuring this function. To do so, open the search panel, type ‘clear type,’ then select the “Adjust ClearType text” option from the drop-down menu. Then, simply follow the utility’s easy instructions.
For a specific application, remove the Blur font.
If the problem with blurry fonts only occurs in one application (for example, the Mozilla Firefox web browser), you can try to tackle the problem of blurring fonts for that application separately.
- Open the properties of the application (in our case, firefox.exe);
- Select the Compatibility tab from the drop-down menu.
- Disable display scaling on high DPI settings by checking the box;
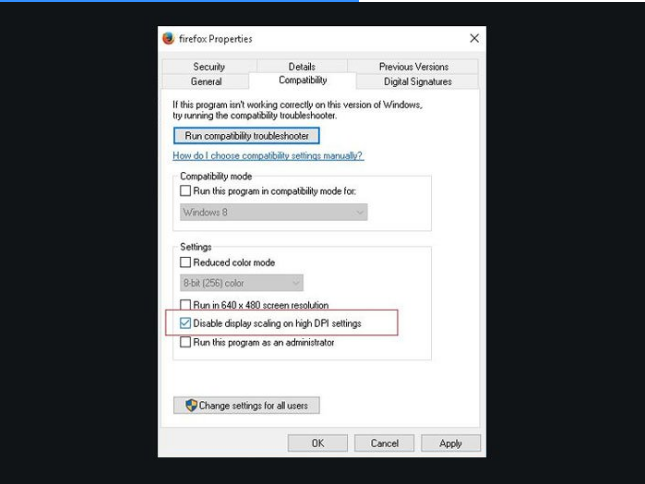
- Save the changes and restart your app.
Make sure that the problem is solved. If not resolved, go to the next step — decreasing the system DPI settings.
Reducing the System DPI in Windows 10
When employing a scale of 125 percent or greater on various devices, blurring issues and poor readability fonts are noted in the system. You should try to reduce the scaling settings (DPI) to 100% in this scenario.
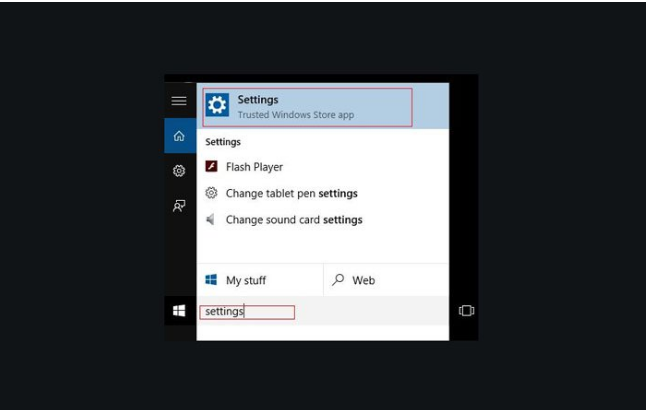
Open the system settings in the contemporary control panel.
Change the size of text, apps, and other elements to the left (must be set to 100 percent) in the Display section.
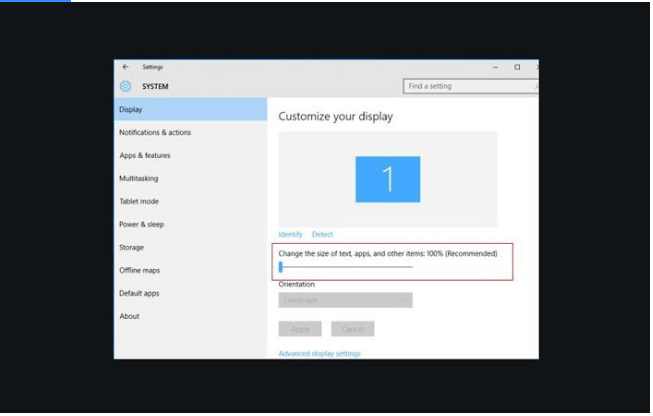
Reboot your Windows 10.
If it does not work – go to the next solution.
In Windows 10, you can revert to the old scaling method.
The font scaling mechanism in Windows 10 and Windows 8.1 has changed, however you may easily revert to the old scaling approach that was utilised in Windows 8 RTM and Windows 7. In the vast majority of cases, this will assist in resolving the issue of blurred and erroneous font display. Follow these steps to get started:
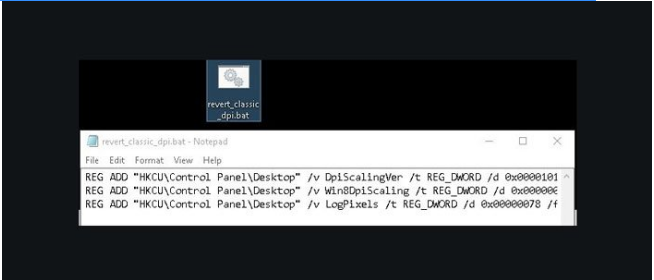
1- At first, create a file revert_classic_dpi.bat with the following text (see screenshot below):
REG ADD “HKCU\Control Panel\Desktop” /v DpiScalingVer /t REG_DWORD /d 0x00001018 /f
REG ADD “HKCU\Control Panel\Desktop” /v Win8DpiScaling /t REG_DWORD /d 0x00000001 /f
REG ADD “HKCU\Control Panel\Desktop” /v LogPixels /t REG_DWORD /d 0x00000078 /f REG ADD “HKCU\Control Panel\Desktop” /v DpiScalingVer /t REG_DWORD /d 0x00001018 /f
REG ADD “HKCU\Control Panel\Desktop” /v Win8DpiScaling /t REG_DWORD /d 0x00000001 /f
REG ADD “HKCU\Control Panel\Desktop” /v LogPixels /t REG_DWORD /d 0x00000078 /f
2- Then run revert_classic_dpi.bat as Administrator;
3- Reboot your Windows 10;
4- After completing all steps check if the problem is solved.